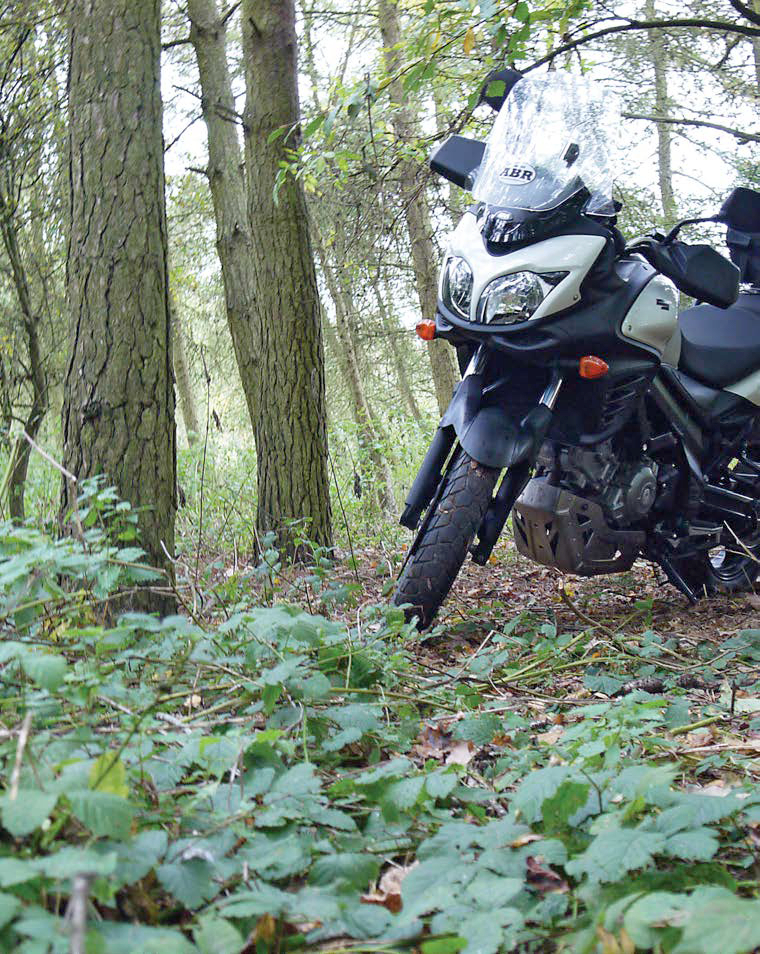
Bearded ABR survival guru, John Fenna tells you how to build fire in extreme conditions.
Picture this; you’re riding in a remote area and your bike breaks down. There’s no civilisation for miles, you’re not mechanically gifted and it’s getting dark. It’s very unlikely that anyone else will be passing by until tomorrow, you need a fire but are surrounded by snow, how the hell are you going to keep warm?
If you bear in mind the wide variety of places an ABR may be riding, then you will appreciate the wide variety of conditions – geographic, weather et al – that may be encountered on adventurous travels. Making fire and finding drinkable water may be amongst the hardest skills to perform safely in some of those conditions.
I am not just talking about severe wet to hinder fire lighting, or drought to make finding water difficult: It can be hard to find drinking water in swampy conditions and dangerous to start a fire in a tinder-dry forest!
Finding water…
In boggy and swampy conditions
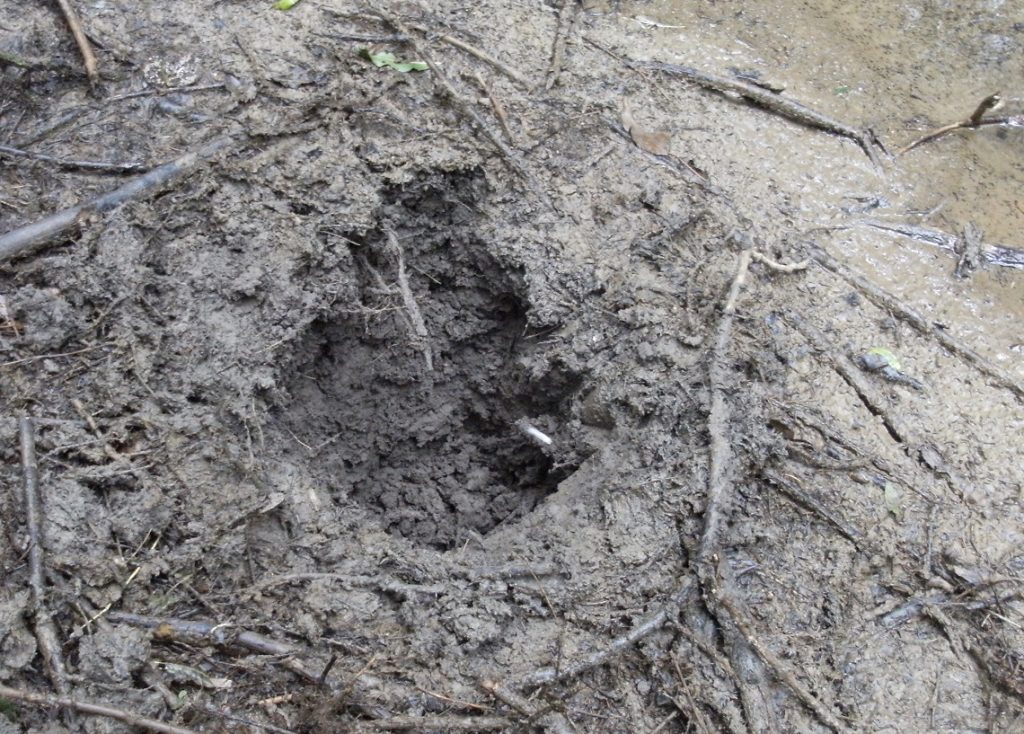
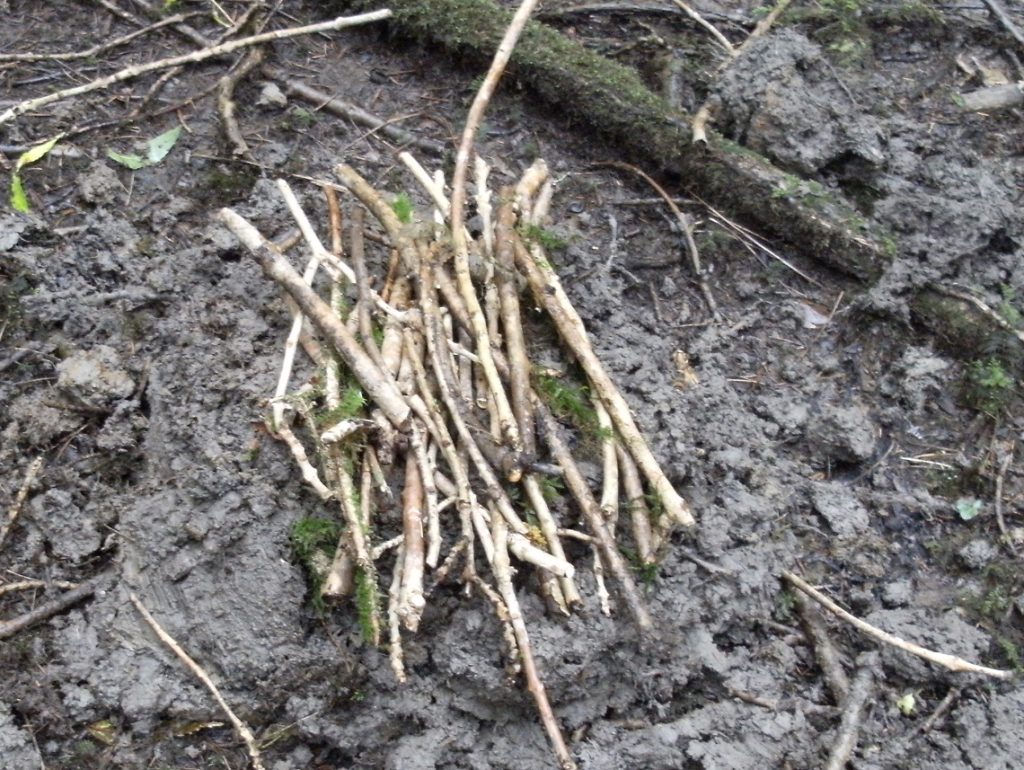
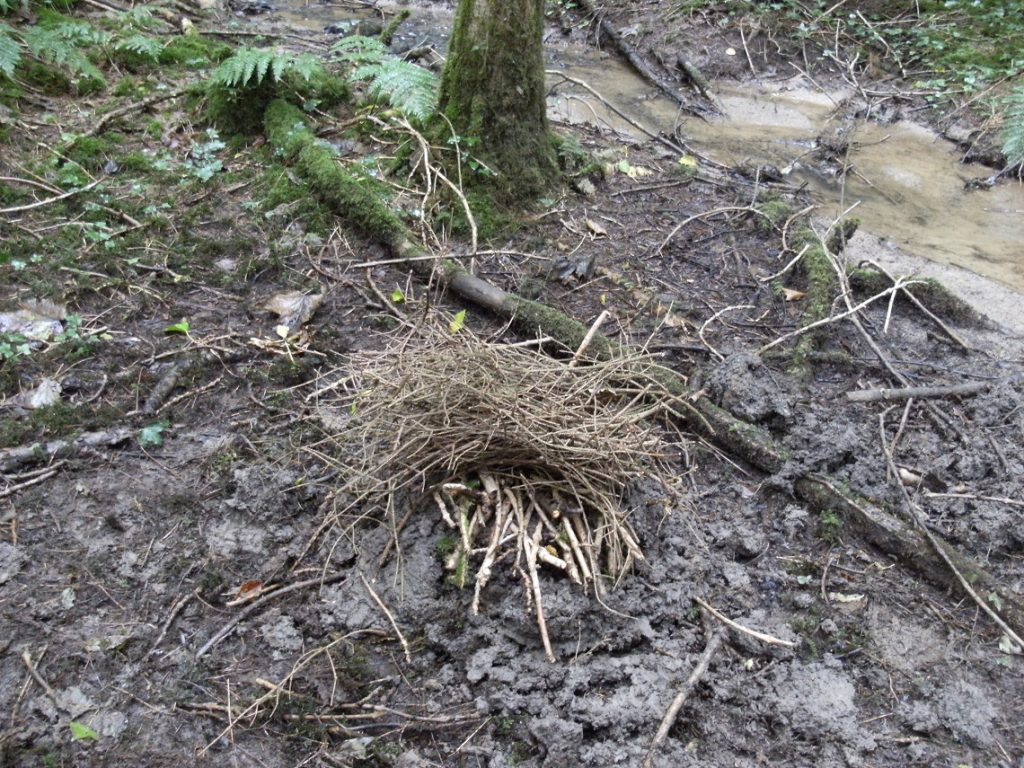
One technique for getting drinkable water in boggy/swampy conditions is to dig a ‘gypsy’ or ‘Indian’, or ‘seep’ well. This is done by choosing a spot on firmer ground and, having cleared it of any plant growth, digging a hole approximately 12” to 24” (30cm to 60cm) in diameter down to the point where water seeps in from its sides, or to about the same depth as its width. Beware of collapsing the sides of the well as you work on it.
To start with, water collecting in the hole will be murky and full of particulate, but after you empty the hole a couple of times you should get clear water, although the water at the bottom will generally remain murky. The clear water may be pure or tainted, but being clear it will be easier to purify with chemicals and/or boiling. It will certainly be easier to swallow than liquid mud!
In Arid conditions
In arid conditions, water can sometimes be found by digging down into the bed of a dried-up watercourse. Generally, the outside edge of a bend offers the best results as this is where rivers and streams scour deeper pools which retain water longer. Search for patches of green vegetation amongst the dried and scorched plants – they will be tapping moist ground with their roots and there may be enough for you to access too.
 |
 |
|---|---|
| The Start of the Seep well | Water begins to fill the well when you get deep enough |
In dry rocky areas, search along the base of ridges, cliffs and outcrops for seeps of water collecting in natural basins, protected by the shade of the rocks above.
In the jungle
In the jungle, some vines hold a drink in their lower loops and some bamboos hold drinkable water in their stems – just cut and drink, though some vines have contact poisons on their outer edge so just pour the drink into your mouth being careful not to make contact with the vine!
Building a fire…
In a drought-struck forest
If you need to light a fire in a forested area that is drought-struck and so dry that a stray spark could cause a devastating forest fire, think very carefully about what you are doing. One mistake could be disastrous and cause not only destruction but also death – including your own.
Prepare your fire site with meticulous attention to detail and have some way of extinguishing any stray sparks (water, sand, dry mineral soil etc. to smother the sparks, or beaters to beat them out, either or are possibilities here) while keeping super vigilant when the fire is burning, being sure the fire is fully extinguished as soon as it is no longer needed.
Choose your site carefully – a rock outcrop or barren knoll would be best – with no overhanging vegetation. Clear the ground back to mineral soil for at least a 12ft radius of the fire site and build a fire platform of dry rocks or even an “altar fire” to protect roots. Unseen roots can burn like a fuse underground to cause fire to break out well away from the original fire site.
An altar fire is simple to build. Cut logs from green wood to stack up into a tower – two logs set a few feet apart as the base, then two laid at 90 degrees until you have a waist high, or at least 18” high, hollow rectangular tower. Use green logs to build a solid platform across the top of the tower and cover this with at least 9” of the dampest mineral soil you can find. Securely peg the corners of the tower to stop it from rolling or moving.
You can then build your small fire in the centre of the platform. Try and use the minimum of fuel to do the job needed and use wood that produces the least amount of sparks – seasoned hardwoods are usually fairly spark-free and softwoods the worst.
Be sure to fully extinguish the fire as soon as it is no longer needed.
On wet ground
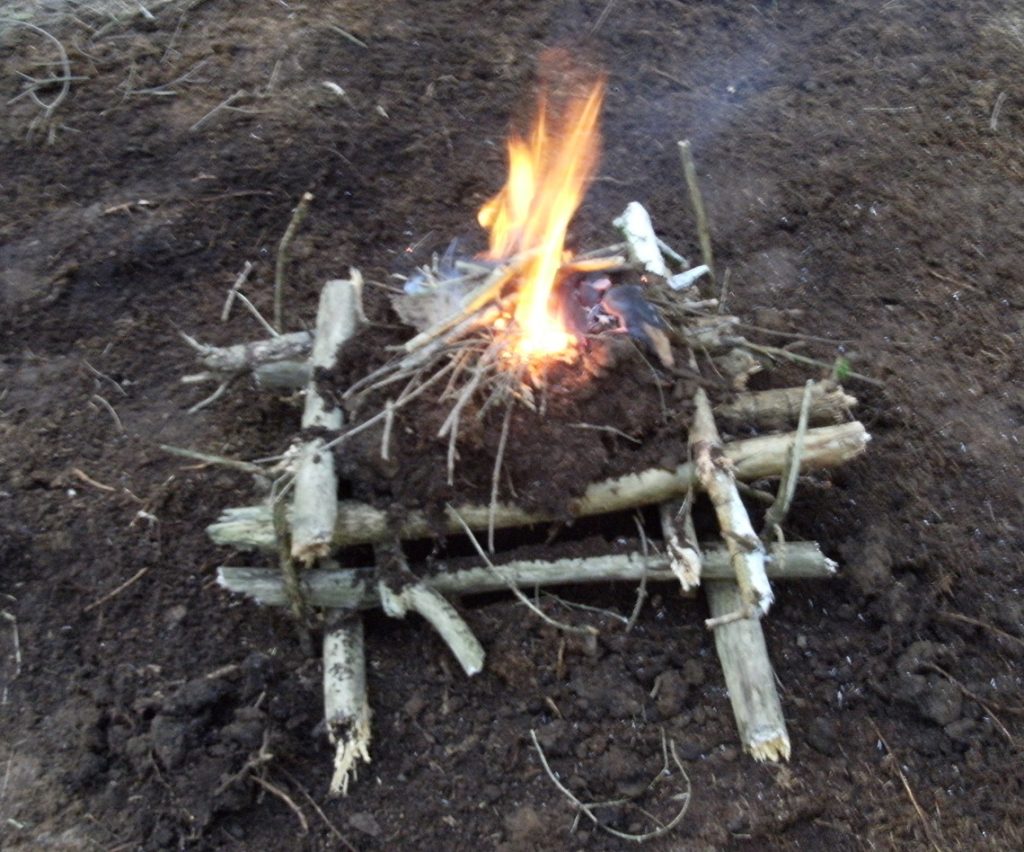
Building a fire on wet or marshy ground also requires a raised fire, this time to keep the fuel out of the water!
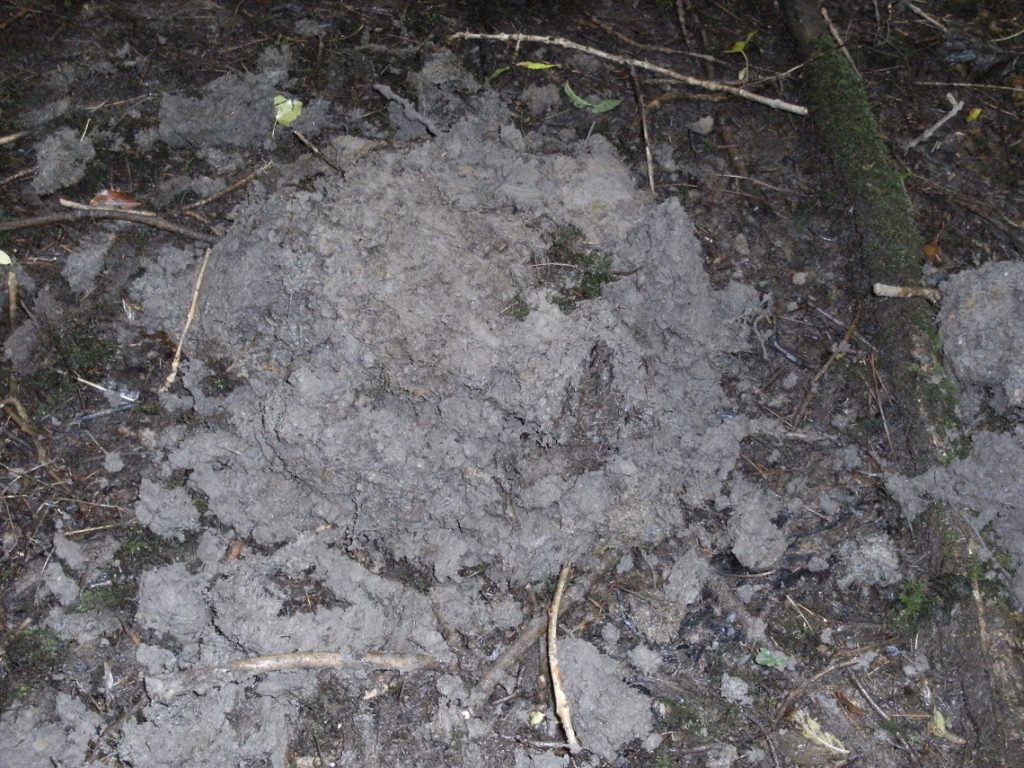
Choose a site on the firmest ground you can find and build a mound of mud bound with vegetation on this, raising the firebase as high as you think sensible. The higher you go the wider your mound will need to be. Bring your materials from some distance from your chosen site or you may end up creating more of a bog around your fire!
 |
 |
 |
|---|---|---|
| Build a mound of dirt | Build a platform of logs on top | Start building your fire as the last layer |
Build a deep platform of logs on top of the mound and your fire on top of this. Hopefully, your fire will be out of the wet and will burn well.
In snow
To build a fire on snow or ice you will need to either clear any powder snow away to expose the ground or compact any snow to a hard layer. A deep insulating layer of brush and/or logs is then needed to support your fire platform. Choose the greenest wood you can find as this is not intended to burn but to stop your fire from sinking into the snow or ice and being doused by the melt!
On top of the insulating layer build a broad solid platform of green logs as a firebase and build your fire on top of this.
The longer the fire burns, the deeper it will sink, so either have lots of insulation for it or only let it burn when it is really needed.
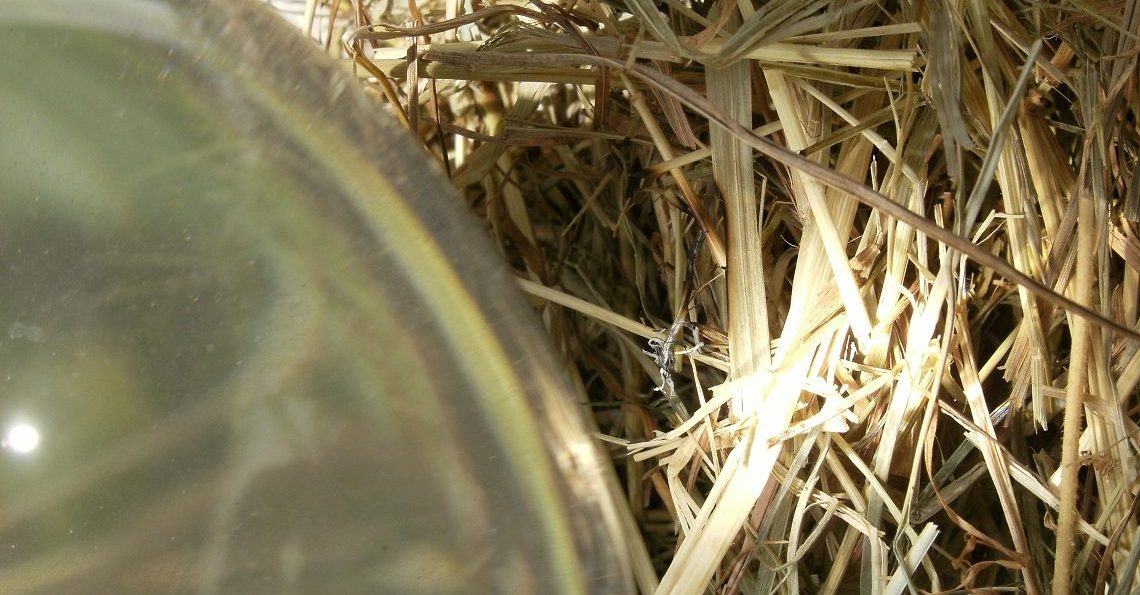
The Condom Fire Starter
A condom may seem like an unlikely source of fire, but it can be used as a burning lens if filled with water. Some more malleable poly bags can also be used in the same way – but condoms are much better.
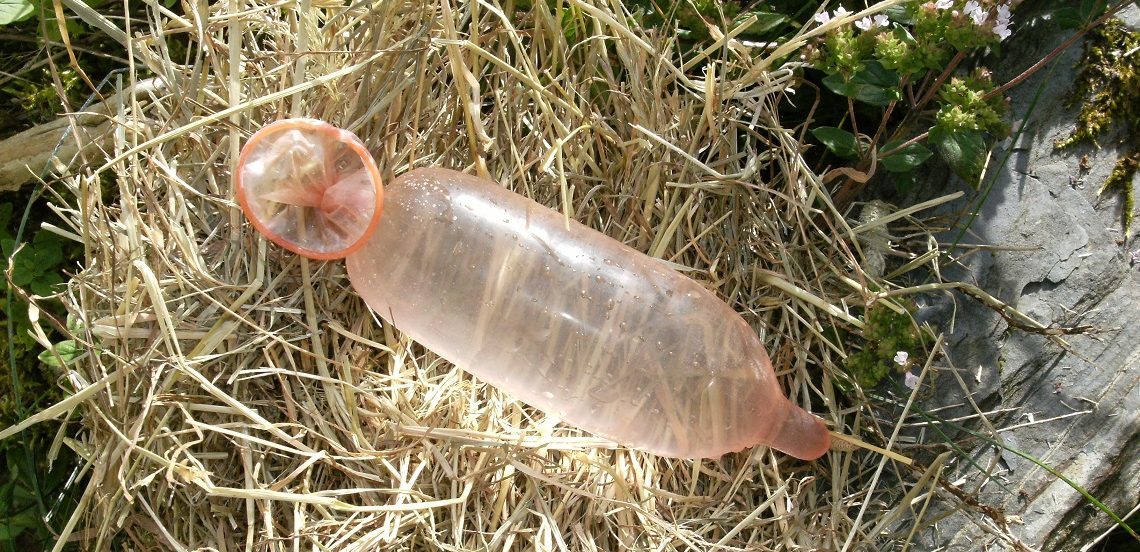 1. Half fill the condom with water 1. Half fill the condom with water |
 2. Squeeze it into a waterbomb-like shape 2. Squeeze it into a waterbomb-like shape |
|---|
Simply part fill the condom with water and squeeze the rubber to form a spherical ‘water bomb’ through which you can focus the sun’s rays onto your prepared tinder (condoms are built to take rough treatment and should not burst as easily as poly bags treated the same way).
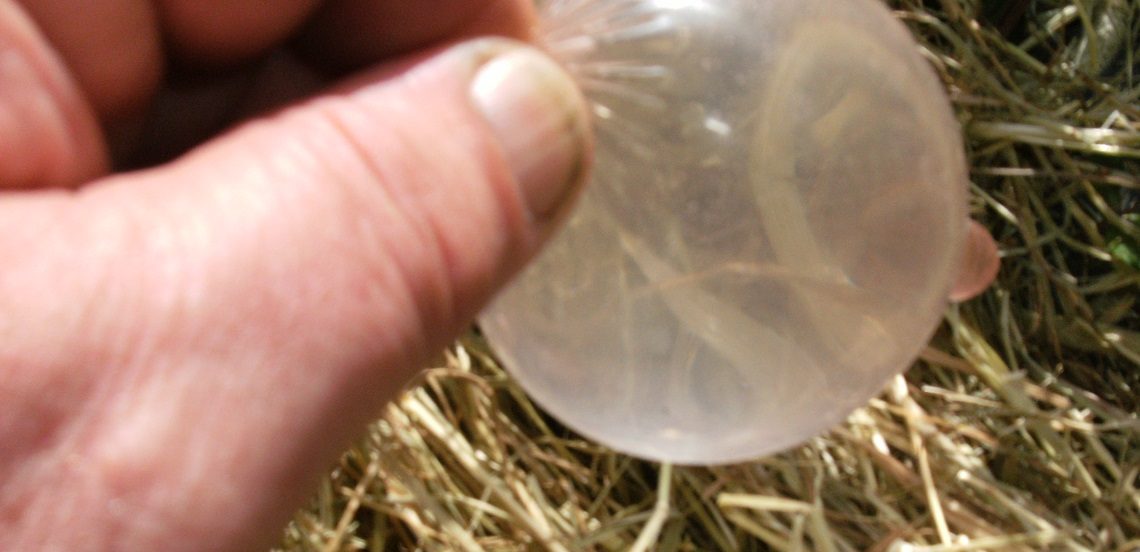
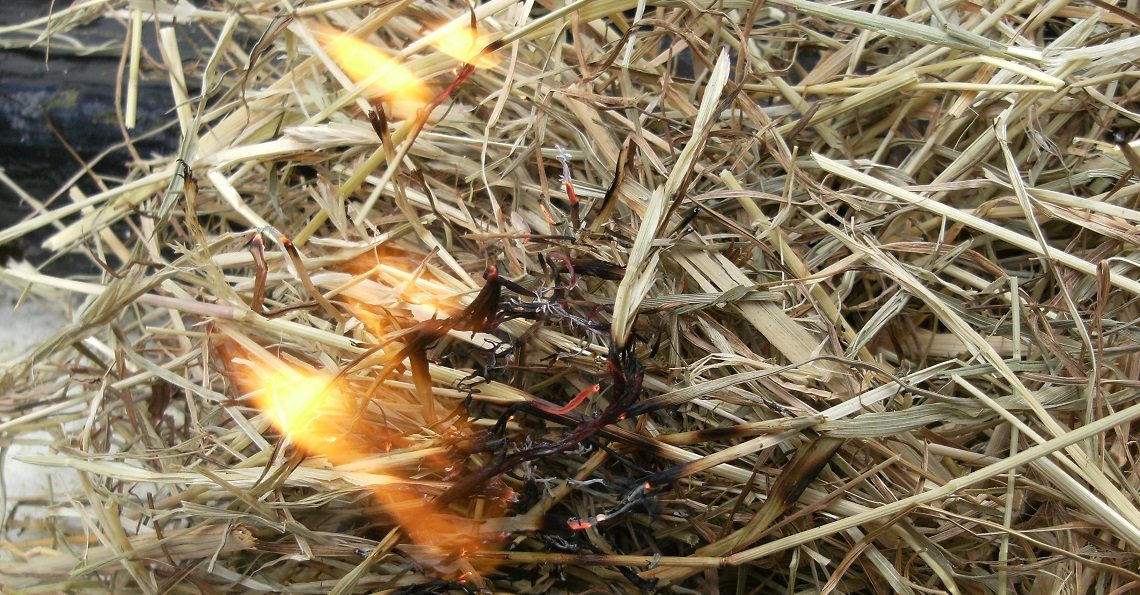
The tighter you can focus the ‘hot spot’, the sooner you will get smoke rising and an ember appearing. You may even get the tinder to burst into flame, but once you have an ember you can blow the tinder to flame.
 3. Focus sunbeams through the clear water 3. Focus sunbeams through the clear water |
 4. Tighter you can focus the ‘hot spot’ the sooner you’ll have fire 4. Tighter you can focus the ‘hot spot’ the sooner you’ll have fire |
|---|
The clearer the water you use and the less coloured the condom and the brighter the sun, the easier it all is. Be careful not to hold the condom too close once you get fire…burst it and the water will douse your fire!
Jokes like – Do you smoke after sex? No, but sometimes I burn a little! – are not appreciated.
Drinks from Trees
Trees live by pumping water, full of nutrients, up from the ground through their trunks and out to the air. During this process, the nutrients are left in the tree and water evaporates through the leaves.
Some trees, such as maple, sycamore and birch, can be tapped for their sap, especially in spring when the sap starts flowing again after a winter lull. Maple sap is especially high in sugars and is famously boiled down to make maple syrup. You can also make birch sap syrup and (one of my favourites) birch sap wine, both very tasty treats, but the sap straight from the tree is a refreshing drink when water is scarce. Sycamore is good too.
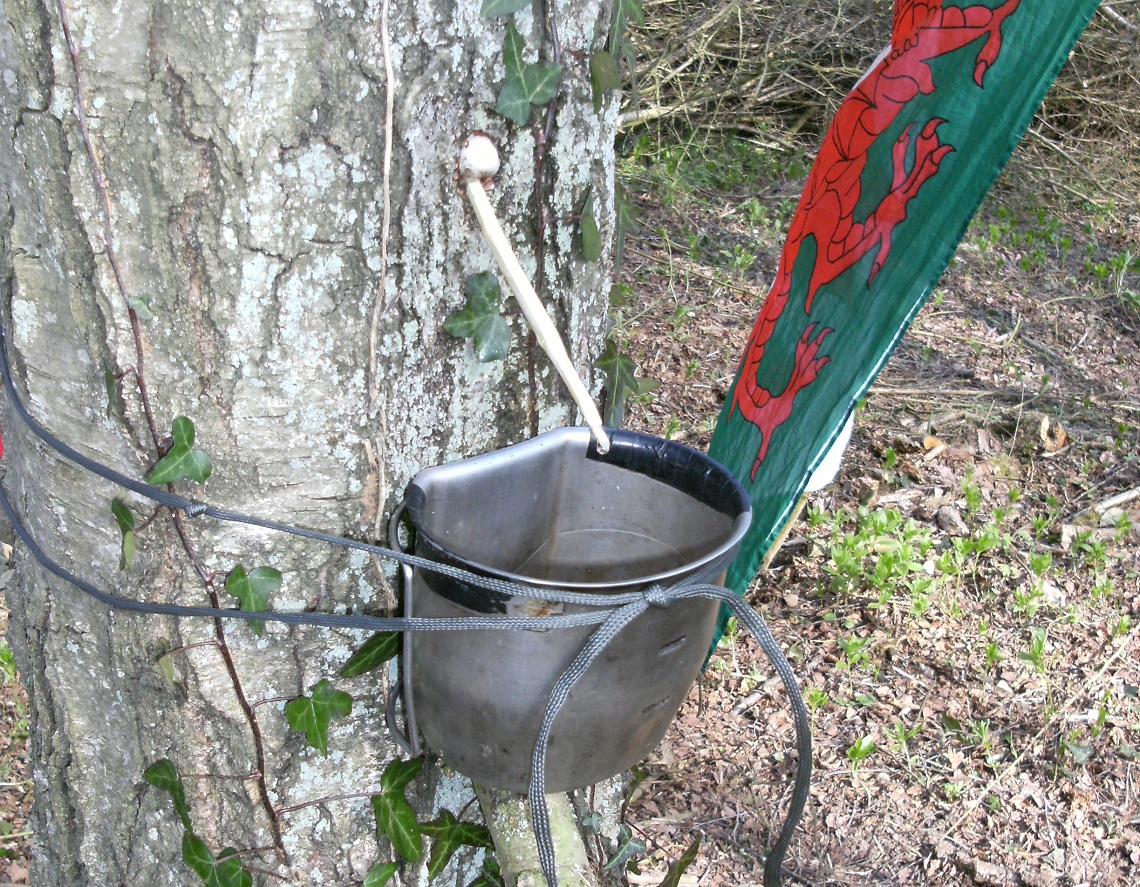
 1. Create a small wound in the tree and direct the sap into a collecting vessel 1. Create a small wound in the tree and direct the sap into a collecting vessel |
 2. Sticks can be used to direct sap 2. Sticks can be used to direct sap |
|---|
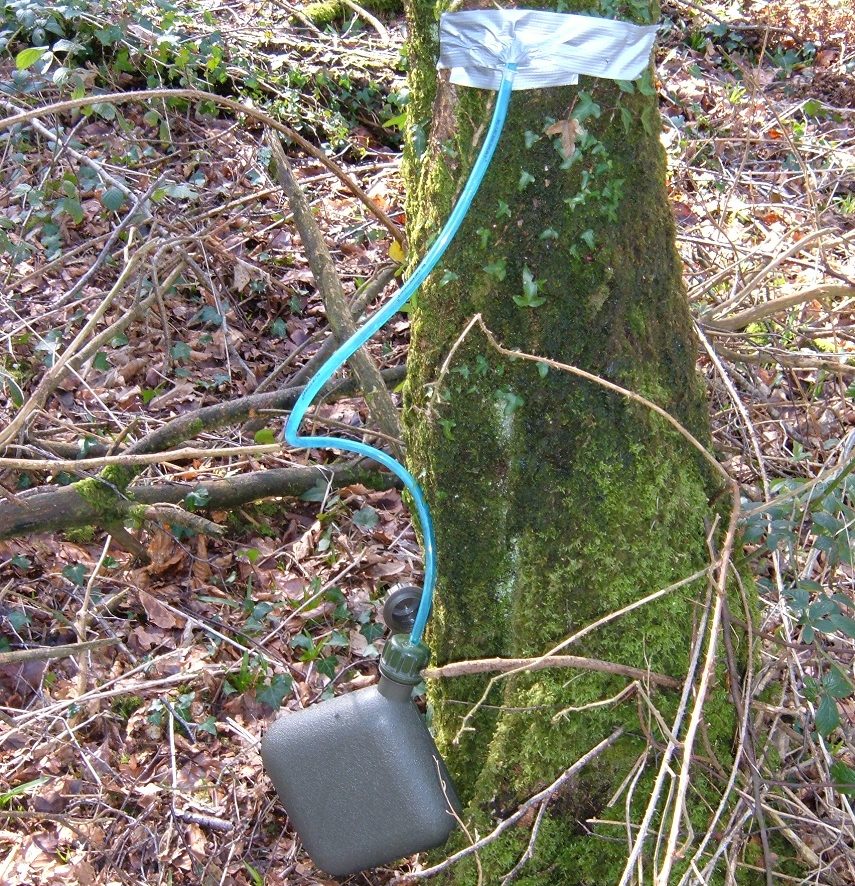
To tap a tree for sap, push your knife in under the bark to create a small wound and insert a twig to direct the drips into a collecting vessel. To collect large amounts of sap, drill a hole and fit a tube (as found in hydration system sets) to a large container. I have collected up to half a gallon in a day from one tree!
 3. When there’s no sap poly bag a group of leaves 3. When there’s no sap poly bag a group of leaves |
 4. Water will collect quickly 4. Water will collect quickly |
|---|
Seal the wound in the tree with a wooden plug carved to shape and do not take more than half a gallon per tree.
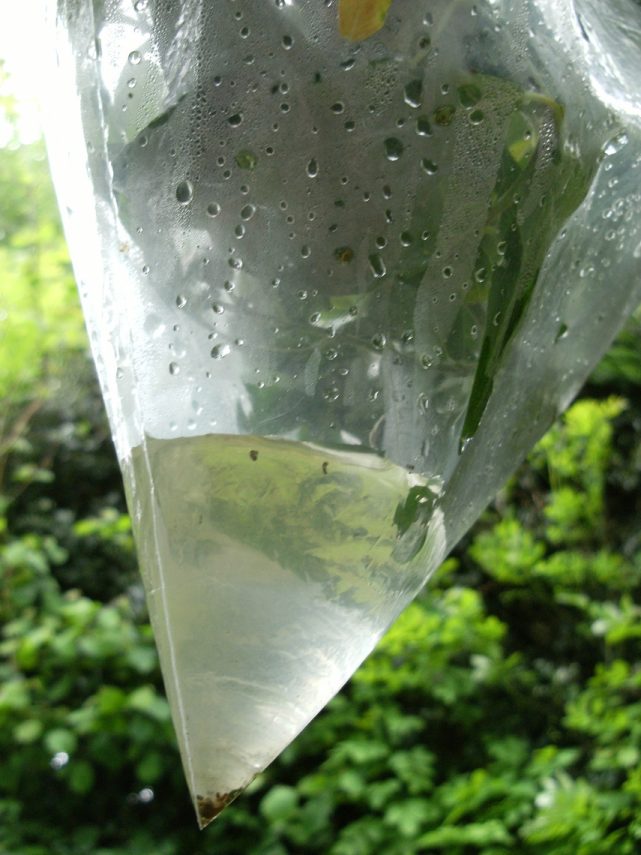
When the sap is not flowing well, you can collect the water evaporating from tree leaves by simply putting a large poly bag over a leafy branch. Seal the opening and water will collect quite quickly. Change branches each day or the leaves start to rot.
