
IN YOUR ELEMENT
Fire and water are among your top priorities when it comes to survival, but they may not be easy to come by. Some basic caveman skills are what you need and luckily John Fenna has the know-how…
Rubbing two sticks together is about as basic as it gets when it comes to making fire, but how simple is it to do really? Assuming your lighter’s lost and your matches have floated downstream post-stranding, a bow drill, or Indian violin as it’s sometimes called, could help save your sorry self from freezing, starving and could even help you get found. As with all things, preparation is the key to success. Have your fire laid ready to light, your tinder bundle ready to take the ember and the elements needed to make your bow drill all to hand before you start.
Looping the string around the drill
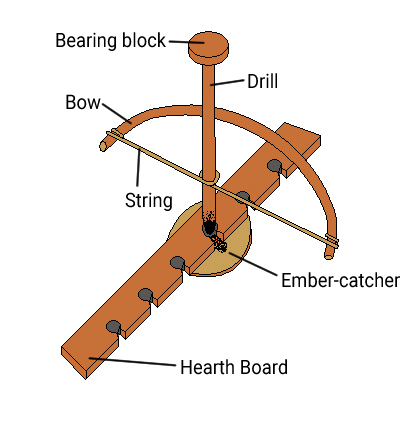
For the bow drill you will need:
■ The drill and hearth board can be of virtually any bone-dry seasoned wood – I like hazel on hazel, hazel on ivy, willow on lime, etc, but even pallet wood on pallet wood can work.
■ The branch used to make the bow needs to be fairly rigid and not too springy; the string shouldn’t have too much give either. Bootlaces or paracord work well.
■ The bearing block is best made from hardwood, and the ember-catcher from a sliver of dry wood, birch bark or other flattish, dry material.
■ In very wet conditions everything needs to be kept undercover and your bow drill set-up insulated from the cold and damp of the ground.
1 To make the bow drill
■ Find a seasoned branch of your chosen wood 6-12″ long. It should be relatively smooth and straight without knobbles or knots. Carve it to a dome at one end and a point at the other. Next, seek out some suitable seasoned wood for the hearth board. It should be about 12″ long, half an inch thick and at least twice as wide as the end of the dome of your drill.
■ Once you’ve found the ideal branch for your bow, attach the string to it at both ends. It should be just tight enough that it can be looped around the drill with a twist.
■ Your bearing block needs to be of hardwood such as oak. Cut a small depression in the centre of the bearing block to take the pointy end of the drill. Next, cut a small depression in the hearth board about half the drill width from the edge, to take the domed end of the drill.
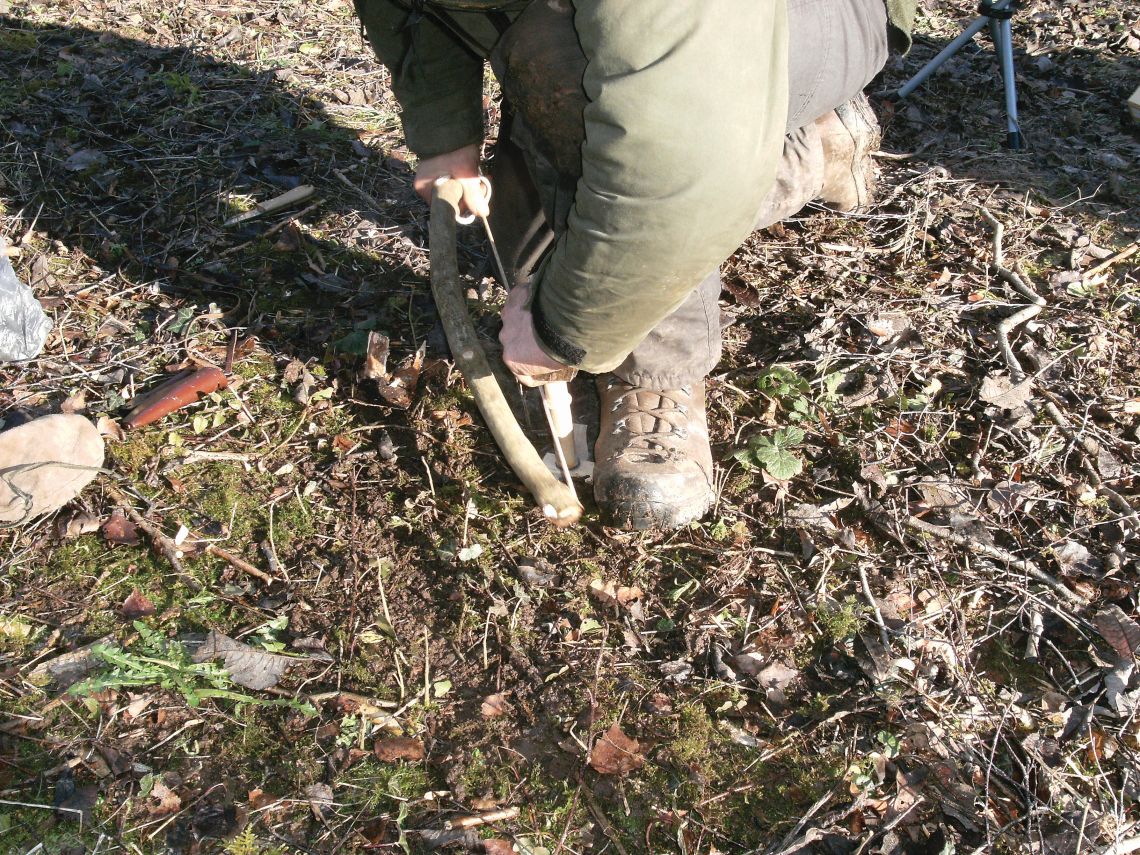
■ Assuming you’re right-handed, kneel on your right knee and trap the hearth board under your left foot. Take a twist of the cord around the drill and hold the bow in your right hand and the bearing block in your left. Place the domed end of the drill into the depression in the hearth board, the pointy end in the depression in the bearing block and brace your left arm on your left knee.
■ Start a sawing motion with the bow. Keep pressure on the bearing block until you see smoke rising and black dust appearing around the edge of the drill.
■ Stop sawing! There’s more to do before you can make fire. First, you need to make an access point in your hearth where the black dust or ‘char’ will collect and form your embers. To do this, cut a narrow ‘pie slice’ nick into the side of the hearth. The tip of the ‘pie’ should be just short of the centre of the depression made by the drill and the wedge end should just break the edge of the hearth.
2 How to use the bow drill
■ Now you’re ready for some serious sawing. Reset your bow and slip the slivers of dry wood you’ve gathered to catch the embers under the nick you’ve created in the hearth. Saw steadily until you get lots of smoke, then go faster, pressing down harder on the bearing block until there’s even more smoke.
■ Next, gently remove the drill and step off the hearth board without disturbing the char. If the smoke stops – start sawing again! If the smoke continues – you have an ember!
■ Gently fan the char until you see it glow, then remove the hearth board from the ember-catcher, taking care not to break up the char. Place the ember in the tinder bundle you’ve prepared and gently blow it into flame, then use this to light your fire.
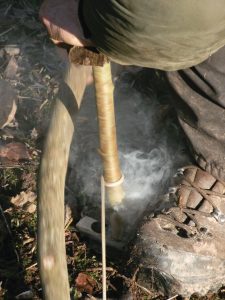
Smokin’ hot! |
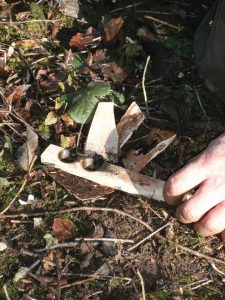
Lots of char |
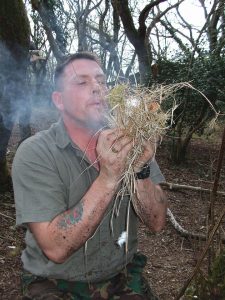
Gently blow the tinder bundle into flame |
|---|
Troubleshooting
■ The drill keeps flying away: Too much string tension and hard sawing with too little pressure on the bearing block
■ The bearing block starts smoking: Lubricate it with grease or leaves
■ The set-up squeaks: Roughen your drill as it’s getting ‘glazed’ and won’t deliver enough friction to generate embers
■ You get too tired to continue: Take a break after every three attempts; until you get the feel for the bow drill, it can be exhausting
■ You overheat: Strip down. This is warm work and not to be rushed. The very first ember I created with a bow drill was extinguished by a drop of my own sweat!
Drinking water from seawater
The simplest way to get drinking water from seawater is to distil it.
To make a sill you will need:
■ Two receptacles (one metal)
■ Some tubing
■ Scrap aluminium
■ String
■ Chewing gum or similar
——————————
■ Cut the piece of aluminium and batter it into shape to fit the metal container as a lid. Punch a hole in it to take tubing. You may also want to punch another hole in your lid, to allow you to fix in some kind of wooden handle. This will make refilling it easier.
■ Use chewing gum or something similar to form a seal around the tube into the lid and also as a gasket to give a good seal between the receptacle and lid.
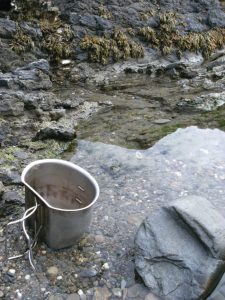
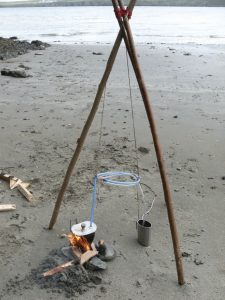
■ Next, build a tripod to support the tubing; place the metal receptacle filled with seawater underneath it and the other receptacle under the other end of the tubing.
■ Build a small, hot fire and place the metal receptacle filled with seawater on it. As the seawater boils, steam will travel up the hose, condense in the tubing, and drip into the small mug, leaving the salt behind in the metal container. The water that comes out of the tubing should be drinkable.