

The tool making home tyre changes a whole lot easier
When it comes to working on your motorcycle at home, there are few trickier or more daunting jobs for a first-timer to tackle than changing your tyres. And, even when you get the hang of it, the task remains a time-consuming one.
Of course, you can visit a professional if you don’t want to faff around with tyre levers, scraped knuckles, and the dreaded task of breaking the bead. But then you’ll have to part with your hard-earned cash while watching a specialised machine make light work of the job, all the while thinking to yourself: ‘If only that was in my garage…’
That’s where the Rabaconda ADV Tyre Changer comes in. Originally designed with speedy tyre changes at enduro and motocross race weekends in mind, it also works with the tyres of road-going bikes, making it the ideal tool for bikers in search of a quick and easy way to change their motorcycle tyres at home.

But, how easy does it make changing your tyres at home? I set up the tyre changer in the ABR office to find out.

Change your motorcycle tyres at home
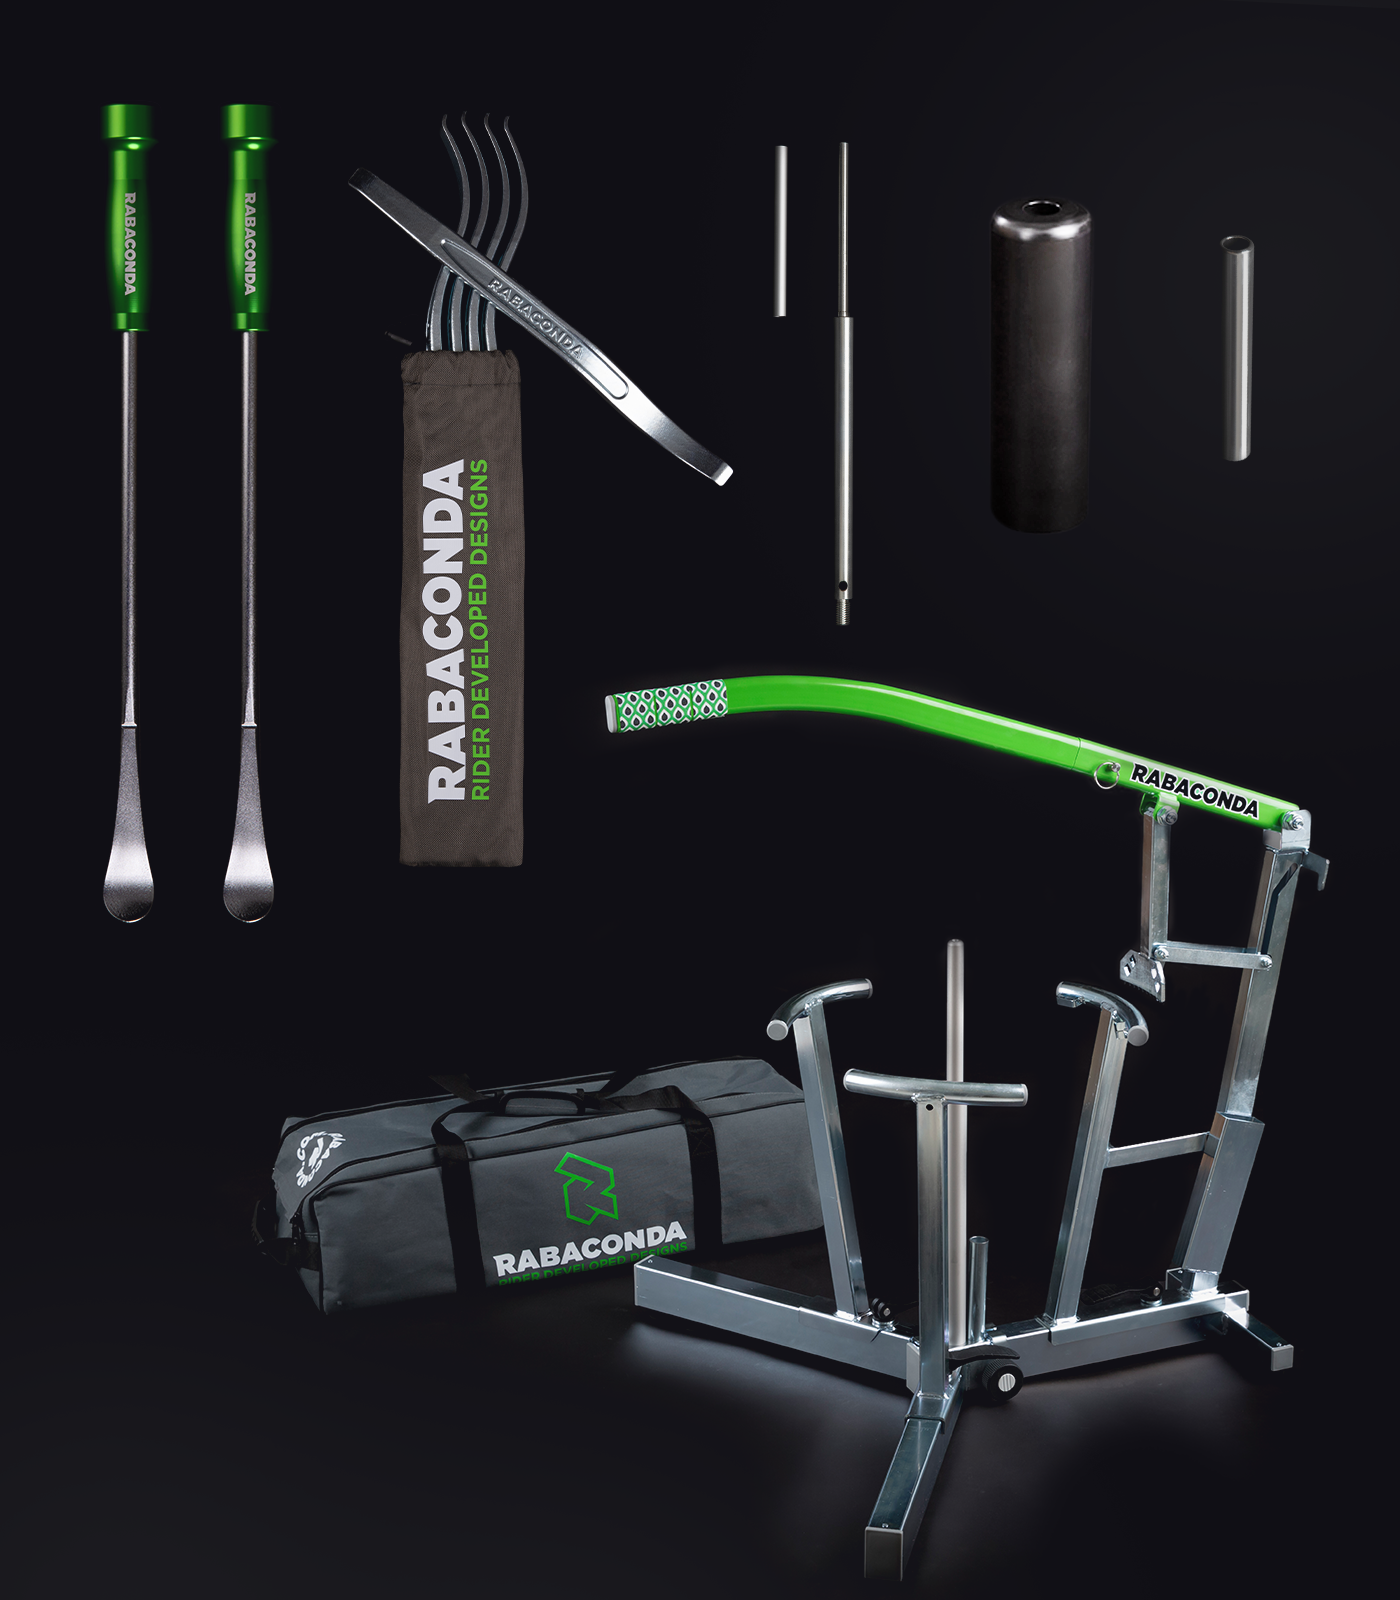
Putting the lightweight unit together for the first time is a doddle, although that doesn’t come as a surprise given that it’s designed to be portable enough to throw in the back of your car or trailer for weekend events. This also makes it ideal if you’re short on space in your home garage and need to take it apart for storage.
Once assembled, the Rabaconda is reassuringly sturdy and well-built. I was also pleased to find that everything is at a good height, and there’s no need to wrestle with tyre levers and the wheel while you’re stooped over or on your knees.
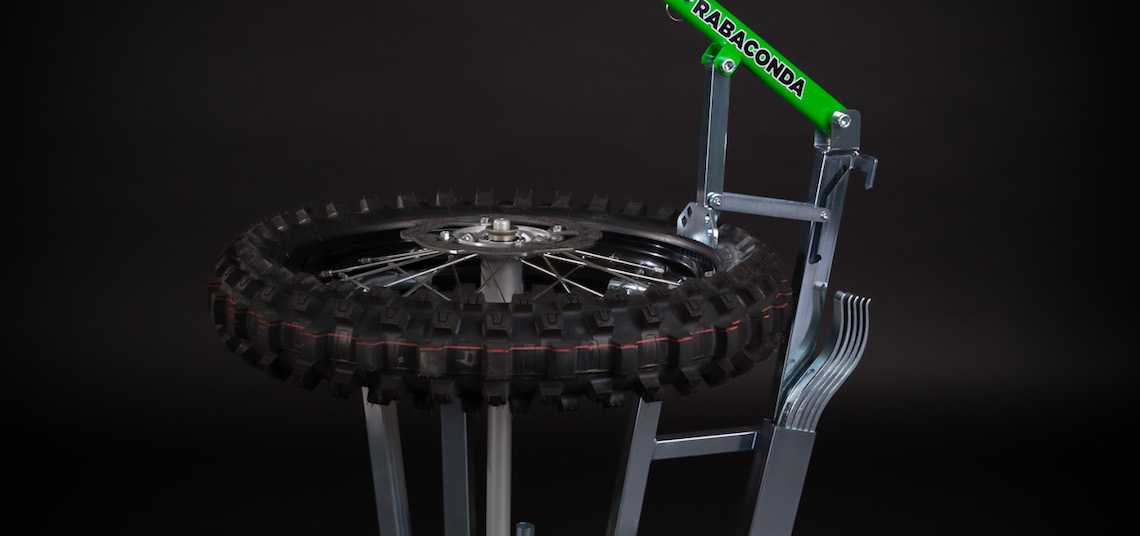
Once I’ve removed the wheel from my bike, the next step is to adjust the three base supports to match the rim size using the handy engraved markers on each leg (for example, to match a 21-inch front tyre). I then place the wheel hub through the supporting spindle in the centre of the machine and rest the spokes on the supports. There’s no need to worry that your wheel won’t fit either, as the kit includes a number of different adapters, including an extra large one for shaft-driven rear wheels (think: BMW’s R 1250 GS).
Then it’s time to break the bead, which is usually a task that involves a fair bit of effort. Happily, the long-handled bead breaker on the tyre changer handles it with ease, and I can spin the tyre around on the spindle to continue the process the entire way around.
After using the included tyre levers to pull the bead to the outside of the rim, it’s time to remove the tube (if fitted, it also works with tubeless tyres, such as those fitted on my Triumph Tiger 850 Sport) and get the tyre completely off. I do this by taking the tyre off the spindle, flipping it over and then reseating it on the spindle, before using the bead breaker to push the tyre completely off the rim.
Fitting the new tyre
With the old tyre chucked to one side, I grab my new one, make sure it’s going to be facing in the right direction when fitted, rub the bead down with some lubricant or soapy water, and push the first side of the tyre down onto the rim from above. It’s worth noting that Rabaconda recommends fitting a tube (if you’re running tubed tyres) before pushing the tyre onto the rim, by lightly inflating it and positioning the valve stem correctly, to make life easier during the next step.
You can then use the tyre levers and the spindle to rotate the tyre around, seating as much of the final bead on the tyre as you can by hand. With a small final section left, I grab the handle and bring the bead breaker down to pop the final bit of bead on, check it’s seated all around, and then inflate the tyre.
And then, job done! It’s a process that Rabaconda reckons should take around three minutes, although I may leave my record-breaking attempts until I get a little more familiar with the process. Nevertheless, it’s a quick and easy task with the revolving spindle and the bead breaker proving particularly useful in getting the job done.
It’s worth noting here that the tyre changer is primarily designed for spoked tyres, with Rabaconda warning that the metal supports for the rim could scratch cast alloy wheels. However, as the Triumph Tiger 850 Sport I’m riding at the moment has cast alloy wheels, I’ve covered the tops of the supports on our own tyre changer with foam pipe protectors to allow me to change the tyres myself without causing any cosmetic damage.
Rabaconda ADV Tyre Changer
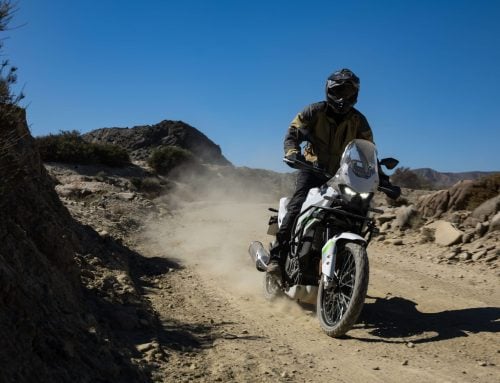
After setting up our own tyre changer, I was reminded of a conversation that the team had a few weeks back. We were talking about that big C-word when it comes to buying tyres, compromise. Like most adventure bikers, we tend to look for a tyre that can perform equally well on and off-road to handle the varied riding that it’ll see during its lifespan, from greenlaning to motorway miles, and everything in between.
With a home tyre changer, that becomes less of an issue. Now I can own two sets of tyres and switch between the two with ease without paying each time for the privilege; an aggressive pair for green laning and a fully road-focussed tyre for my tarmac tours and weekends carving through country lanes.
You can pick up your own Rabaconda ADV Tyre Changer online today. It costs around £340 (the price is in Euros), which means that, judging from my recent visits to garages, you’ll be saving money after just a handful of motorcycle tyre changes at home.


