

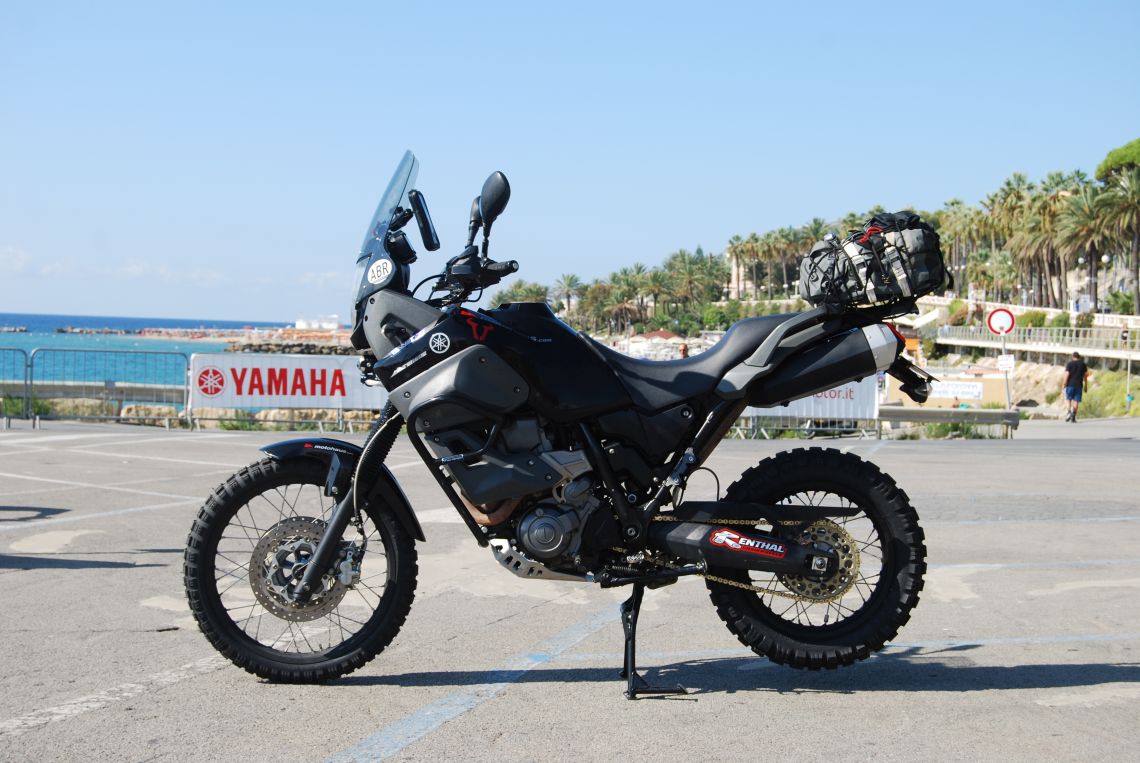
In a bid to make his Yamaha Tenere fit for the Hard Alpi endurance event, Julian Challis gets his head in the shed to make some final adjustments
Time for the fourth instalment of Project Tenere and it’s the final big push before going ‘over the top’ and taking on the Hard Alpi Extreme Tour.
If you’ve been following this series of articles, then you’ll be aware that this event was to be the test for the uprated Yamaha once the fettling had been done, and with nearly 550 miles over two nights to ride, getting things right took on a clear focus.
So, the final raft of changes were about making the bike last the distance and deliver me from start to finish without issues.
The Process
To begin with, it was time to uprate the drive train. The bike had come to me with standard gearing and, by the look of it, the same chain and sprockets that it had left the factory with. I’d already slung on a conveniently spare chain that I’d found in my spares box, but this was just a temporary stand-in as I wanted to change the whole lot in one fell swoop, so it was time to get shopping.
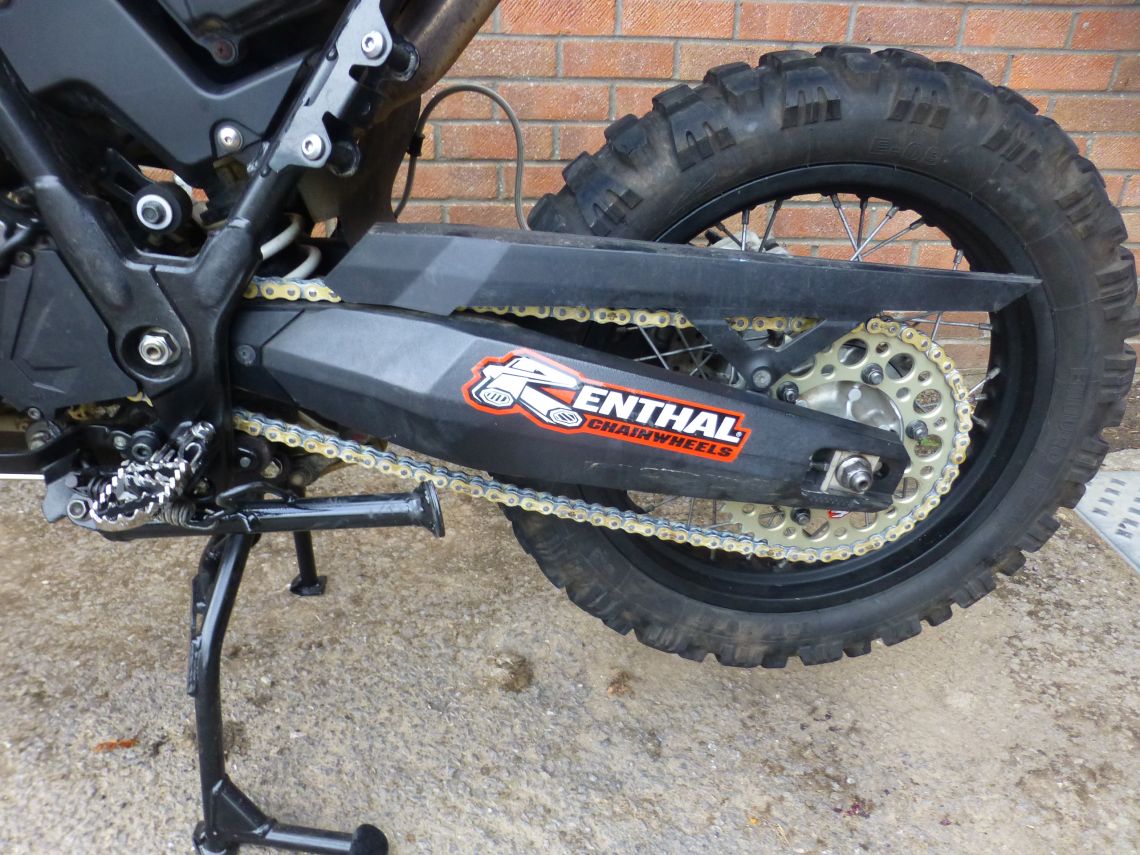
There was only one choice for the new chain and sprockets and that was, obviously, a British company and all-round market leader Renthal. I think I must have had Renthal products on every one of my bikes since I started racing at the age of 12, and there seems little point in changing that now.
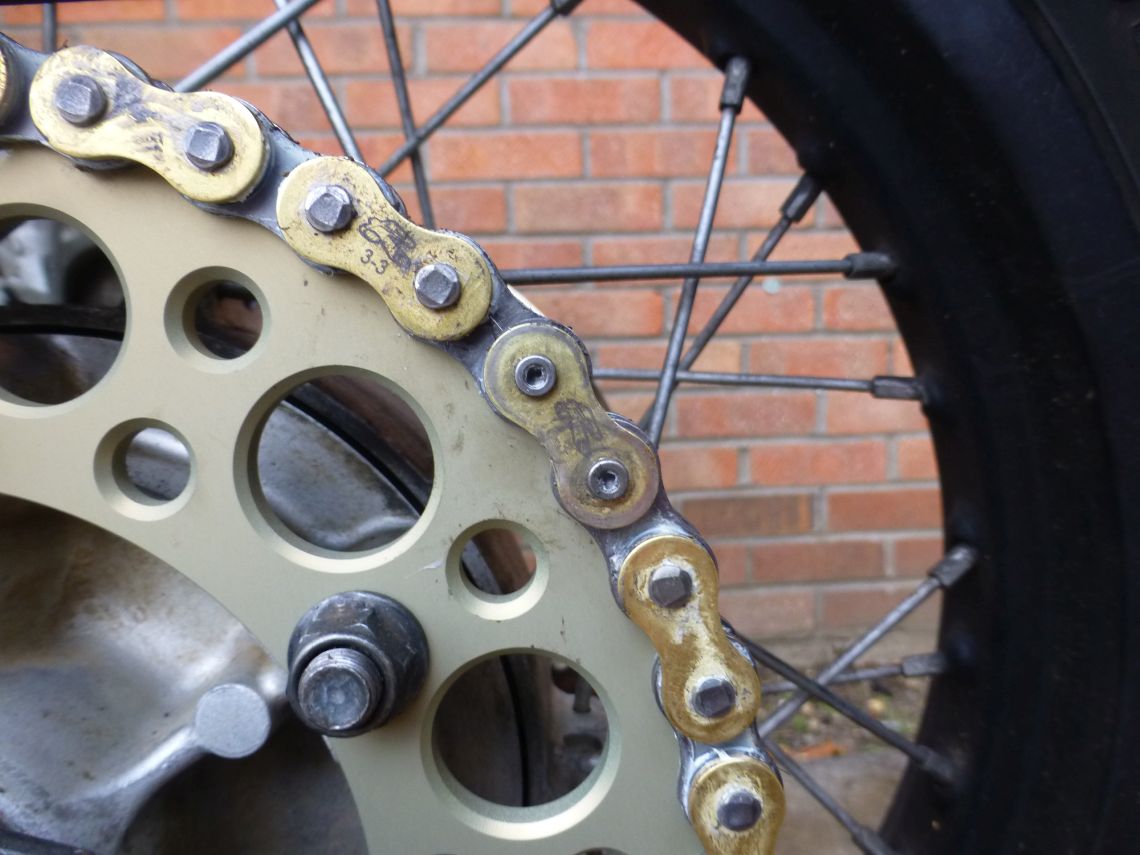
So, I got searching on the website and found that an Ultralite 47 tooth rear and 15 tooth steel front would match the original spec as I didn’t want to change the already suitable gearing. Matched to this, I ordered an R3 road chain, which would be best for on and off-road duties.
While waiting for the order to arrive, I popped down to Fowlers in Bristol to get a new set of cush drive rubbers as there’s little point in uprating the drive system if they’re not at their best, and I already knew mine needed help.
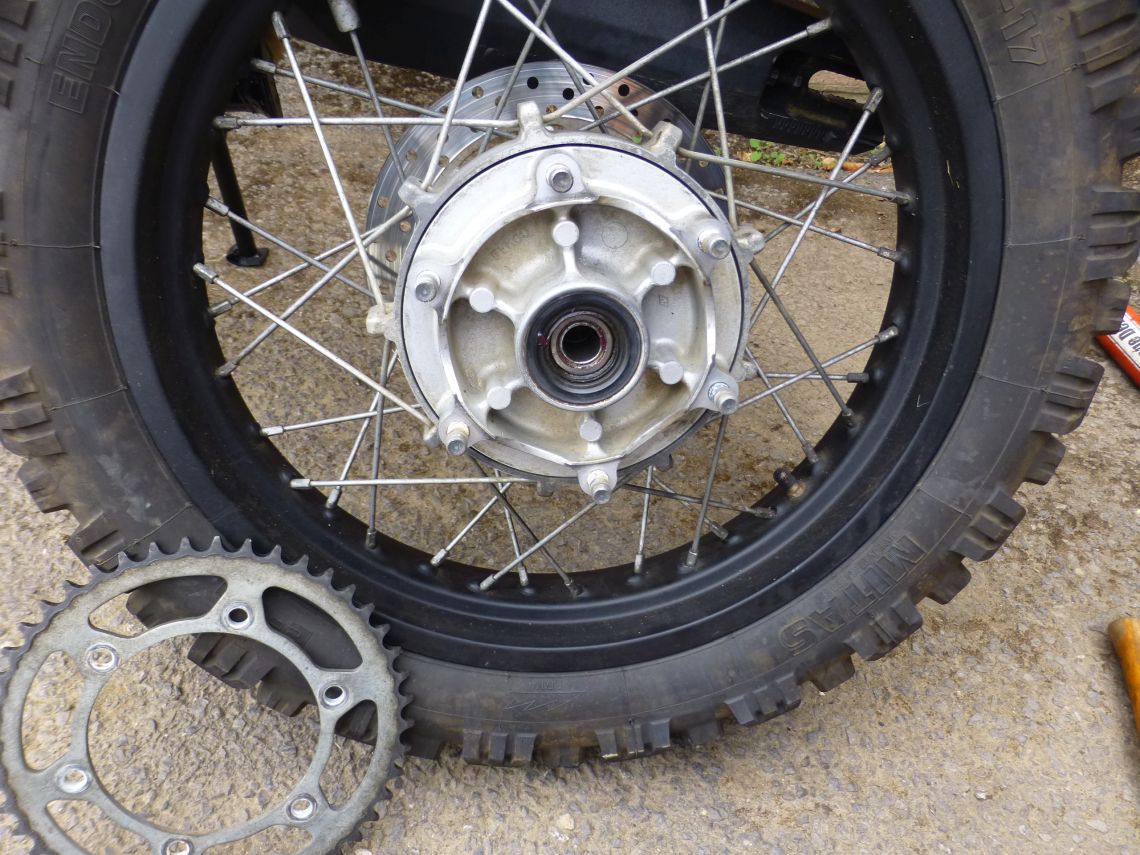
Fitting the new sprocket
A few days later, a pleasingly heavy box of parts arrived courtesy of our overworked postie and garage time was called for. This time, I was super organised and rather than remove the chain and wheels (now much easier thanks to the SW Motech centre stand I fitted last issue) only to find out I couldn’t undo the front sprocket bolt, I played it smart.
First, I removed the front cover, tapped down the tab washer and then rode up to the local garage with the correct size socket and got them to undo the nut with the air wrench. After lightly tightening the nut back up, I could ride home, loosen the rear and front sprocket nuts, remove the chain and wheel and then take off both sprockets without effort. Result. Replacing the parts was simple after that.
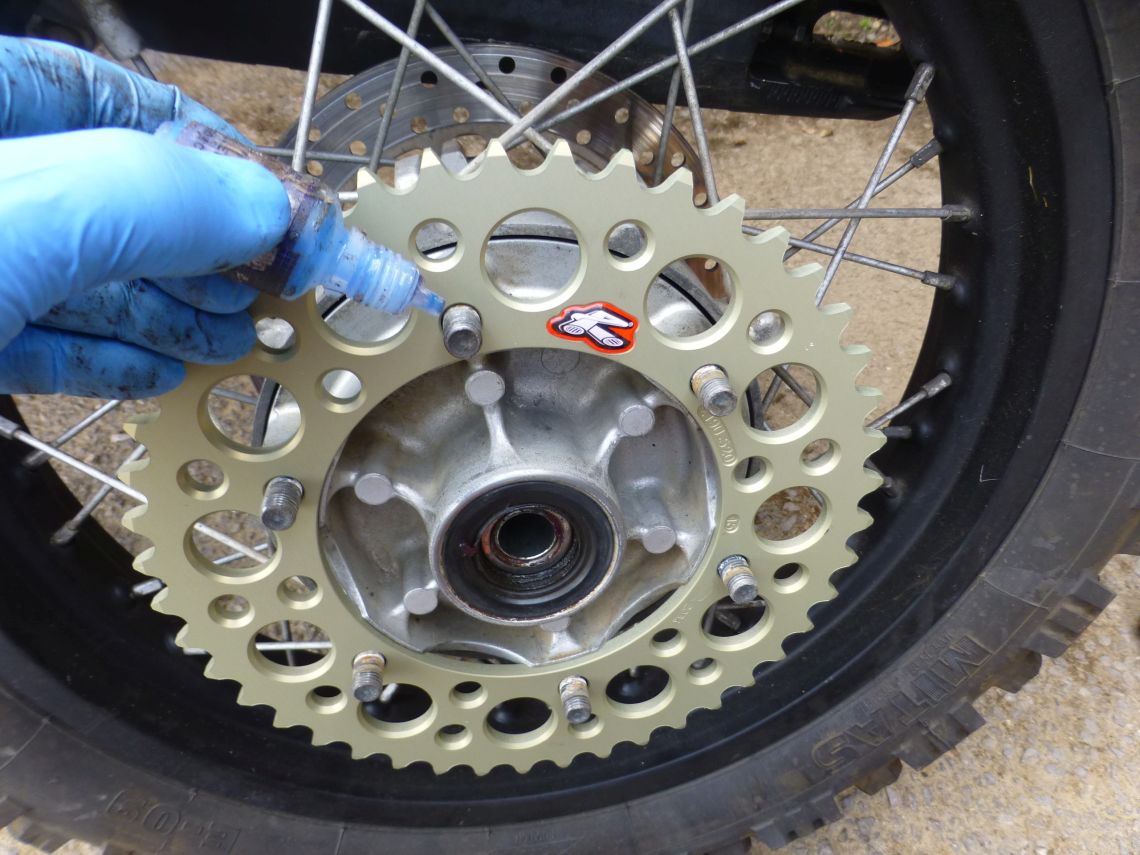
Much better
The cush drive rubbers were inserted, sprocket carrier replaced and rear chainwheel slotted into place with the bolts finger tight. The front was treated the same and then the wheel replaced prior to fitting the chain. Once correctly installed and the length made right, the fixed link was installed using a tried and trusted G clamp and slow pressure.
I know by now I should have a proper link press, but if it ain’t broke! After this, it was time to remove the rear sprocket nuts, add Loctite and torque them up in a cross pattern before tightening the front suitably and tapping down the lock washer tabs. The front doesn’t need to be super tight as there is little to no outward movement and the tab stops the nut from loosening up. Job done.
The new chain in situ
At the same time as ordering the transmission parts, I’d also decided on uprating the brake pads to ensure that the bike would stop as well as it went, so again it was Renthal time and I chose the RC1 Works Sintered pads – nothing but the best for the Tenere. As I’d previously changed the brake lines to Venhill braided hoses and fully flushed and bled the brake systems front and rear, then fitting should have been a swift and easy process.
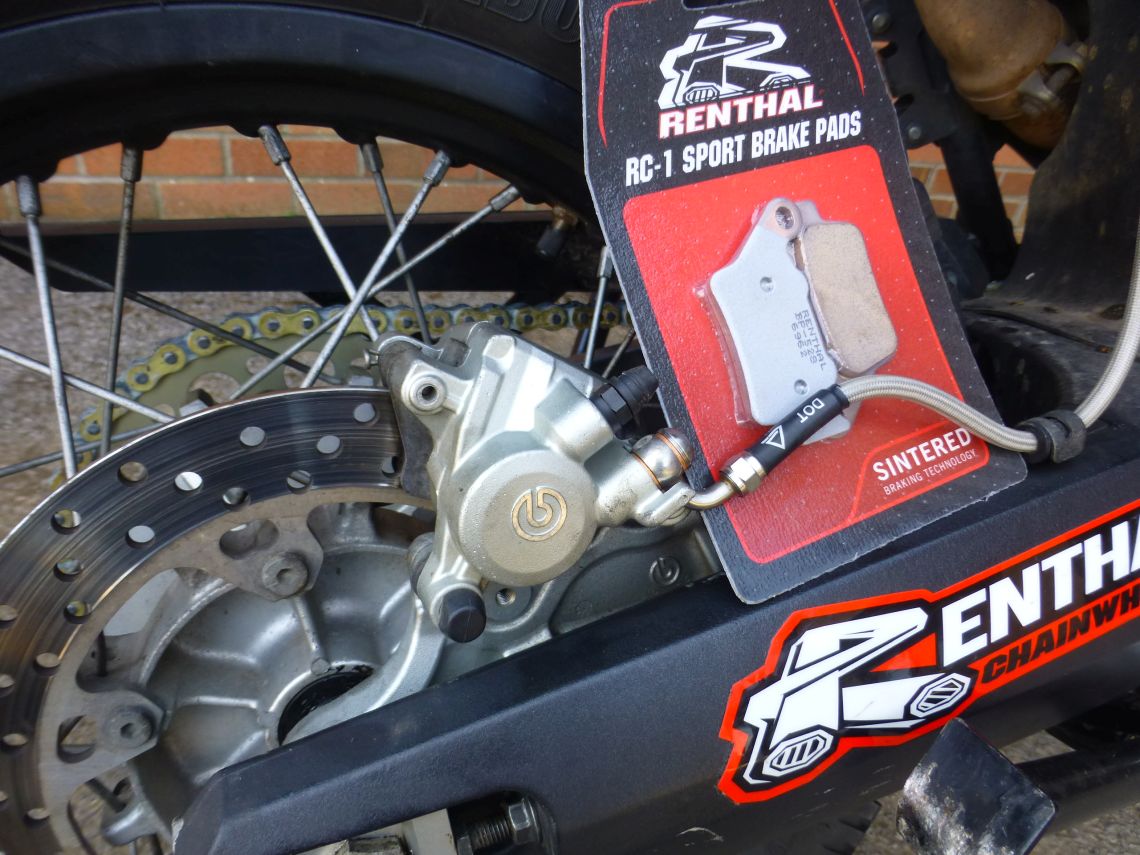
New brake pads ready to be fitted
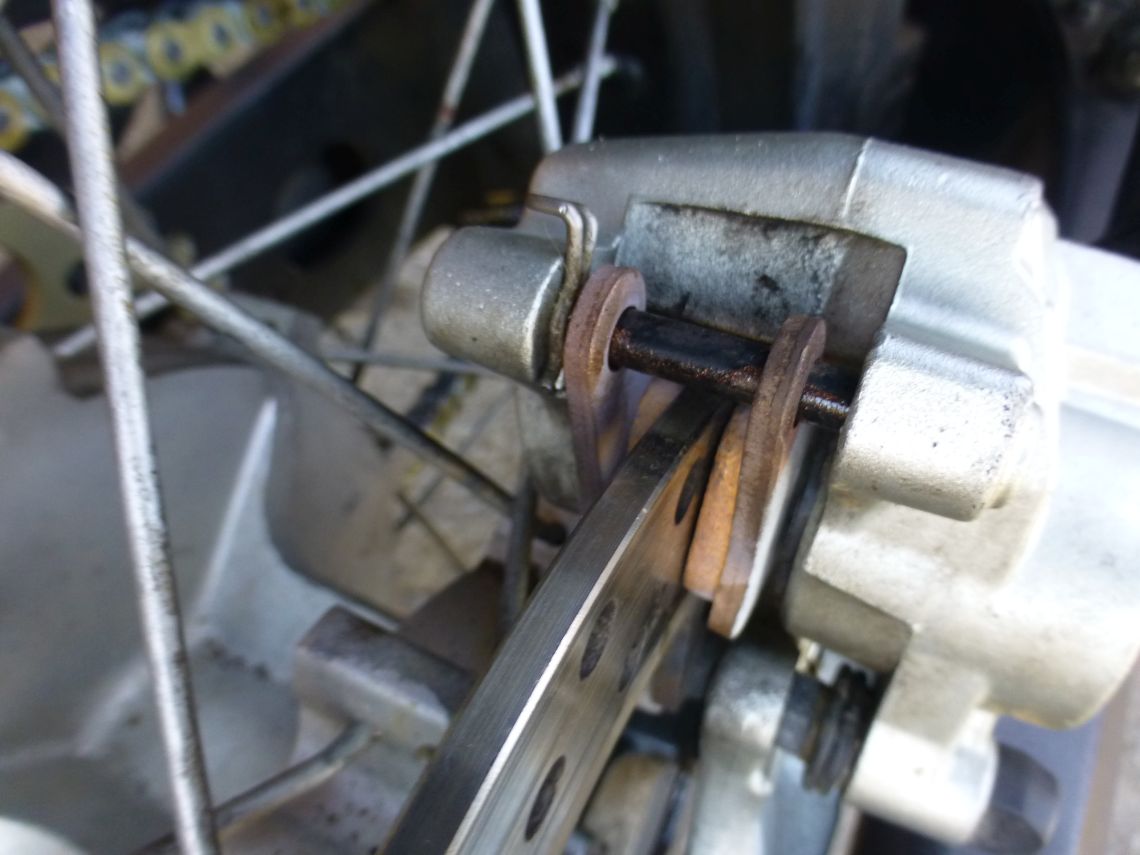
This would have been the case were it not for the effects of British weather on the pins that had successfully converted them into lumpy and corroded things rather than the smooth precision parts they should be. No matter, as ten or so minutes with the wire wheel and a couple of grades of emery paper saw them back to baby’s bottom smoothness.
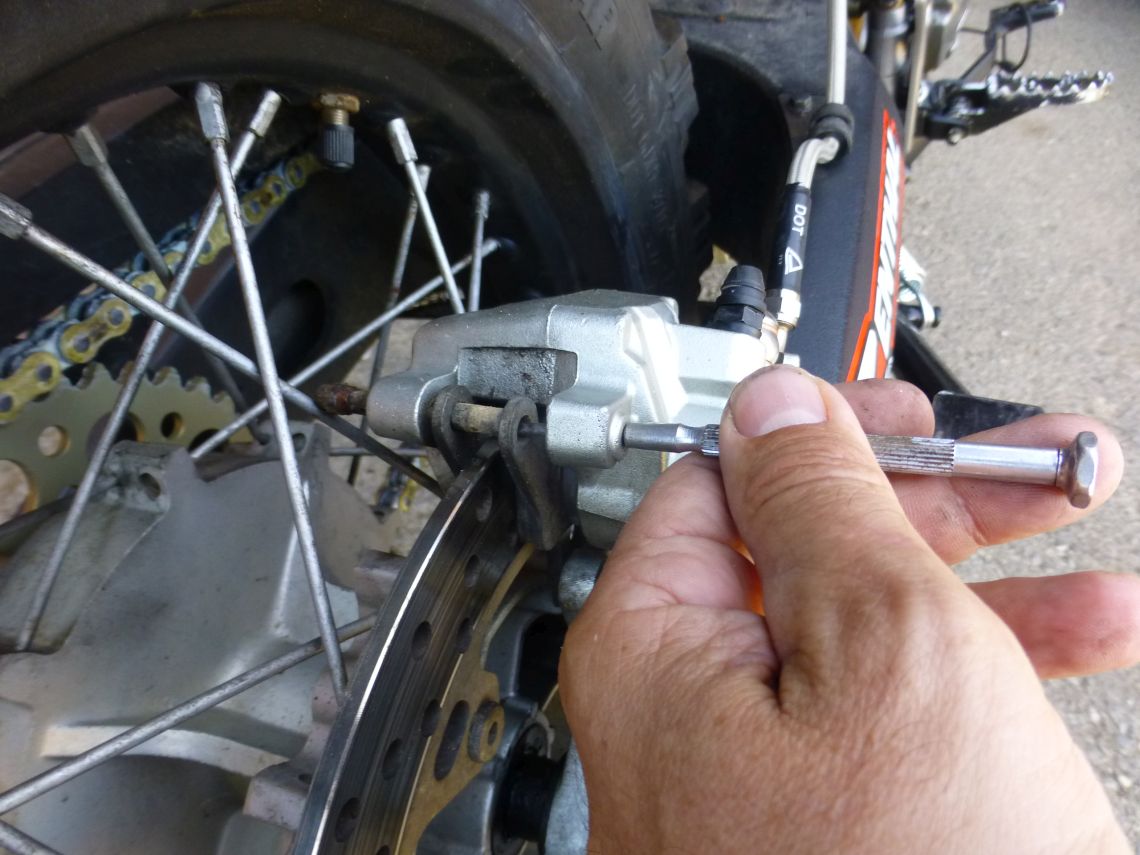
Removing the old ones
A dab of copper grease on them and onto the rear of the pads and anti-squeal plates and the pads were ready to be slotted back into place. Bedding them in over a twenty-minute blast around the lanes revealed the new sintered pads to be very effective but with a nice progressive feel – ideal for the challenge ahead.
Some real stopping power
Thinking ahead to the Hard Alpi event and the need not to carry additional weight if not entirely necessary, the rear SW Motech soft luggage racks were not going to serve any purpose. With the only luggage required being a set of waterproofs and a toolkit, I was hardly going to want the racks or the additional bulk and weight they gave to the rear of the bike, not to mention the space saving in the van on the way over. With the frames ditched, I was on the last lap of the preparation and thinking about additional lighting.
I’d ordered a set of LED lights from eBay for a staggeringly cheap £10, but when I’d looked at places to mount them, I was hard pushed to find anywhere on either side of the bike that was protected in the event of even the lightest of crash.
Not wanting to drill any of the stock panels left me head-scratching for a good few hours in the garage until I came to the idea of mounting just one of the lights from the central haul loop under the lower triple clamp.
Mounting underneath would mean that the light would get smacked by the mudguard fairly swiftly, but with a few spacers and longer bolts, I could lower the loop and fit the LED lamp above it and out of the way but with the added advantage that it pointed the same way as the handlebars, unlike the fairing-mounted headlights.
With the switch on the right-hand bar and the wiring spliced straight to the battery, the lamp was good to go. But there was still an opportunity to upgrade the existing lights, so again an eBay search revealed a pair of hyper bright Osram Night breaker bulbs which were a straight swap for the OEM dipped and high beam versions.
A night-time sortie revealed the bulbs and the spotlight to be every bit as good as hoped – job done. Now to tyres – you may recall that I’d not felt the love for the previous Mitas E09s that I’d tried in the winter, but still needed a good set for Italy.

The project
After a bit of research I decided to give the more chunky Mitas E10s a go, so thanks to the guys at Trelleborg and Classic Enduro, a new set was levered onto the Tenere’s rims, keeping the Bike Seal in the tubes. Seeing how hard the tyres were to fit in a workshop, I was hoping that the liquid kevlar did its job, as there was no way I was changing those bad boys on the side of a trail in the dark.
The final part before the bike was finished was to change the air filter that looked to have lived enough of a life to retire. Many Tenere websites enthuse about losing the top air filter boot and replacing with a free-flowing foam air filter element to make the bike breath freer and develop more power.
However, As I neither felt the bike was struggling or needed more power, I went for a straight swap which took about three minutes. So that was the bike done, finished and fettled and ready for action. Would I cross the finish line of the Hard Alpi Extreme tour triumphant with my trusty Tenere, or would I crash and burn in the depths of the Italian Alps? There was only one way to find out…
You can read the epic story of Julian’s Hard Alpi adventure experience on page 108.
