Here,I'll share what works for me. I use this method with my enduro motos as well as my XTZ.
Excel soft rims......scrapes.....I don't care as mine have the usual rusty XTZ spokes,two dings and one of the usual KTM type Excel rim cracks,going from the edge to the spoke.
Hopefully new riders to our type of riding and old alike,can take from it what they wish.
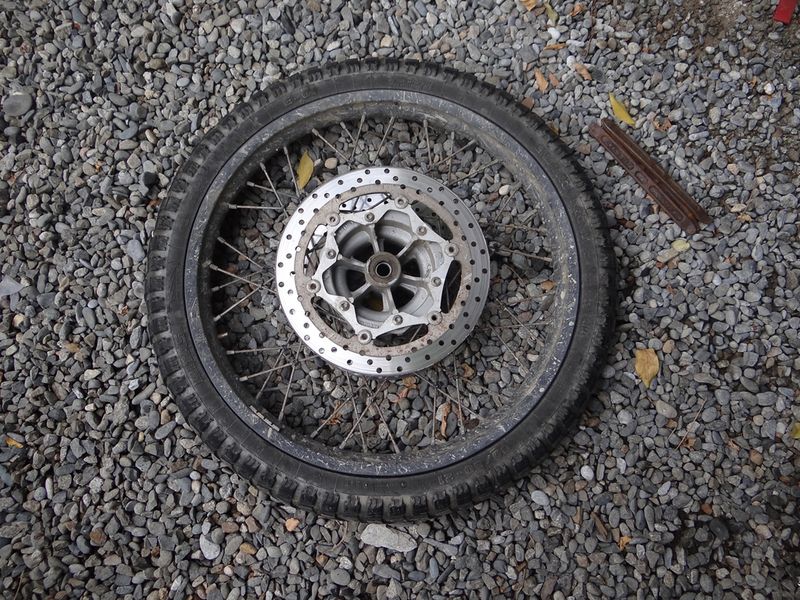
First thing is to ....erm....take the wheel off. Normally put a rag under the discs to keep them from getting any scrapes if you wish or put up onto a wooden bench.... I don't mind.
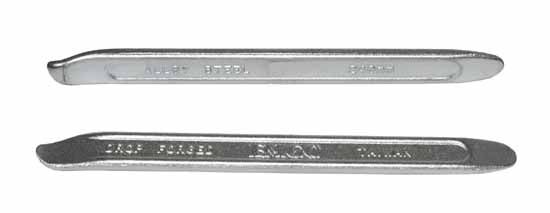
I carry three 9" tyre levers,like these in the image below,in my bumbag at all times. So I use what tools I have when on the trails to take the wheel off etc. These also work for changing the rear tyre.
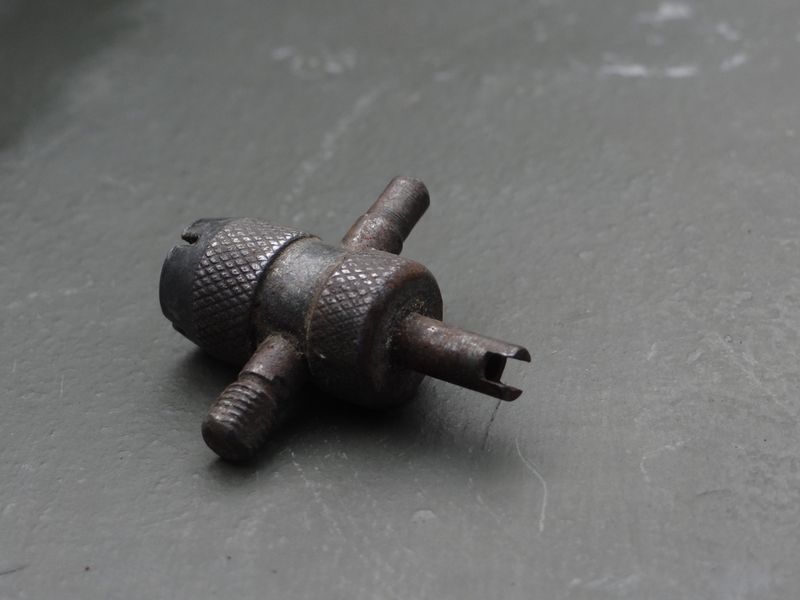
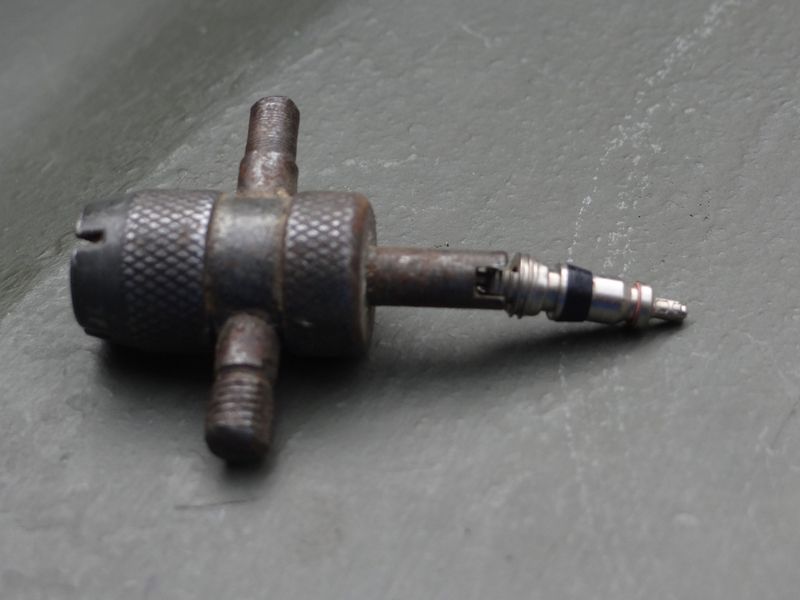
I carry a valve key ..this allows you to take out the valve core allowing the tyre to deflate quickly.
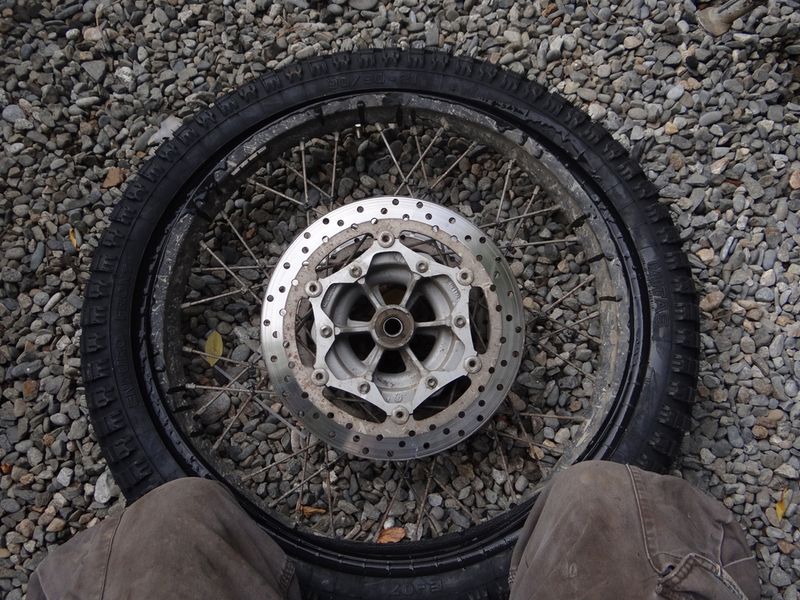
Sometimes you need to stand on the tyre and wiggle about for the tyre bead (inner circumference) to move off of the inside edge of the rim. This will allow you space to slide your tyre levers in under the bead.
Kneel on the tyre so that the bead will move into the centre of the rim..this allows room for you to work with your levers
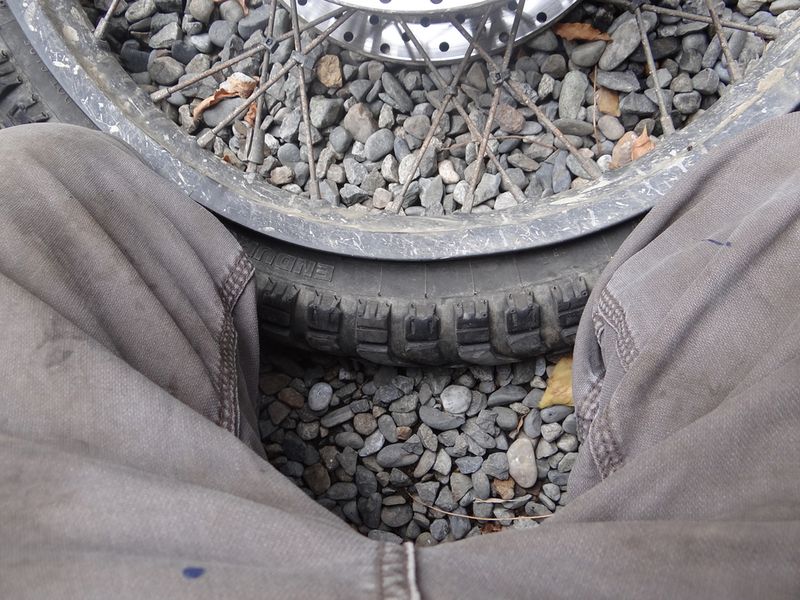
Here you can see how loose the tyre can be on the rim
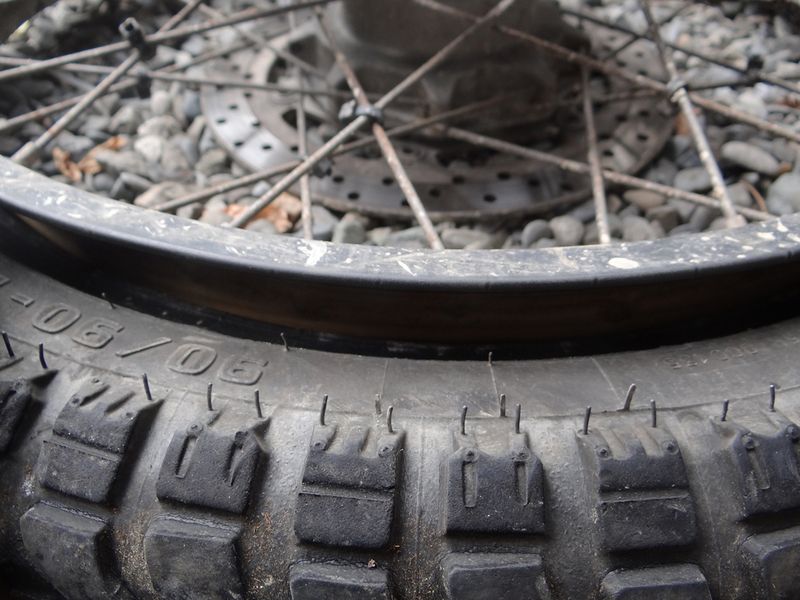
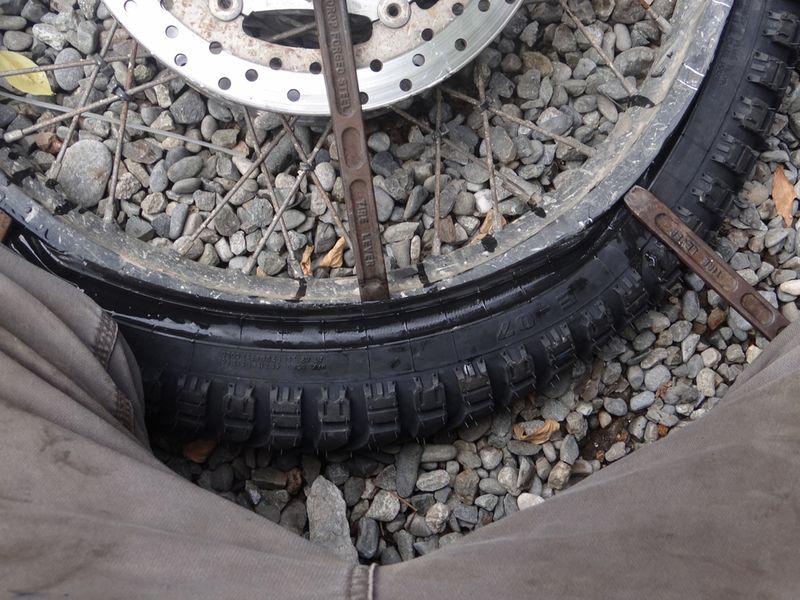
Carefully put the curved part of the tyre levers in to catch the bead of the tyre and continue as in the images. I start at the valve
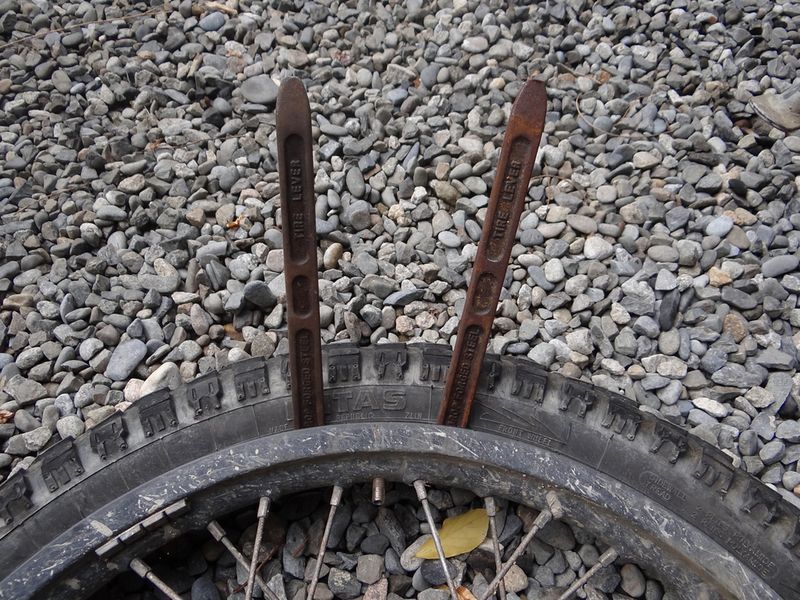
Tuck the levers in under the disc to allow them to hold the bead in place whilst you use the other lever to continue to take the bead off the rim.
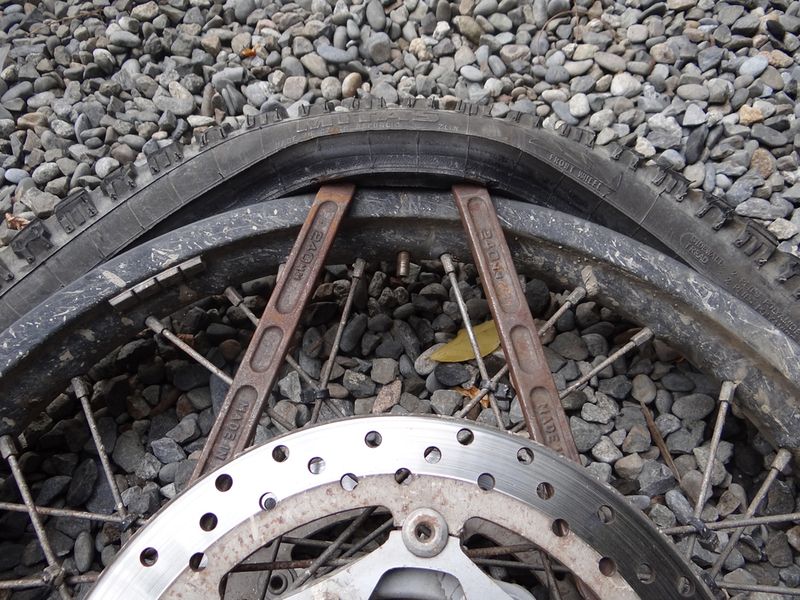
Keep moving along the rim and the bead will start to easily come off.
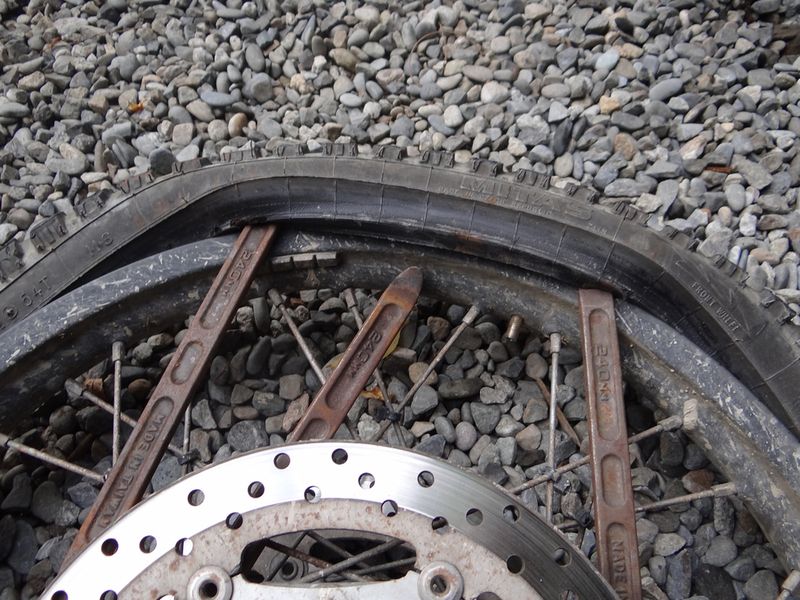
Here we see one side of the bead off of the rim. This will allow you now to reach in and remove the tube starting at the valve (after taking off the valve stem nut)
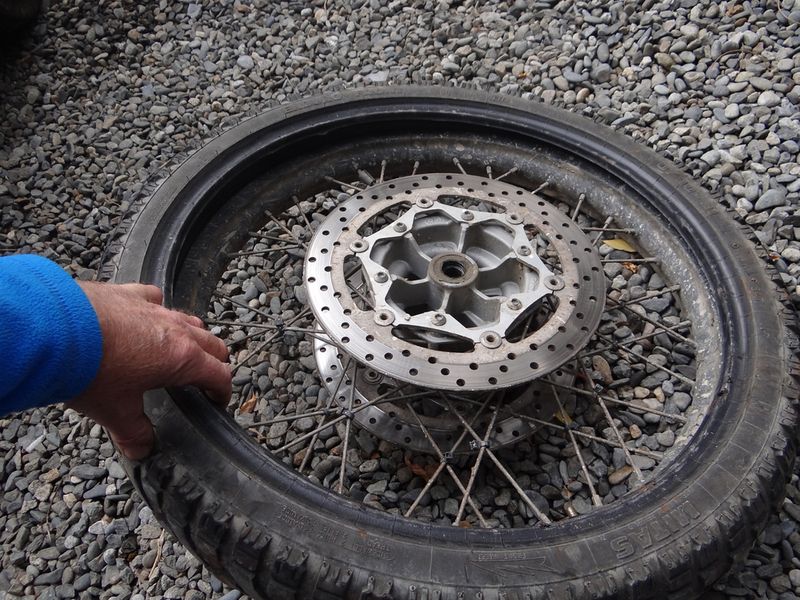
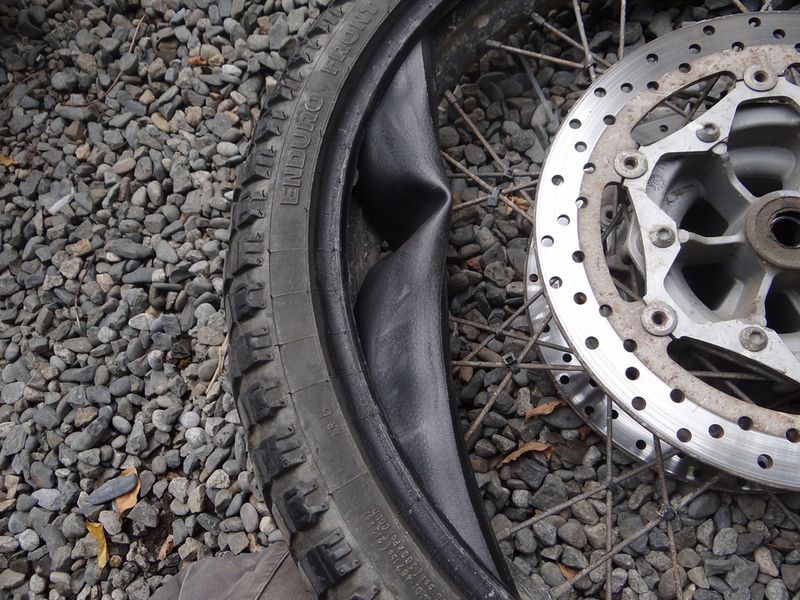
Remove the tube and here we see the other bead resting on the rim,stopping the tyre from being removed.
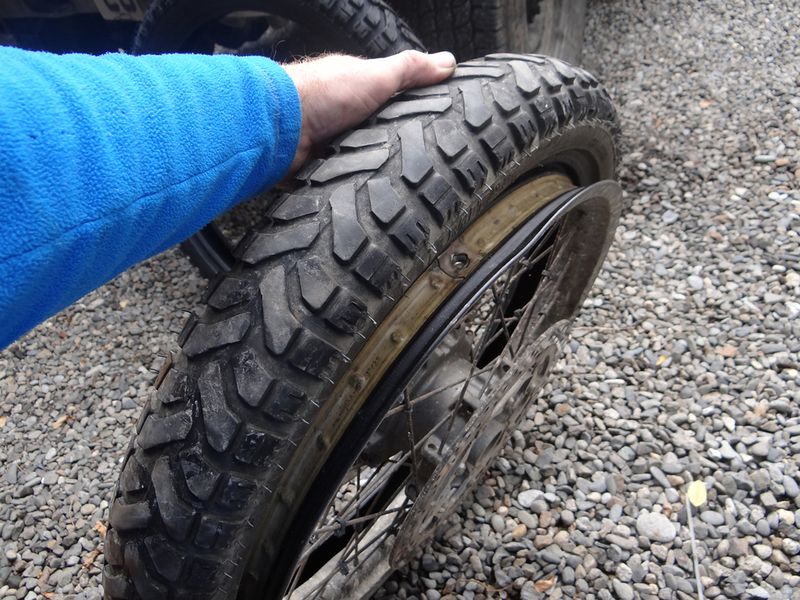
Stand up as its now really easy....start again with the levers to remove the bead from the rim
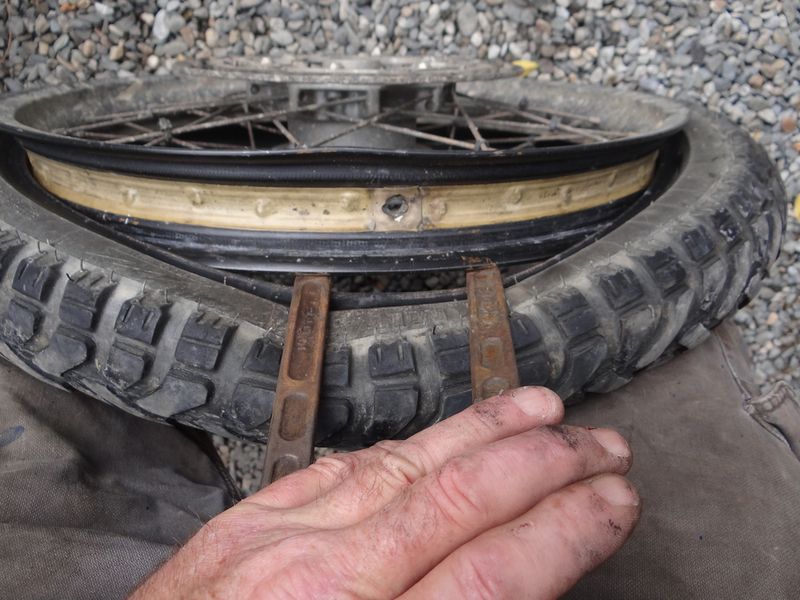
If you lean on on the tyre it will start to slide off the rim easily where you don't even need to use the tyre levers
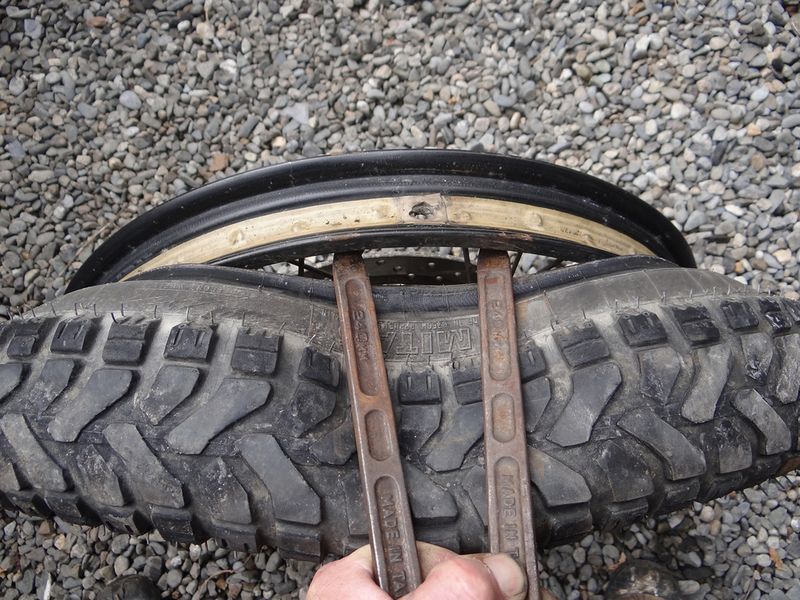
Pull the tyre off the rim. The whole process of taking the tyre off this side of the rim will take less than a minute
I use an extra minute and take the tyre off when I've just repaired a puncture....no big deal in the grand scheme of things.
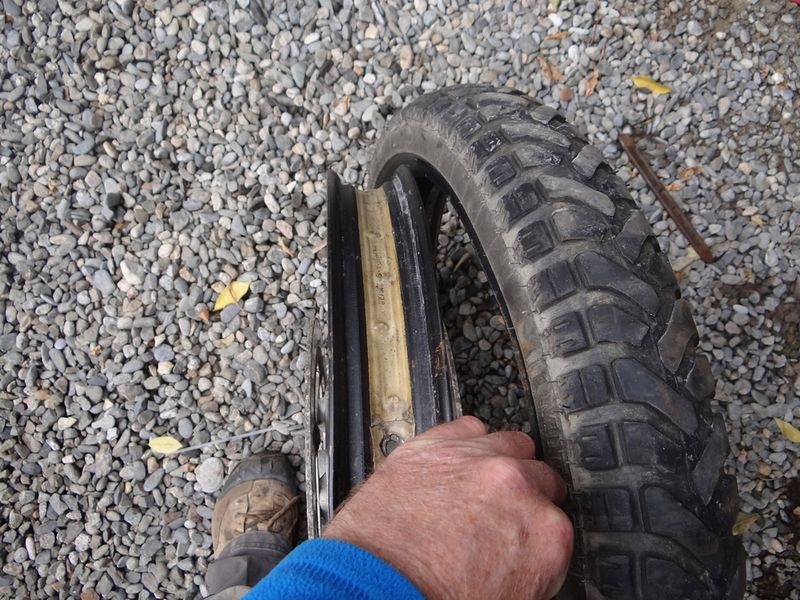
There's tube tape on the inside of the rim;this is to ensure the tube does not chaff against the spokes which would result in a puncture over time. Check this is in good condition. If it's not a couple of tours with duct tape will do the same job.
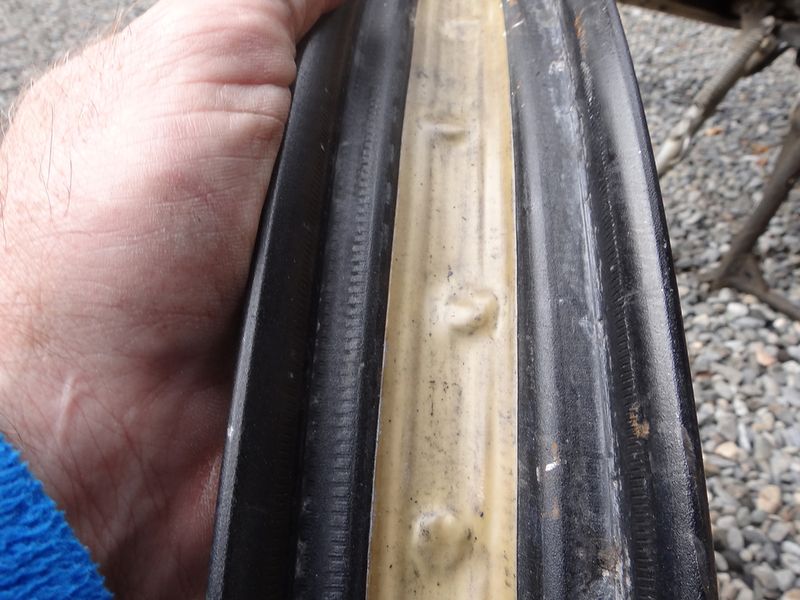
Take note that the tyre will have a direction arrow so mount it accordingly
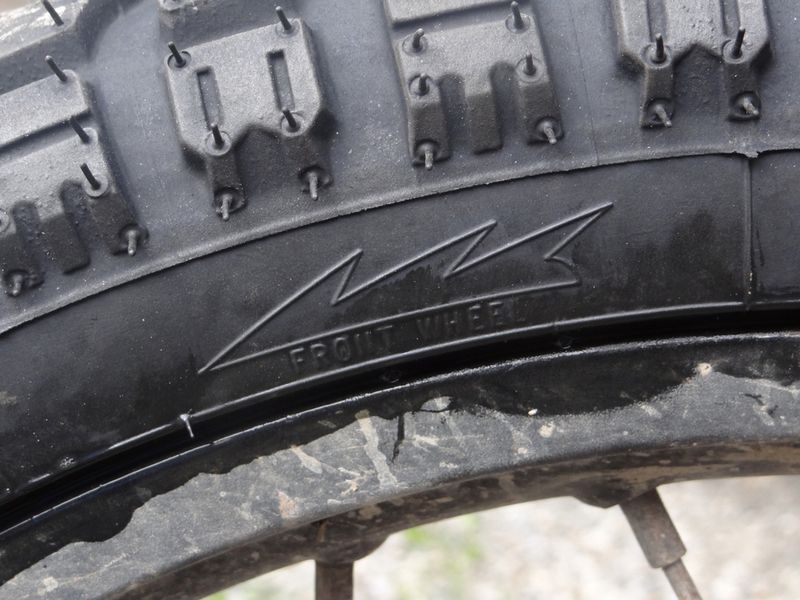
To assist immensely put some liquid detergent onto the bead of the tyre;this will help the bead slide onto the rim. If on the trail use shampoo/shower gel from your camping kit if available. Place tyre on the rim in the direction of travel and put the tube into the tyre.
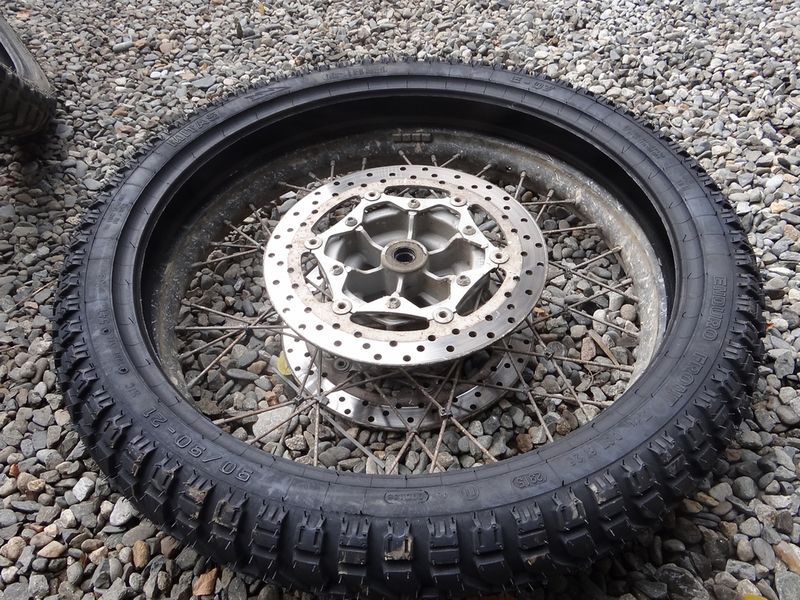
Line up the valve with the valve hole on the rim
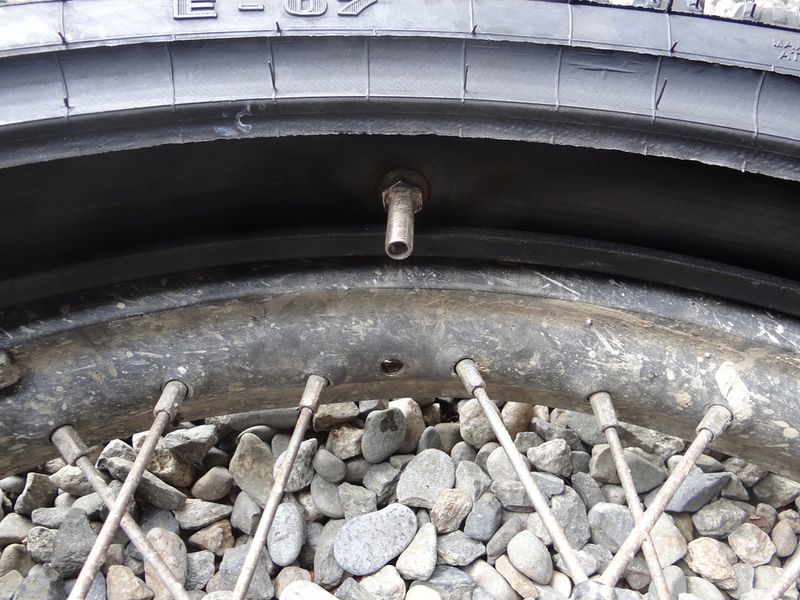
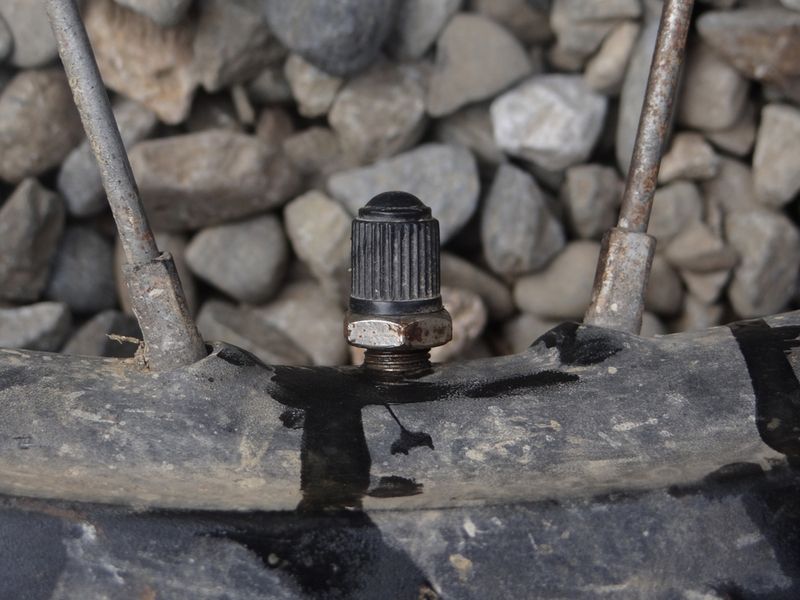
Put the valve into the rim and use your valve stem nut to hold the valve in place. Take care to position the tyre correctly so as the valve remains perpendicular to the rim, and start to slide both beads of the tyre onto the rim. This take very little force at all. By putting the nut on this will also negate the chance of the valve disappearing inside the tyre when you're not looking. If you put some air into the tube the way one would for a rear tyre it will make the task more difficult as you require the tyre to be flexible.
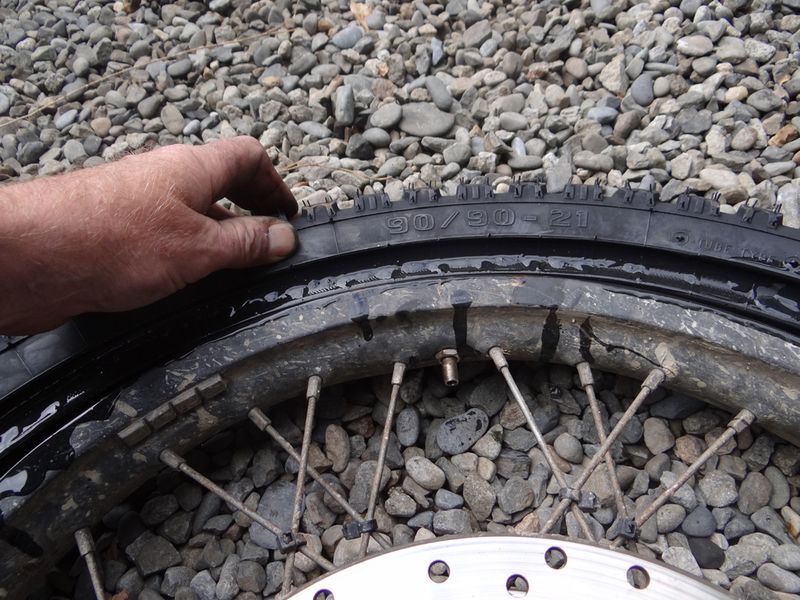
Put the tyre on until it will not go on any easier with your hands. Then use your knees for extra weight and force.
Poke the tube in here and there as you need to with your fingers.
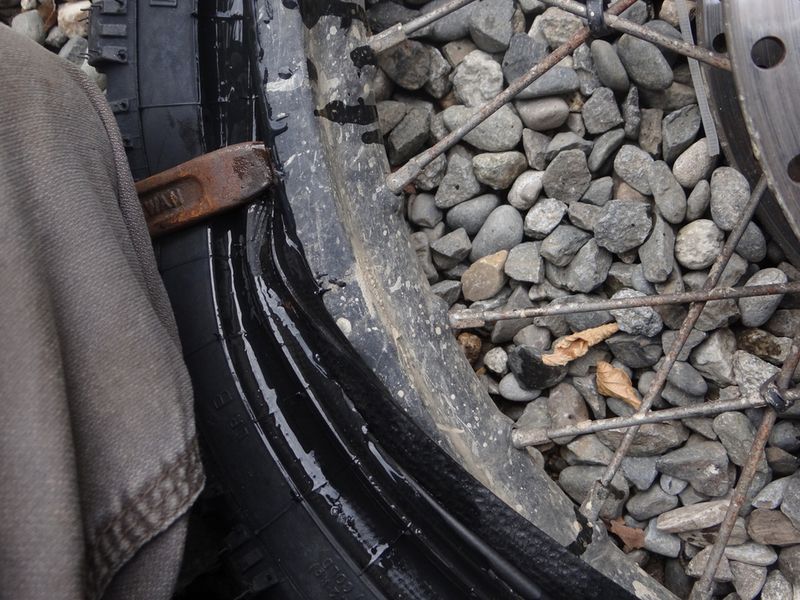
On one of my tyre levers I have hit it with a club hammer to produce a burr as in the images. This is the secret to now not nip the tube when mounting the tyre fully.
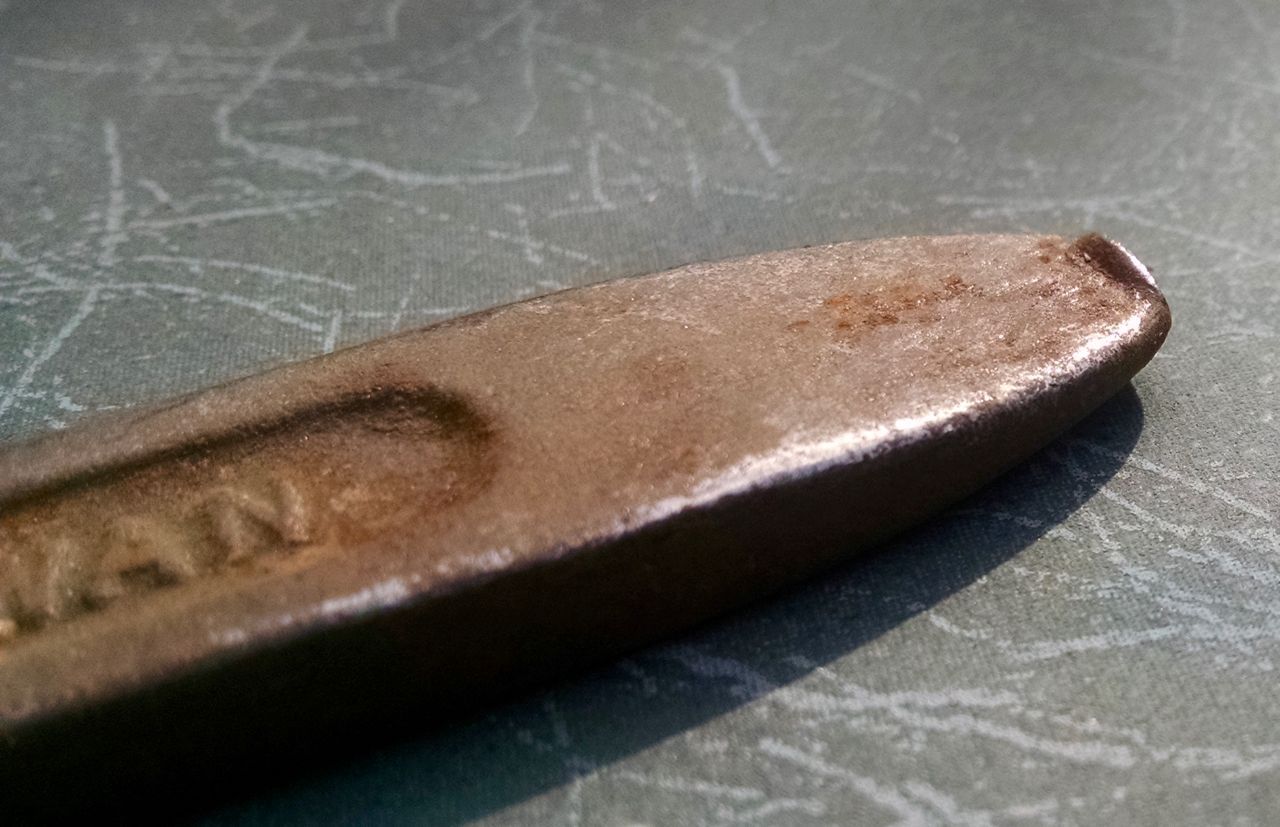
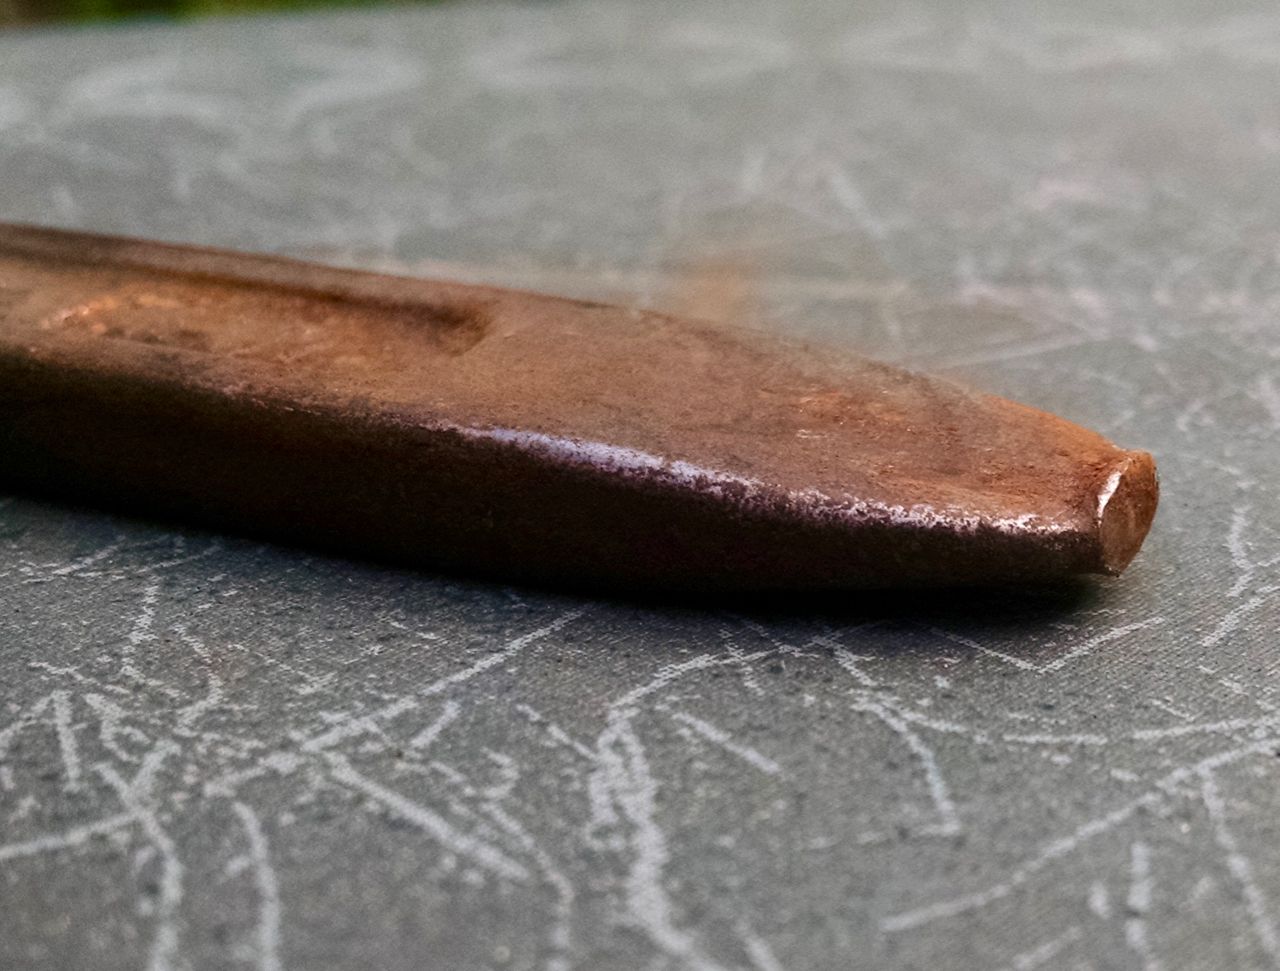
Imagine the tyre lever in this image is the inside of the rim edge. The burr will catch on the rim sufficiently to not need to go near the tube or inside the tyre for the final effort.
I use the two normal levers to gently lever the bead as I go along as there's space for this to not nip or encroach onto the tube.
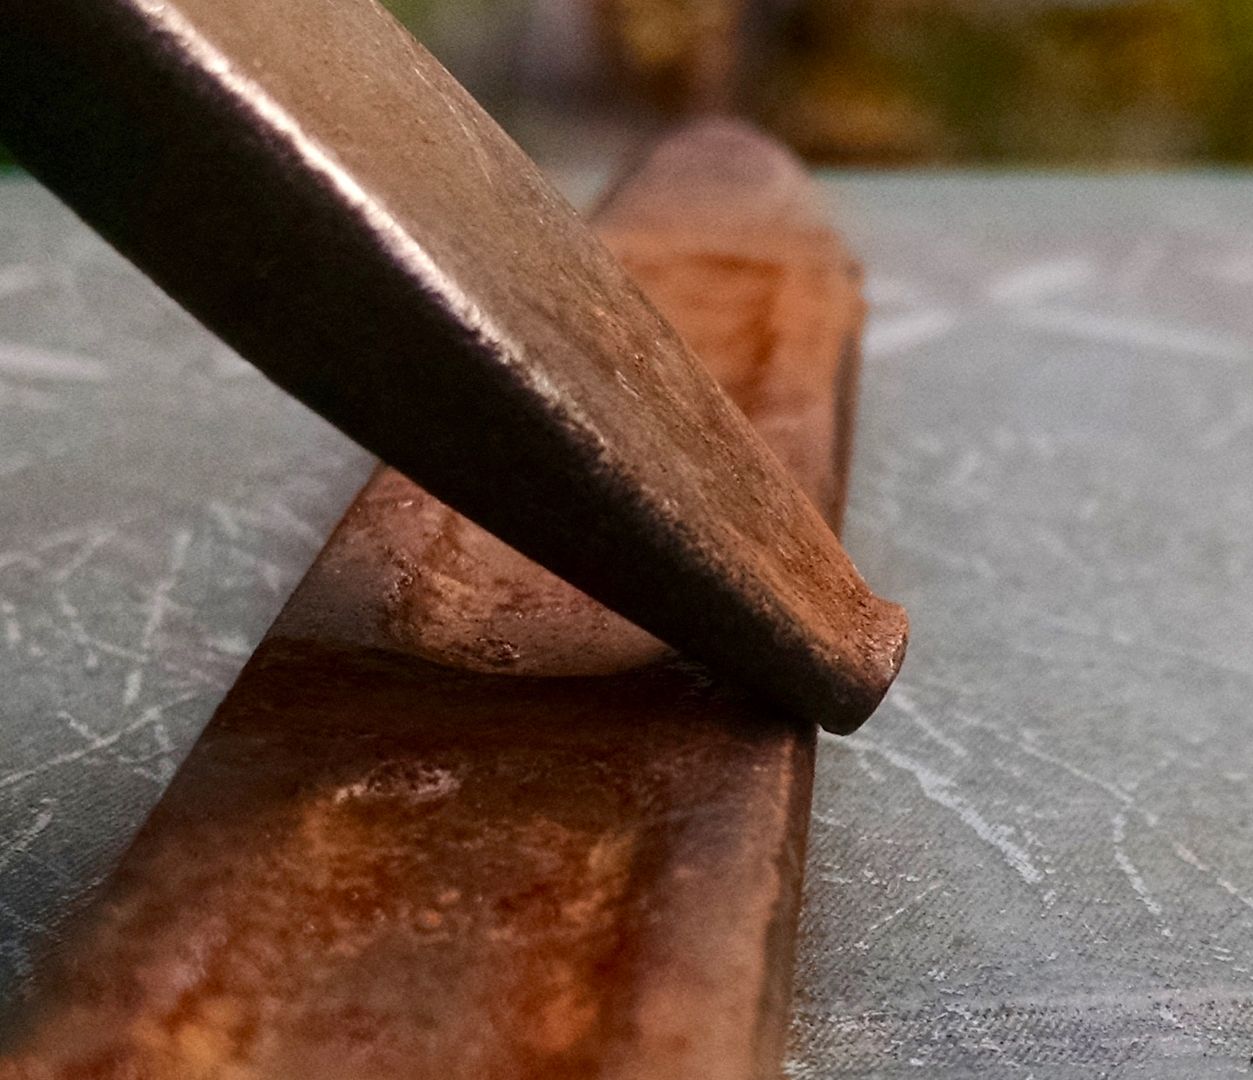
Here you can see approaching the final stage to mounting the tyre..there's two levers left and right and the third lever is placed just showing where it'll be for image purposes.
Here you can see how little the lever is on the rim...just the very tip only.
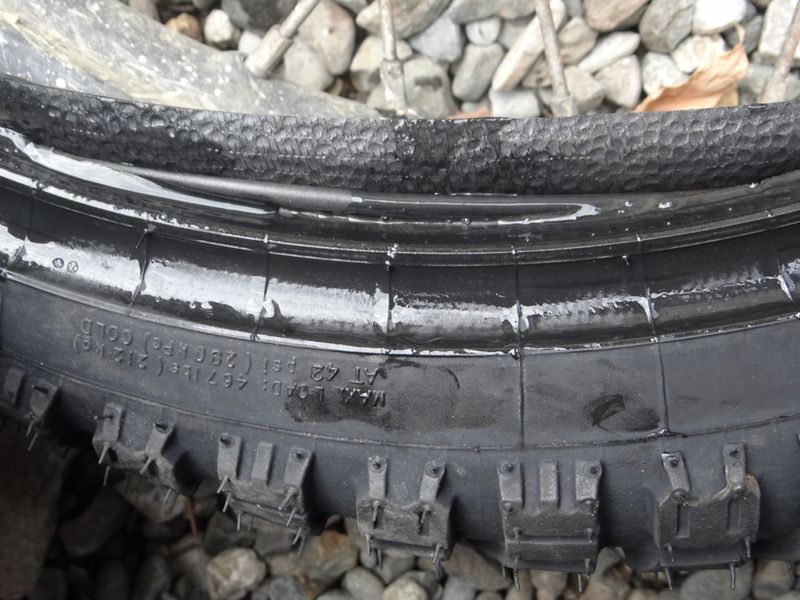
Towards the final stage you might see the tube peeping out...push it into the tyre.
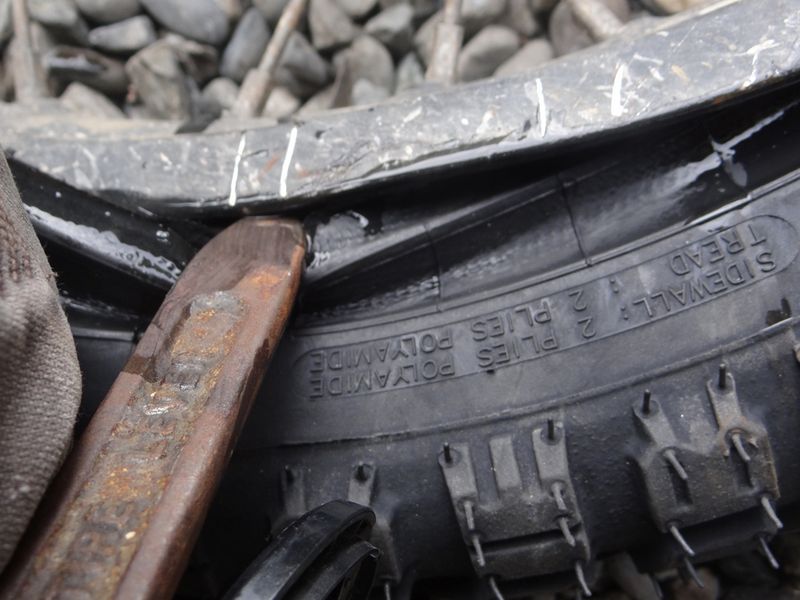
The final stage is completed by levering whats left of the bead on to the rim..again you can see how the burr on the lever tip catches the rim without being inside of the tyre which could result in a pinched tube.
Pump the tyre up until both beads are pushed out against the sides of the rim. This usually takes more than what pressure you normally run at. You might even hear a 'pop'. Check the tyre is evenly mounted. If not repeat the process until it is. Drop the pressure to what you use normally.
After this I loosen off the valve stem nut as any movement in the tyre on the rim can result in the base of the stem becoming defective.
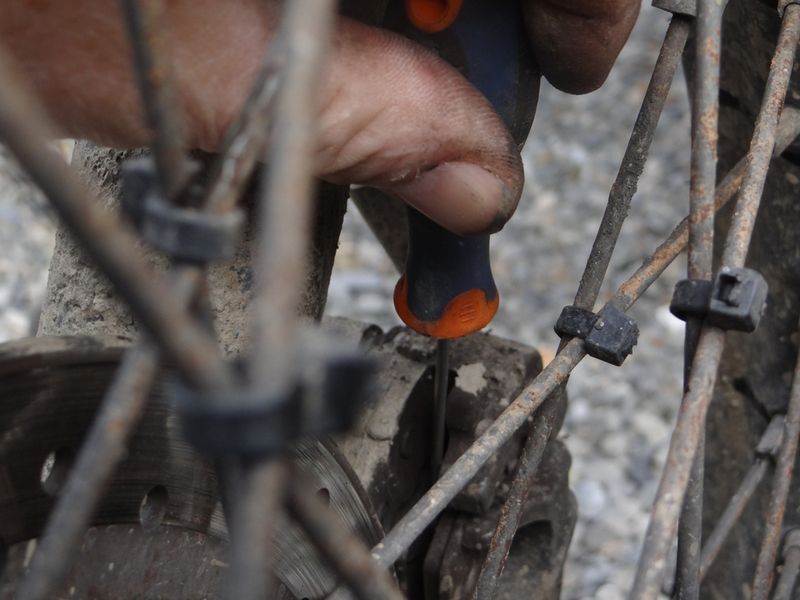
Put wheel back on..use a small screwdriver to open up brake pads if need be.
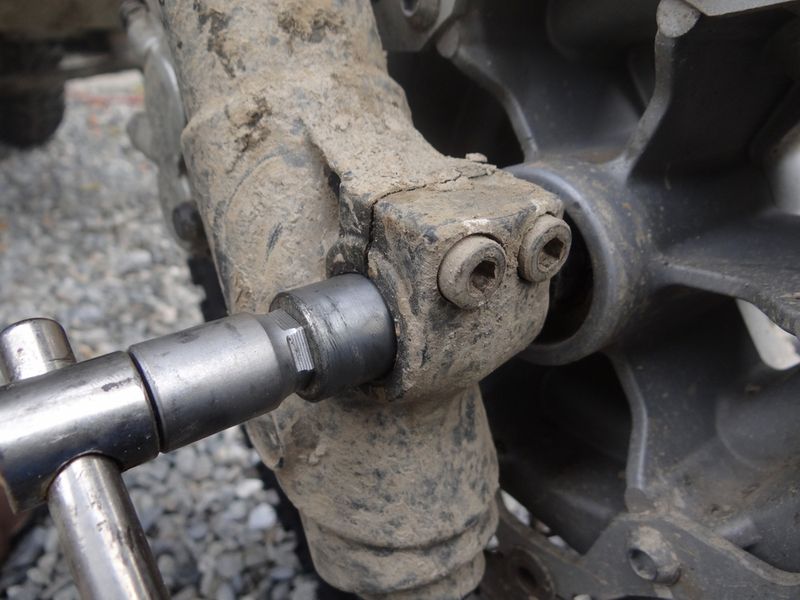
Tighten up the front axle and pinch bolts on the forks to the correct torque....use anti seize copper grease if you have it.
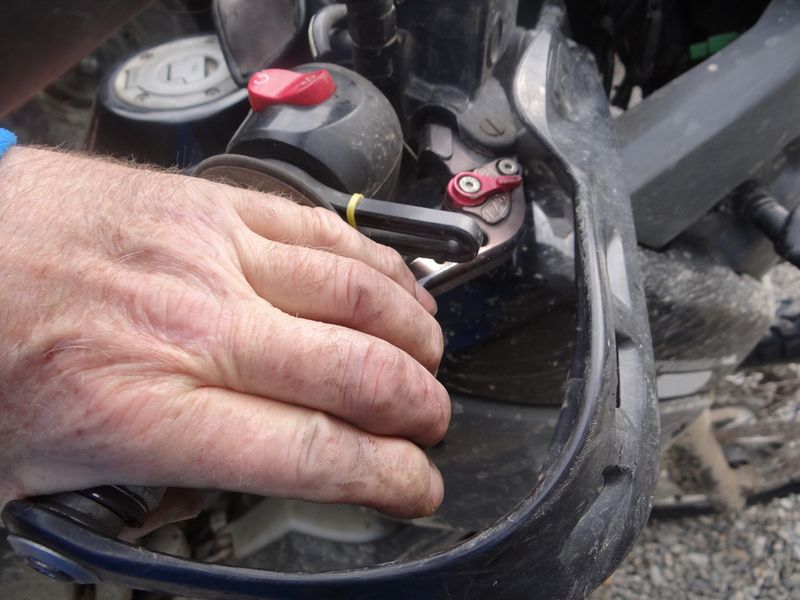
Pump the front brake lever to confirm the pads are now against the disc......If you don't do this and ride straight off you'll not have full power brakes.
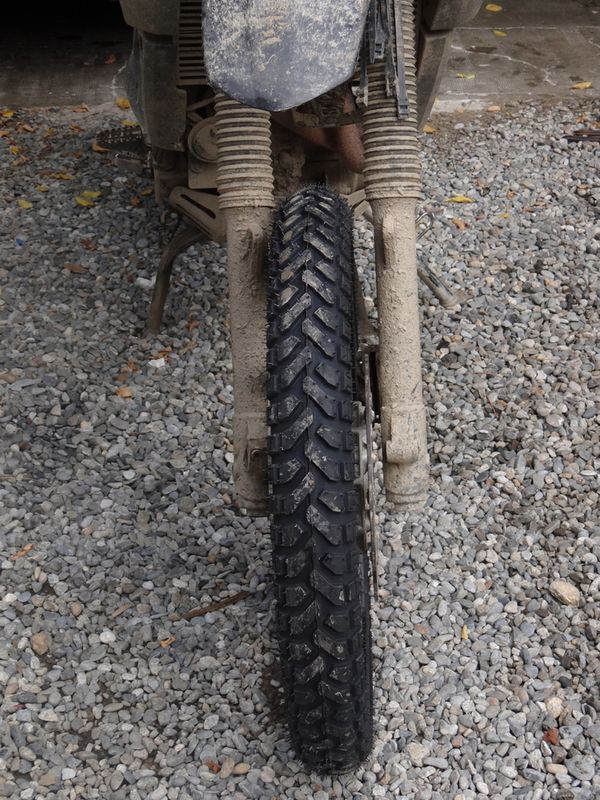
Two beads on at once can be done in about 10 minutes once the wheel is off,with no chance of nipping the tube as your final lever is nowhere near the tube as it's just holding onto the edge of the rim by the burr.
I hope some find benefit.
.

