My Repsol Honda / Repsol KTM Projects.
Posted: Wed Jan 05, 2011 8:57 pm
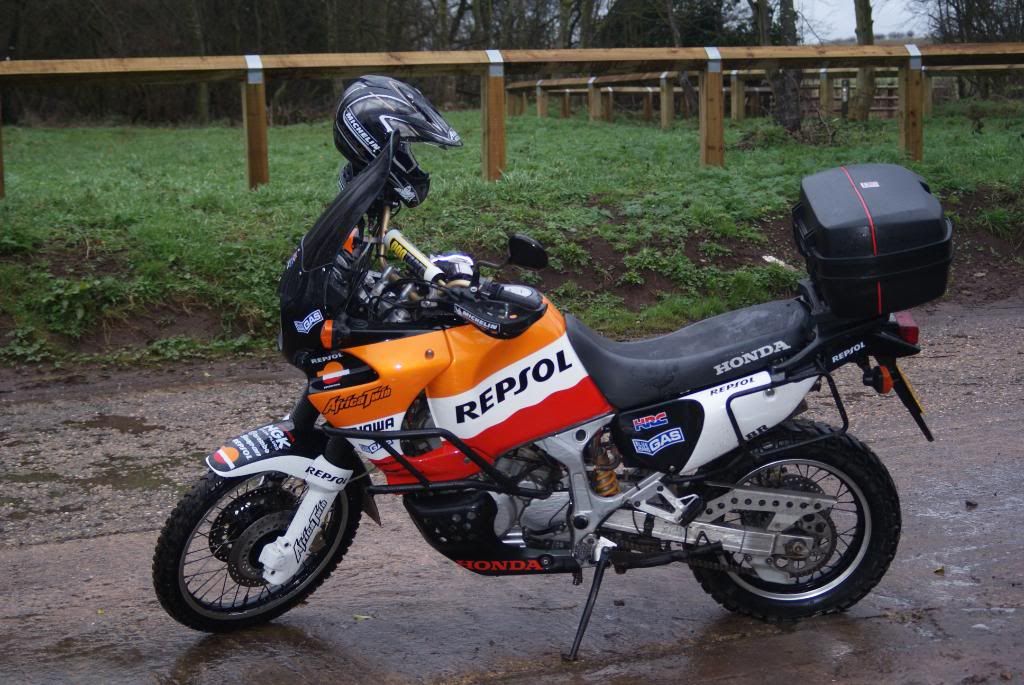
OK so my bike has been offroad for a little while and I have been bored, So I thought Id have a go on photoshop and see if I could make my bike look better.
After a little research on the net to get inspired, I got cracking on the editing as some of you may know this is what I came up with.
Before

After
While doing the photoshop I realized how easy it would be to recreate.
So I've taken the first step toward creating it and ordered the decals.
From here.
The guy is based in Poland, and from what I've read on CBR forums is the sticker he provides are top notch (fingers crossed).
I contacted him to find out the size of the main Repsol logo, and he very quickly replied saying he could resize any of the logos to my needs. :woohoo:
I told him the main logo should be around 370mm and the rest don't really matter as I'm not to sure where they will be fitted in the project yet.
His response was "I've got some nice latest, smaller sponsor decals for SC59 Repsol so I will add them. They will help. :woohoo: This guy is awesome!
I'm getting all excited now like a kid at Christmas! :laugh:
LATEST UPDATE
After a bit of contemplation, I decided to spray the main colour scheme rather than use vinyl.
For this paint job I used:
[ul]
[li]Halfords Primer White 500ml [/li]
[li]Halfords Gloss Appliance White Spray 500ml[/li]
[li]Halfords Ford Sunburst Red [/li]
[li]Halfords Ford Electric Orange[/li]
[li]Halfords Petrol Resistant Lacquer (for the tank)[/li]
[li]Halfords Clear Lacquer 500ml [/li]
[/ul]
2 cans of each.
So I've got cracking on the side panels, removed the stickers and wet and dyed ready for some white primer.
Update,
My decals arrived from Poland today by recorded delivery and I'm in shock! hmy:
hmy:
The first six decals to fall from the package were Africa Twin logos :woohoo:
This guy has been a total star to deal with! From resizing the decals, to adding stickers that he doesn't even sell in his ebay shop.
[attachment=-1]DSC04935_2011-01-10.JPG[/attachment]
[attachment=-2]DSC04935_2011-01-10.JPG[/attachment]
[attachment=-3]DSC04935_2011-01-10.JPG[/attachment]
I cant recommend this guy enough! Here is a link to his ebay shop delectationis.
Update
Ok Time for a small update, I've been busy with the primer and wet and dry paper and its almost ready for paint.
[attachment=-4]DSC04935_2011-01-10.JPG[/attachment]
[attachment=-5]DSC04935_2011-01-10.JPG[/attachment]
[attachment=-6]DSC04935_2011-01-10.JPG[/attachment]
Update
Another update to the project.
The design changed slightly to accommodate the unexpected @ decals.
[attachment=-7]DSC04935_2011-01-10.JPG[/attachment]
[attachment=-8]DSC04935_2011-01-10.JPG[/attachment]
Problems so far, the curve masking tape I used leaks a lot. and in I rushed to mask for the orange and didn't let the white cure fully, so the newspaper stuck to the white.
But no massive problems.
Now I have a lot of wet sanding and clear coating to do. :S
Update
Here is the new red layout.
[attachment=-9]DSC04935_2011-01-10.JPG[/attachment]
Update
Update
Here's a cheek panel after 1 coat of clear.
[attachment=-10]DSC04935_2011-01-10.JPG[/attachment]
The panels flatted back and placed on the frame to eye up decal placement.
[attachment=-11]DSC04935_2011-01-10.JPG[/attachment]
Update
I've started the final clear stages, but my spray booth leaks when it rains, so I had to stop.
The spray booth. :laugh:
[attachment=-12]DSC04935_2011-01-10.JPG[/attachment]
[attachment=-13]DSC04935_2011-01-10.JPG[/attachment]
[attachment=-14]DSC04935_2011-01-10.JPG[/attachment]
Update
I gave in to my urge to crack on with the polishing, and I'm really happy with the overall finish.
There are some small faults that I could fix, but to be honest I cant be bothered.
Here are a couple of pictures to show the finish. Not too bad for my first paint job even if I do say so myself.


Just need to give the bike a quick clean now the I can rebuild it. :woohoo:
Update
Here are the bad bits.
First of there is a slight sag in the black, its hard to see but it is there. Then the white line is rough.
[attachment=-15]DSC04935_2011-01-10.JPG[/attachment]
I knocked the tank on the wall just after finishing the orange. Small but annoying as Halfords didn't have another can of orange in stock.
[attachment=-16]DSC04935_2011-01-10.JPG[/attachment]
And again the front of the cheek panel. (the spot near the top on the front edge)
[attachment=-17]DSC04935_2011-01-10.JPG[/attachment]
The ABR sticker reacted to the polish.
[attachment=-18]DSC04935_2011-01-10.JPG[/attachment]
There is also a bit where I wet sanded through the white line slightly but I forgot to get a photo of it.
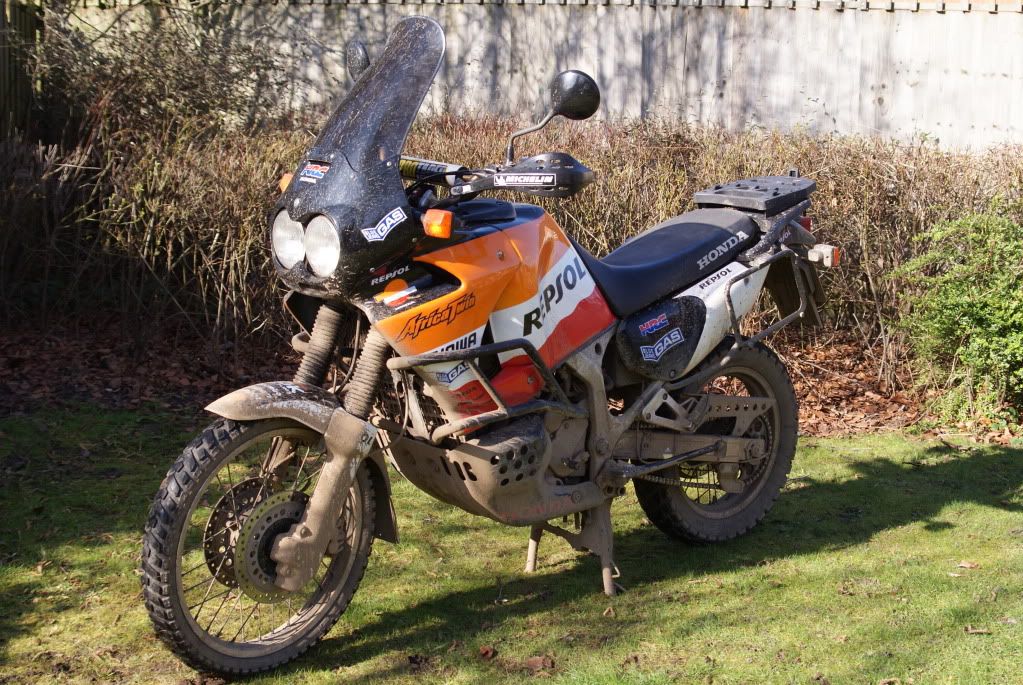
Here is the bike as it stands now, just the front mudguard to do now. :woohoo:
[attachment=-19]DSC04935_2011-01-10.JPG[/attachment]
Update
Mud guard is now finished ready for fitting tomorrow. :woohoo:
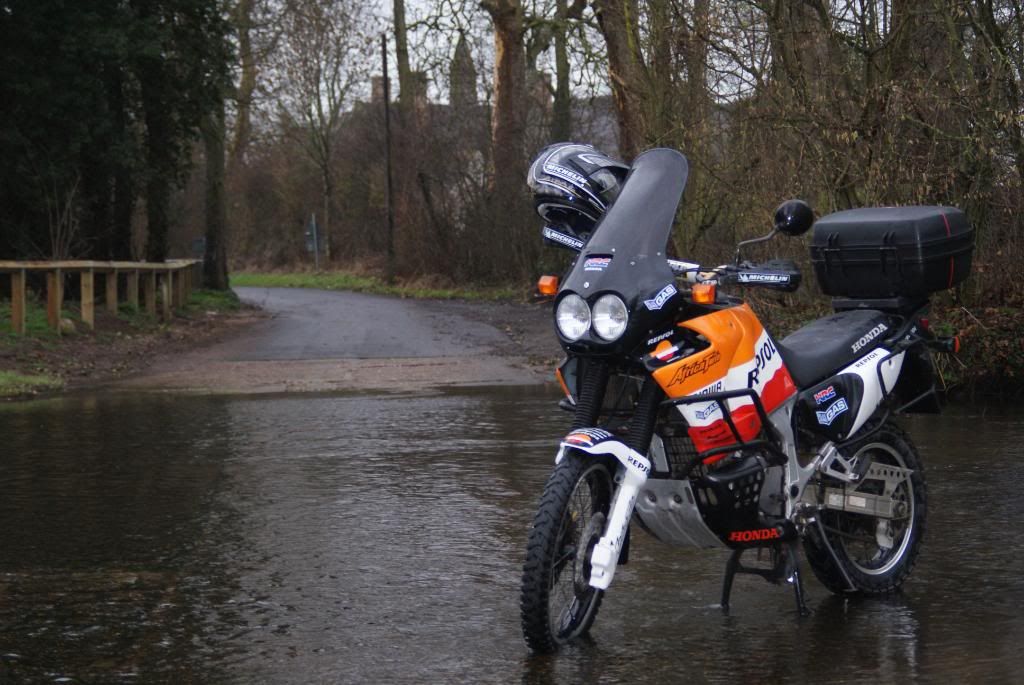
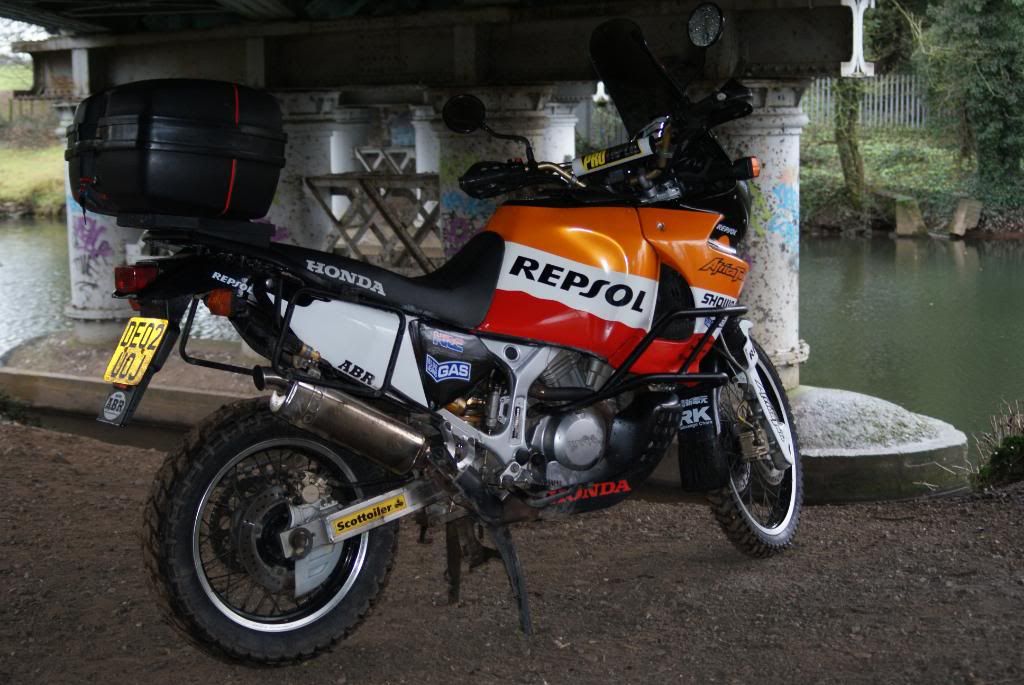
That's it I think, apart from a couple of decals here and there the project is done. B)
[attachment=-20]DSC04935_2011-01-10.JPG[/attachment]
[attachment=-21]DSC04935_2011-01-10.JPG[/attachment]
[attachment=-22]DSC04935_2011-01-10.JPG[/attachment]
[attachment=-23]DSC04935_2011-01-10.JPG[/attachment]
[attachment=-24]DSC04935_2011-01-10.JPG[/attachment]
[attachment=-25]DSC04935_2011-01-10.JPG[/attachment]
[attachment=-26]DSC04935_2011-01-10.JPG[/attachment]
The project is finished for now.

For anyone wanting to have a go at painting from a can.
This guy gives really good advise on how to get good results from spray cans.
His videos are long and repetitive but very informative.
There is about another 14 videos for this paint job but I wont post them all you get the idea. Its well worth watching them all as there are some little gems of knowledge in them.
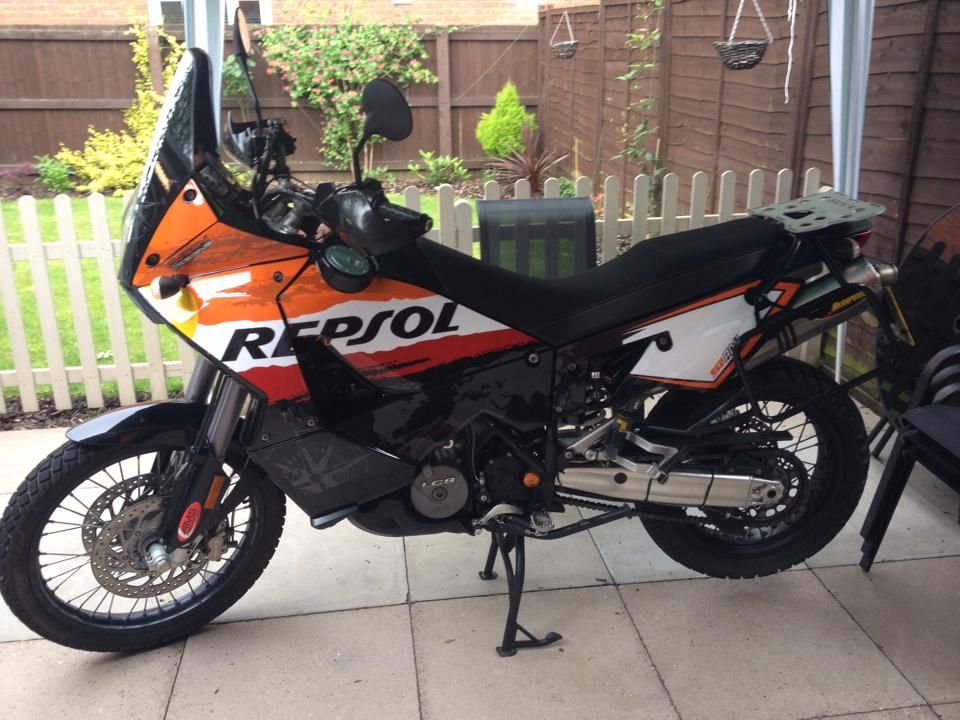
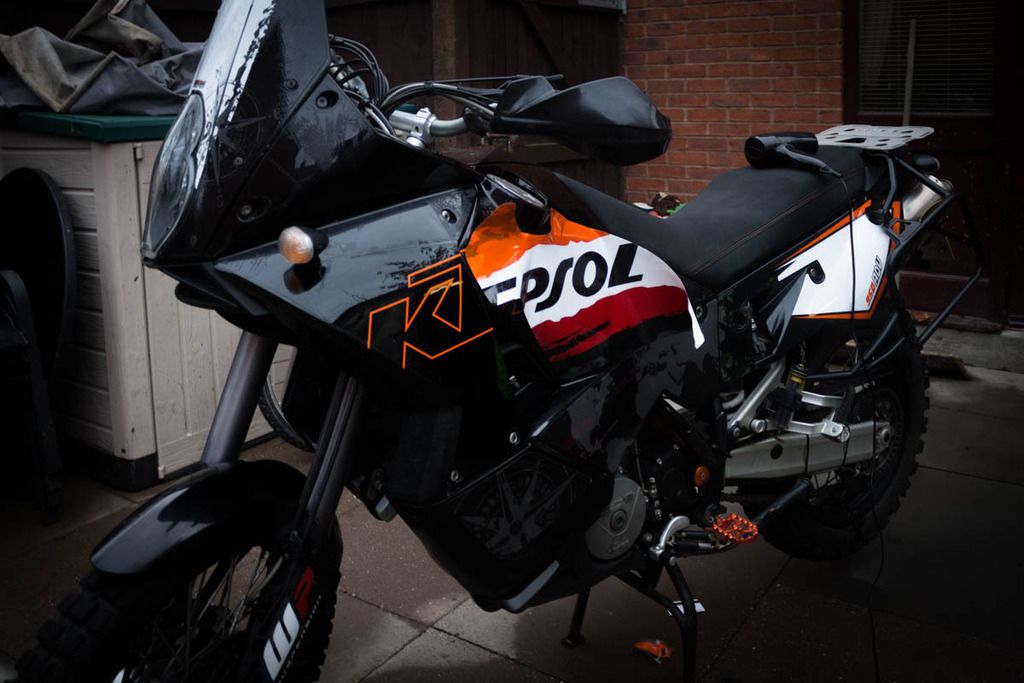
I have a new project!! I just picked up a 2006 KTM 950 adventure. Loving it!!
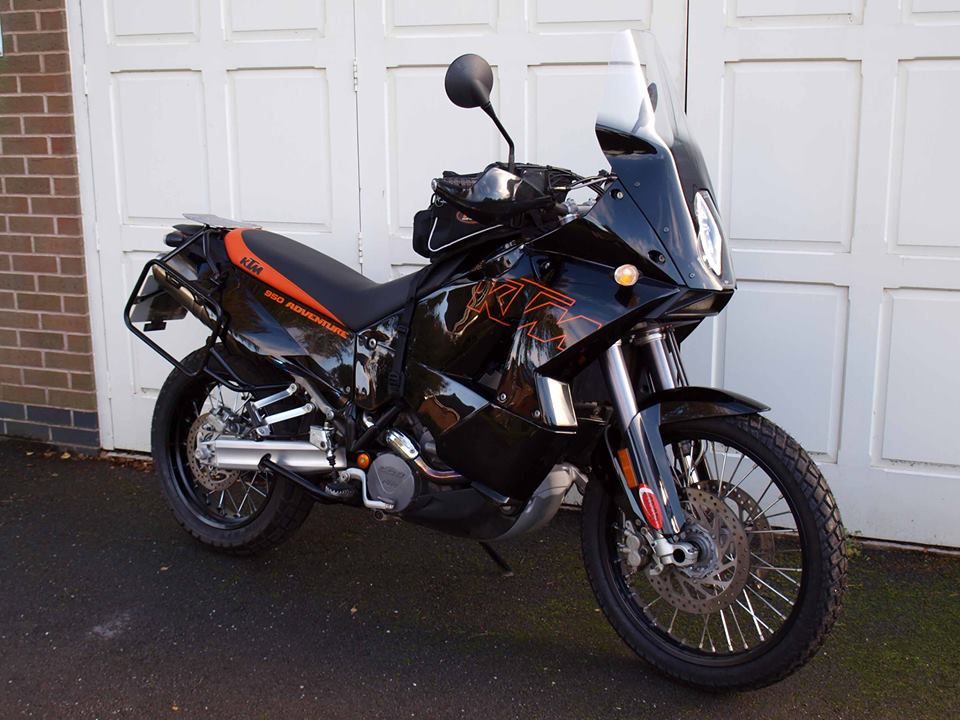
First addition to the KTM is a Rekluse auto clutch kit.

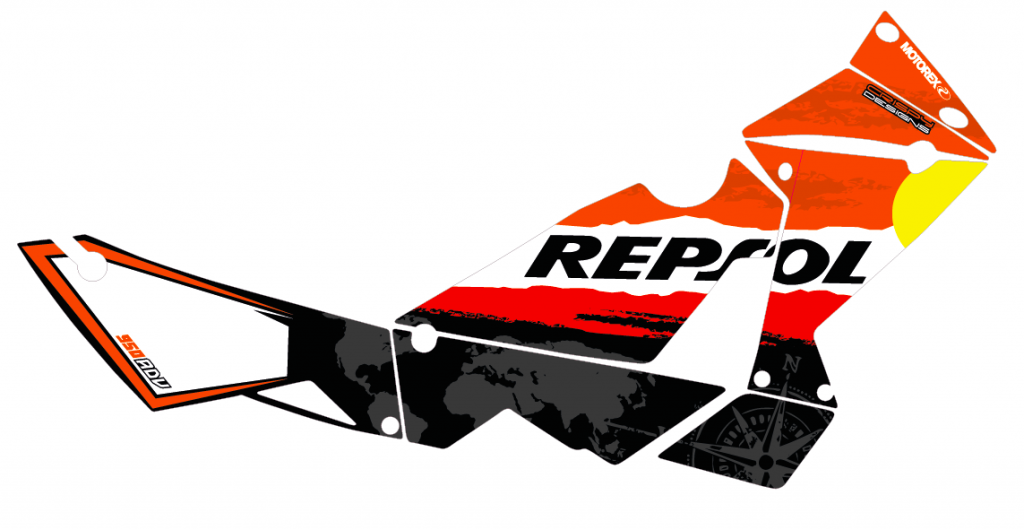
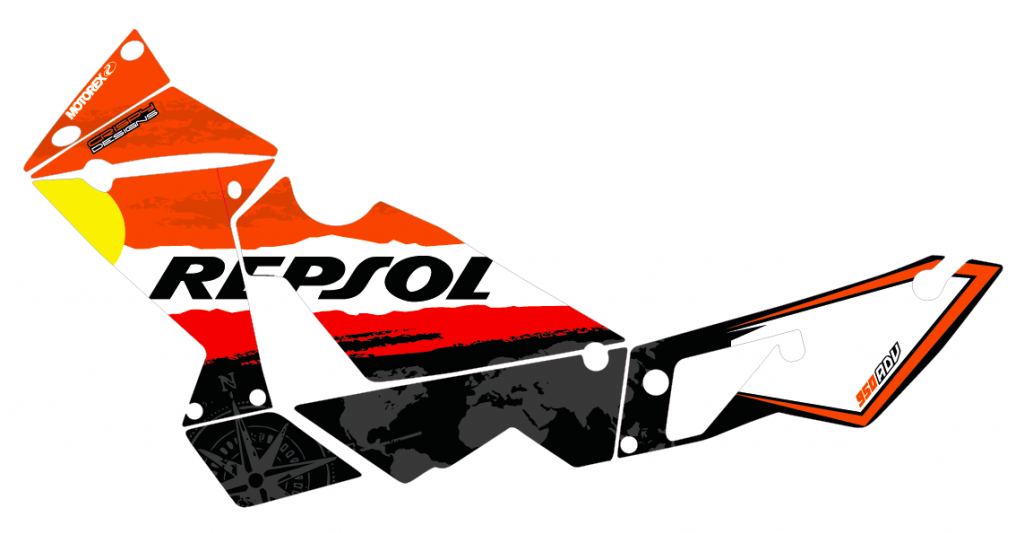
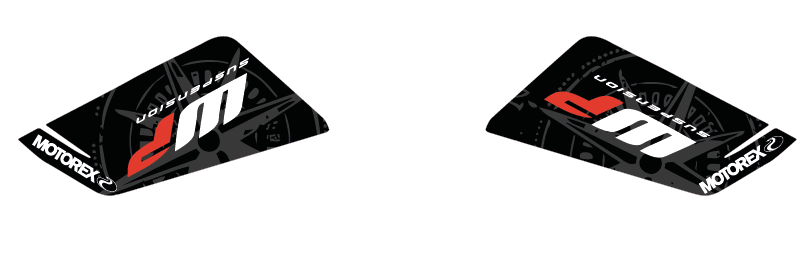
I've given in to my urge to customize and ordered a set of Repsol graphics from Crispy designs with a slight twist can you spot it?
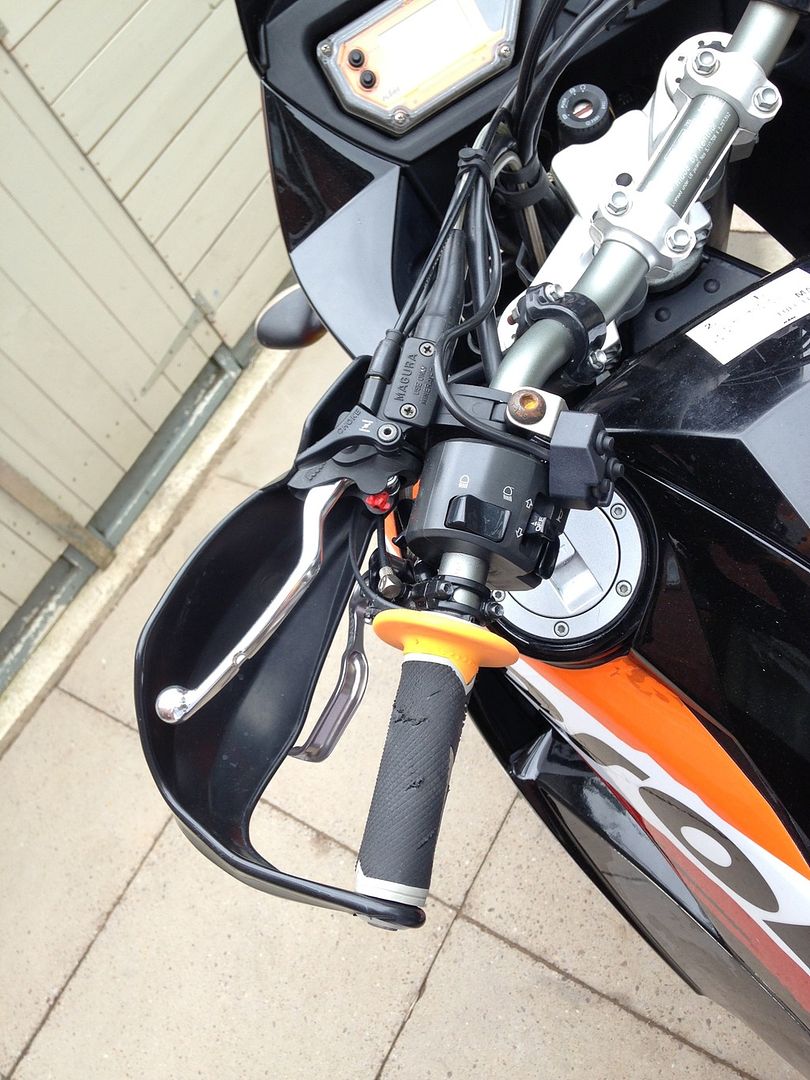
Added left hand rear brake kit from Smokn
Edit, Repsol graphics removed.
After a little research on the net to get inspired, I got cracking on the editing as some of you may know this is what I came up with.
Before
After
- DSC04935_2011-01-10.JPG (39.69 KiB) Viewed 2355 times
While doing the photoshop I realized how easy it would be to recreate.
So I've taken the first step toward creating it and ordered the decals.
From here.
The guy is based in Poland, and from what I've read on CBR forums is the sticker he provides are top notch (fingers crossed).
I contacted him to find out the size of the main Repsol logo, and he very quickly replied saying he could resize any of the logos to my needs. :woohoo:
I told him the main logo should be around 370mm and the rest don't really matter as I'm not to sure where they will be fitted in the project yet.
His response was "I've got some nice latest, smaller sponsor decals for SC59 Repsol so I will add them. They will help. :woohoo: This guy is awesome!
I'm getting all excited now like a kid at Christmas! :laugh:
LATEST UPDATE
After a bit of contemplation, I decided to spray the main colour scheme rather than use vinyl.
For this paint job I used:
[ul]
[li]Halfords Primer White 500ml [/li]
[li]Halfords Gloss Appliance White Spray 500ml[/li]
[li]Halfords Ford Sunburst Red [/li]
[li]Halfords Ford Electric Orange[/li]
[li]Halfords Petrol Resistant Lacquer (for the tank)[/li]
[li]Halfords Clear Lacquer 500ml [/li]
[/ul]
2 cans of each.
So I've got cracking on the side panels, removed the stickers and wet and dyed ready for some white primer.
- DSC04935_2011-01-10.JPG (39.69 KiB) Viewed 2355 times
- DSC04935_2011-01-10.JPG (39.69 KiB) Viewed 2355 times
My decals arrived from Poland today by recorded delivery and I'm in shock!
The first six decals to fall from the package were Africa Twin logos :woohoo:
This guy has been a total star to deal with! From resizing the decals, to adding stickers that he doesn't even sell in his ebay shop.
[attachment=-1]DSC04935_2011-01-10.JPG[/attachment]
[attachment=-2]DSC04935_2011-01-10.JPG[/attachment]
[attachment=-3]DSC04935_2011-01-10.JPG[/attachment]
I cant recommend this guy enough! Here is a link to his ebay shop delectationis.
Update
Ok Time for a small update, I've been busy with the primer and wet and dry paper and its almost ready for paint.
[attachment=-4]DSC04935_2011-01-10.JPG[/attachment]
[attachment=-5]DSC04935_2011-01-10.JPG[/attachment]
[attachment=-6]DSC04935_2011-01-10.JPG[/attachment]
Update
Another update to the project.
The design changed slightly to accommodate the unexpected @ decals.
[attachment=-7]DSC04935_2011-01-10.JPG[/attachment]
[attachment=-8]DSC04935_2011-01-10.JPG[/attachment]
Problems so far, the curve masking tape I used leaks a lot.
 and in I rushed to mask for the orange and didn't let the white cure fully, so the newspaper stuck to the white.
But no massive problems.
Now I have a lot of wet sanding and clear coating to do. :S
Update
Here is the new red layout.
[attachment=-9]DSC04935_2011-01-10.JPG[/attachment]
Update
Update
Here's a cheek panel after 1 coat of clear.
[attachment=-10]DSC04935_2011-01-10.JPG[/attachment]
The panels flatted back and placed on the frame to eye up decal placement.
[attachment=-11]DSC04935_2011-01-10.JPG[/attachment]
Update
I've started the final clear stages, but my spray booth leaks when it rains, so I had to stop.
The spray booth. :laugh:
[attachment=-12]DSC04935_2011-01-10.JPG[/attachment]
[attachment=-13]DSC04935_2011-01-10.JPG[/attachment]
[attachment=-14]DSC04935_2011-01-10.JPG[/attachment]
Update
I gave in to my urge to crack on with the polishing, and I'm really happy with the overall finish.
There are some small faults that I could fix, but to be honest I cant be bothered.
Here are a couple of pictures to show the finish. Not too bad for my first paint job even if I do say so myself.
Just need to give the bike a quick clean now the I can rebuild it. :woohoo:
Update
Here are the bad bits.
First of there is a slight sag in the black, its hard to see but it is there. Then the white line is rough.
[attachment=-15]DSC04935_2011-01-10.JPG[/attachment]
I knocked the tank on the wall just after finishing the orange. Small but annoying as Halfords didn't have another can of orange in stock.
[attachment=-16]DSC04935_2011-01-10.JPG[/attachment]
And again the front of the cheek panel. (the spot near the top on the front edge)
[attachment=-17]DSC04935_2011-01-10.JPG[/attachment]
The ABR sticker reacted to the polish.
[attachment=-18]DSC04935_2011-01-10.JPG[/attachment]
There is also a bit where I wet sanded through the white line slightly but I forgot to get a photo of it.
Here is the bike as it stands now, just the front mudguard to do now. :woohoo:
[attachment=-19]DSC04935_2011-01-10.JPG[/attachment]
Update
Mud guard is now finished ready for fitting tomorrow. :woohoo:
That's it I think, apart from a couple of decals here and there the project is done. B)
[attachment=-20]DSC04935_2011-01-10.JPG[/attachment]
[attachment=-21]DSC04935_2011-01-10.JPG[/attachment]
[attachment=-22]DSC04935_2011-01-10.JPG[/attachment]
[attachment=-23]DSC04935_2011-01-10.JPG[/attachment]
[attachment=-24]DSC04935_2011-01-10.JPG[/attachment]
[attachment=-25]DSC04935_2011-01-10.JPG[/attachment]
[attachment=-26]DSC04935_2011-01-10.JPG[/attachment]
The project is finished for now.
For anyone wanting to have a go at painting from a can.
This guy gives really good advise on how to get good results from spray cans.
His videos are long and repetitive but very informative.
There is about another 14 videos for this paint job but I wont post them all you get the idea.
I have a new project!! I just picked up a 2006 KTM 950 adventure. Loving it!!

First addition to the KTM is a Rekluse auto clutch kit.

I've given in to my urge to customize and ordered a set of Repsol graphics from Crispy designs with a slight twist can you spot it?


Added left hand rear brake kit from Smokn

Edit, Repsol graphics removed.
