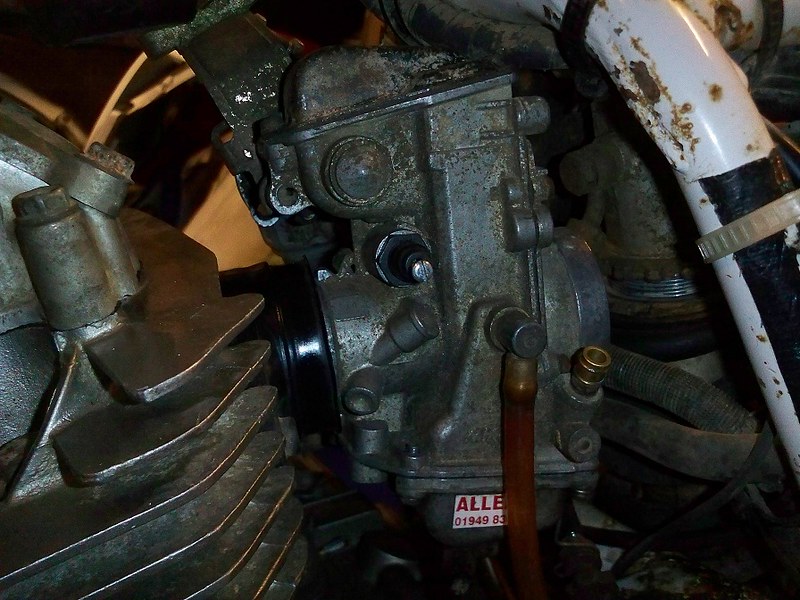
Well it took little effort to fire up the beast, or at least after it had leaked fuel all over the patio out the carb. The float valve had already been cleaned so took a gamble and it stopped of its own accord, once the valve had remembered how to “valve” and the float had remembered how to, er, float.


The engine ran very smoothly, and revved up crisply with no smoke or mis-firing, good-good! Time for a test-ride then eh?

Well will come back to that in a bit, but this bike has no battery so I had no idea if the lights would work. But with the engine running they did, and the indicators!!

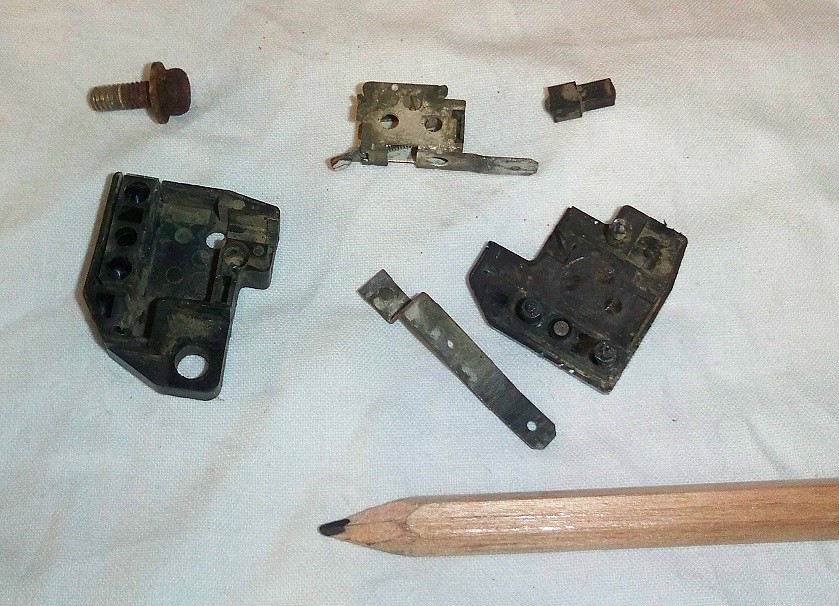
Wow. But no sign of brake lights, and subsequent investigations found both switches badly corroded and in need of some help. The rear:
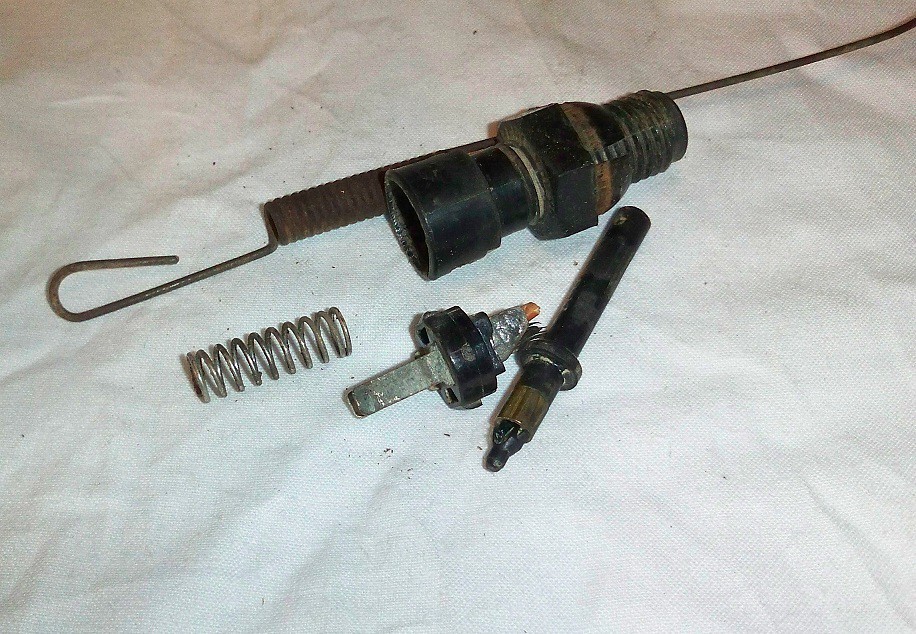
And the front:
Which was a right pain as the little toggle switch (middle-top) had to come apart to clean the contacts. Held together with a tiny but strong spring it was VERY fiddly to reassemble and I cursed like a good-un. Could have bought some new ones and saved an hour or two….
But…..
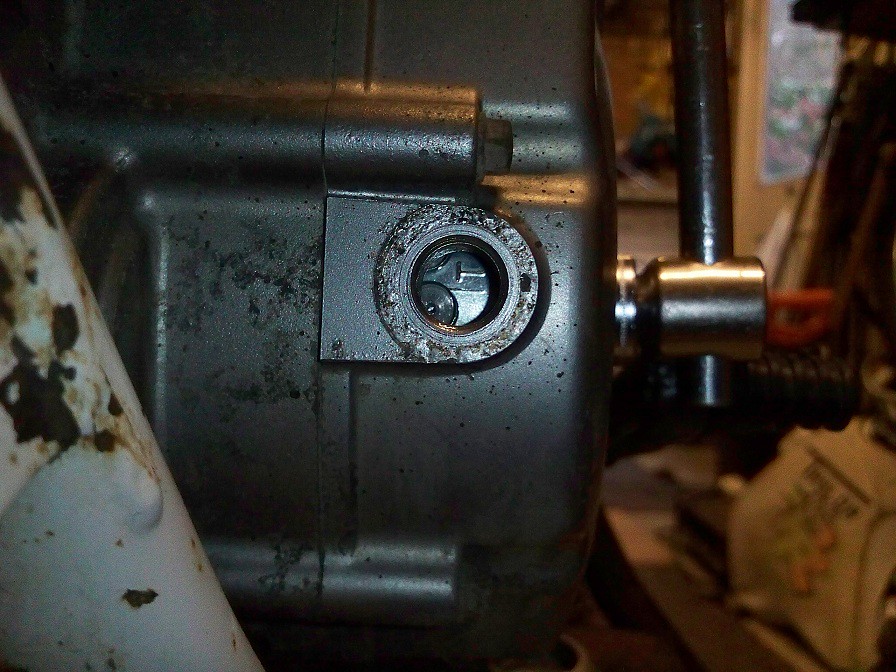
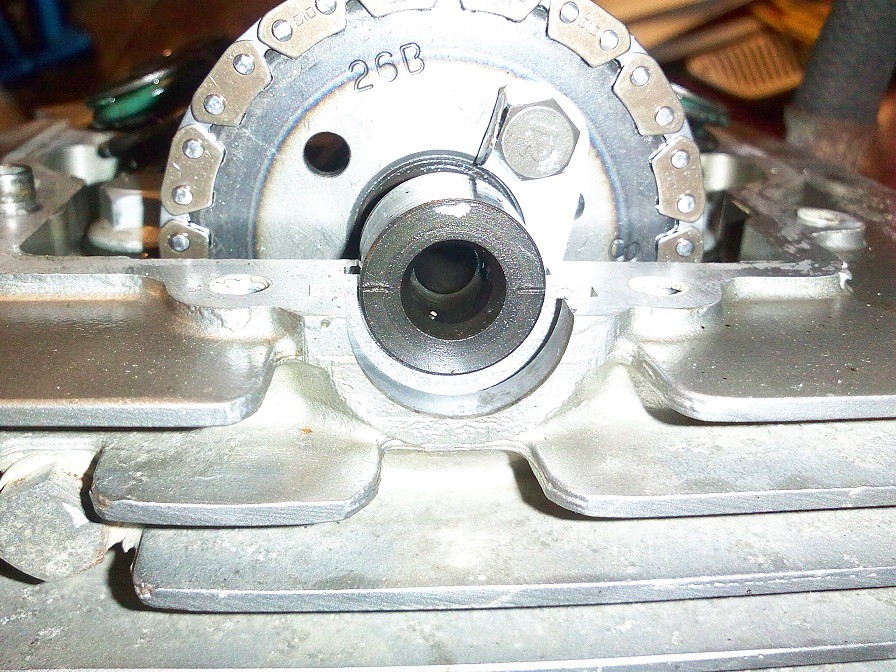
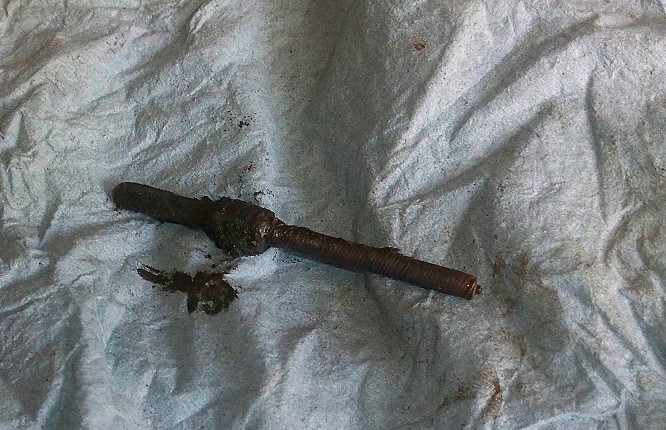
No speedo either, another thing rusted up and broke:
So what does it go like, come on get on with it!!
OK OK need to find some private ground first (obviously) then fire her up and settle into that mouldy old seat which sure is soft and comfy. The clutch is (now) smooth, as is the engine, pulling from low revs without complaint, and pretty much vibe-free.
But what does it REALLY go like?? !! Come on man!
OK, all right! Just need to find some more space and then wind the loud-handle to full.
WOAH!!

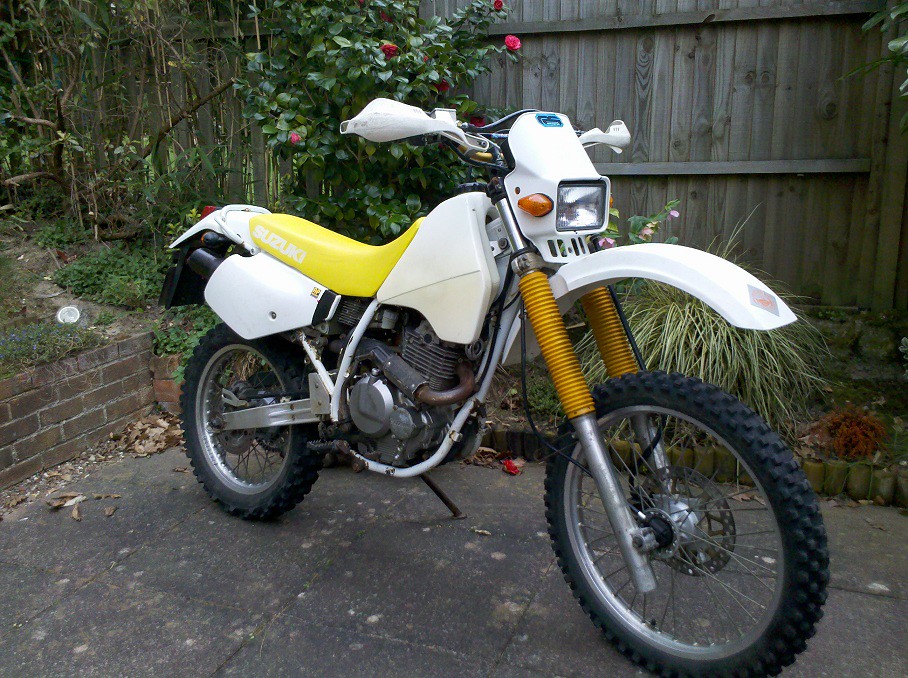
- I wasn’t expecting that! The lower gears disappear very quickly and even in 6th its still pulling hard at 70 - it really has got some go for an old air-cooled 350!
Certainly feels a lot different to my old DR back in ’98, the engine having a much gruffer tone and a significant step-up in power, while still retaining the DR350’s trademark smoothness and flexibility.
The lower gears can be used from idle, the engine then pulling hard right through the rev range and well into the red, with no hesitation, flat-spots or anything. Even at 30mph in 6th it picks up strongly, and will, allegedly, indicate 90+ quite easily!
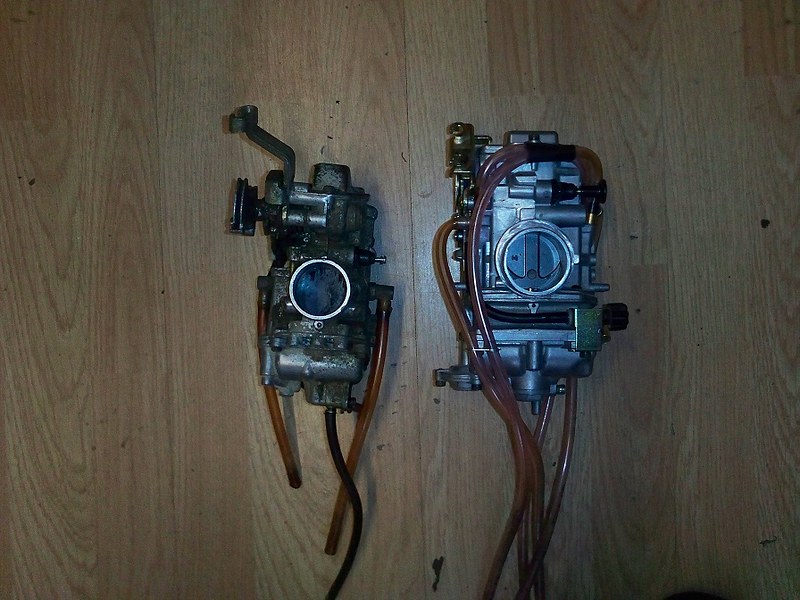
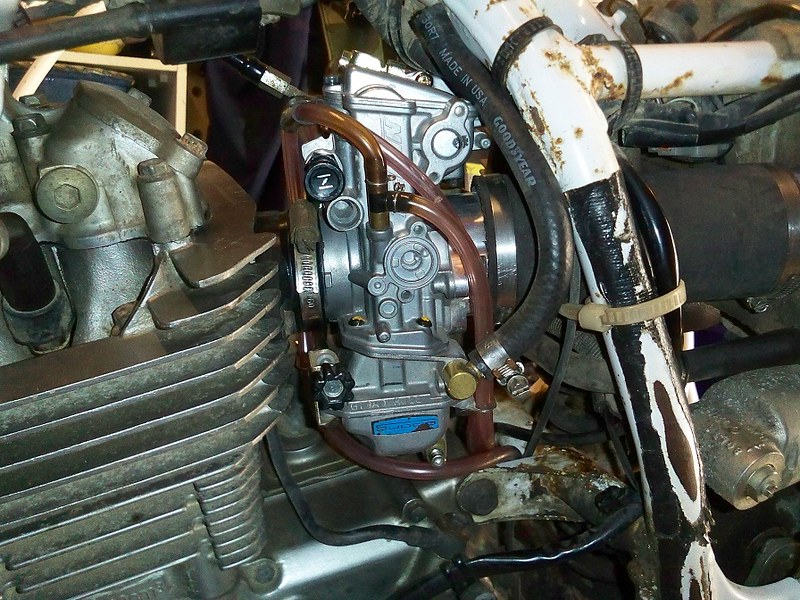
It would seem that a pumper-carb, Vortex airbox, over-sized header, and Kientech-modified silencer are very worthwhile modifications…
20 years old an’ all - very impressive.
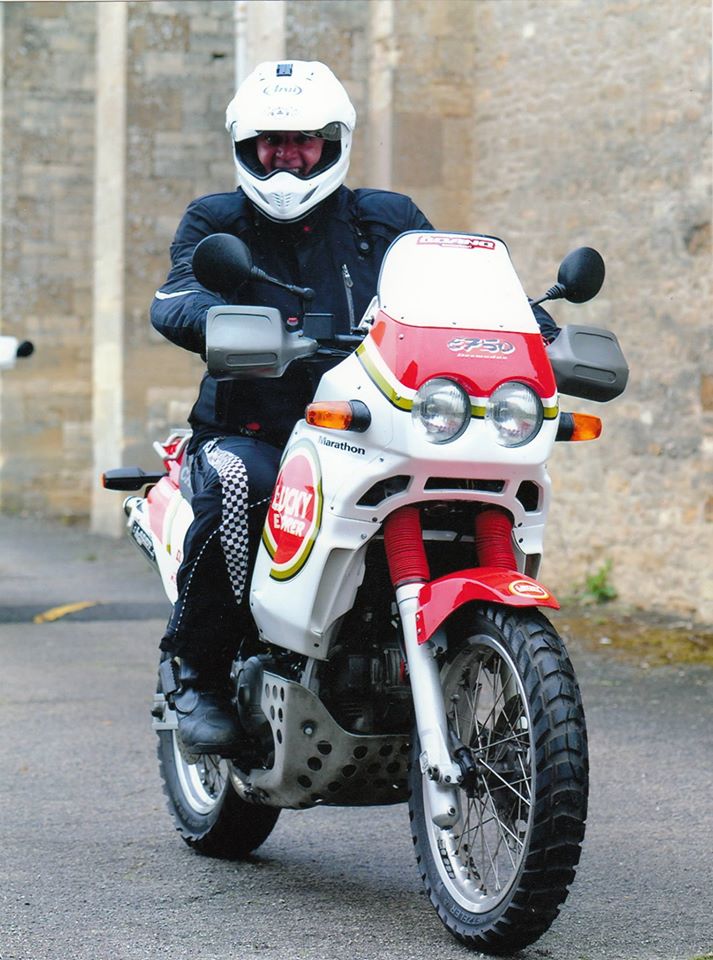
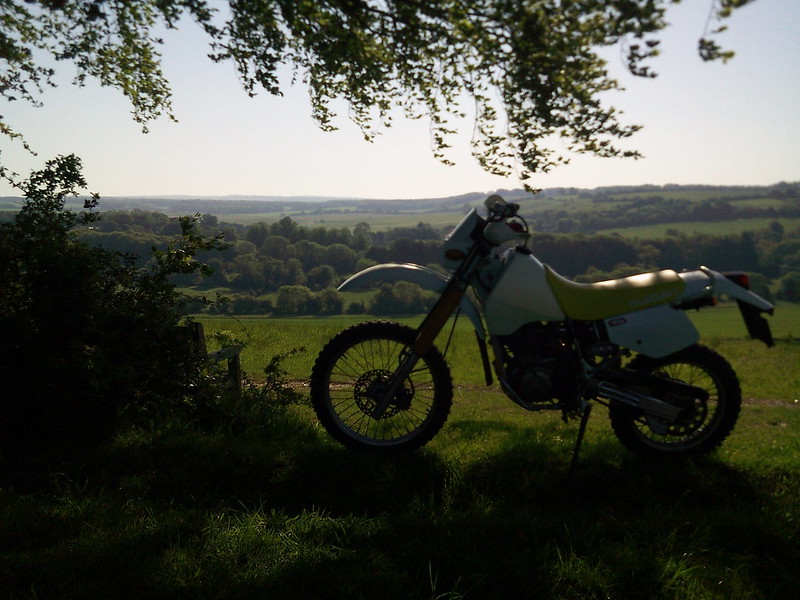
With the lights now working, the brakes fixed, the suspension play sorted, spokes tightened, carb fixed, cables replaced, knackered tyres removed, and all sorts of other stuff repaired the bike went in for an MoT and passed with flying colours – yeay!

Now, with that the bike was put to good use, from March onwards last year, and a load of photos to come, but first quite a major mod to be done, perhaps called a “farkle” as likes to be said here, and that is for chapter 6.