Despite managing to fire-up the bike briefly, (ie it’s a runner) the full list of problems on closer examination was a little daunting, bearing in mind that every nut and bolt was corroded and seized:
Clutch cable completely seized
Throttle cable semi-seized
Front brake dragging
Rear brake pedal completely seized
Rear disc and pads worn out
Rear calliper seized
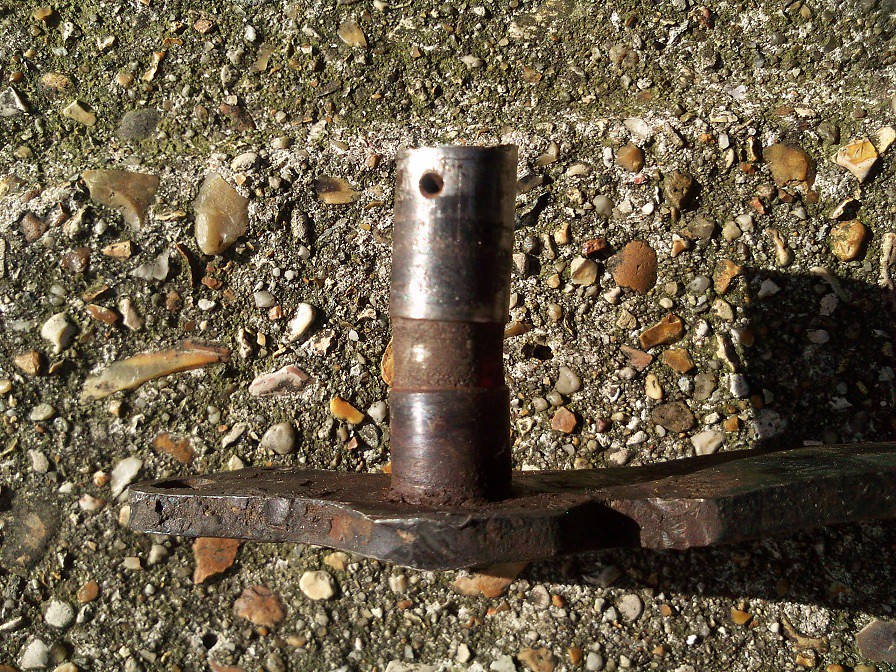
Lower shock mount badly worn
Chain roller seized
Petrol tap semi-seized
Choke seized
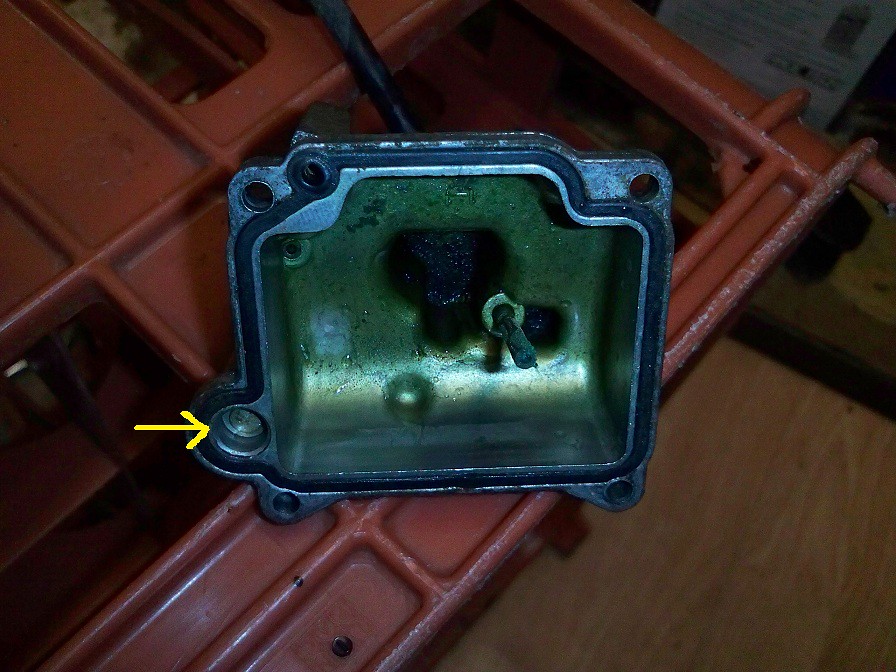
Carb full of goo,
And lots of other stuff either badly corroded, full of crud, or just plain broken.
Starting at the front, the tyre removed, the rim cleaned and loose spokes tweaked.
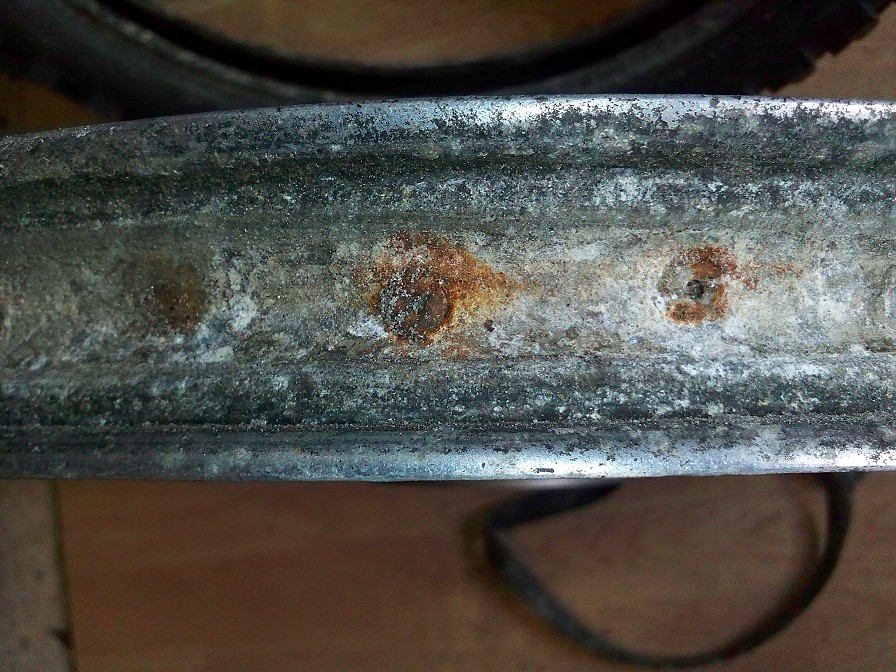
Looks worse than it was and would have pretty much written-off the bike if new rims and spokes needed. Then forks out….
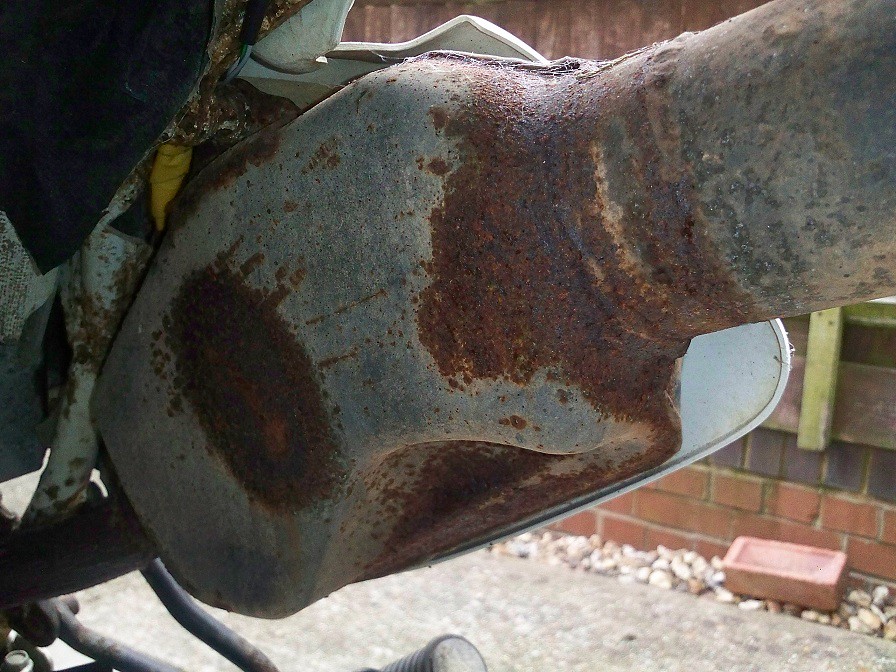
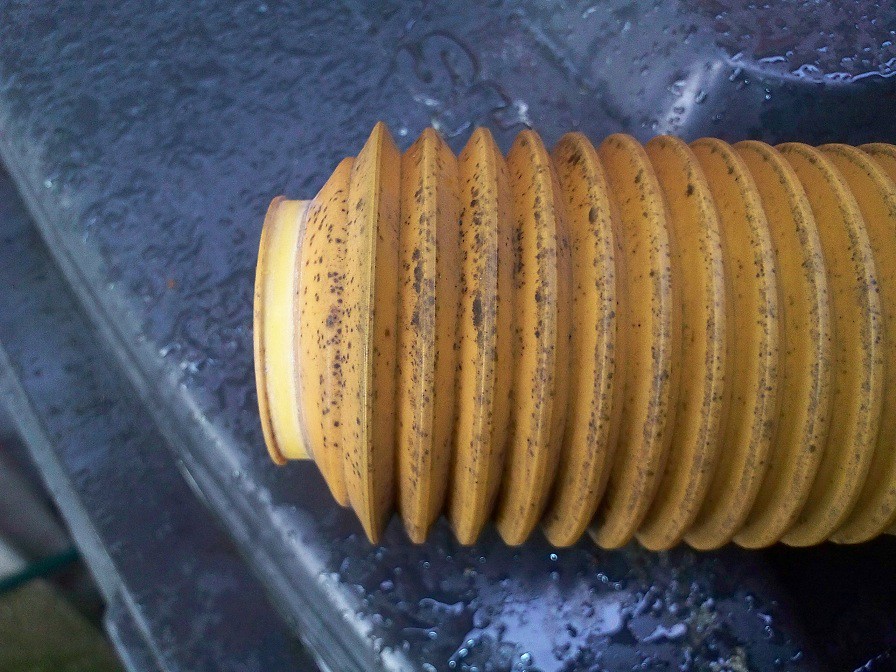
….to check-over and clean out 19 years of mud from inside the gaiters. Seals and chrome still good fortunately, but the mould on the gaiters refuses to come off:
Fortunately the brake pins holding the pads on both callipers came out relatively easily – its quite common for them to seize and be near impossible to get out. However the front brake pistons wouldn’t play ball so some new seals needed to get em moving smoothly again after scraping all the corrosion out the calliper….
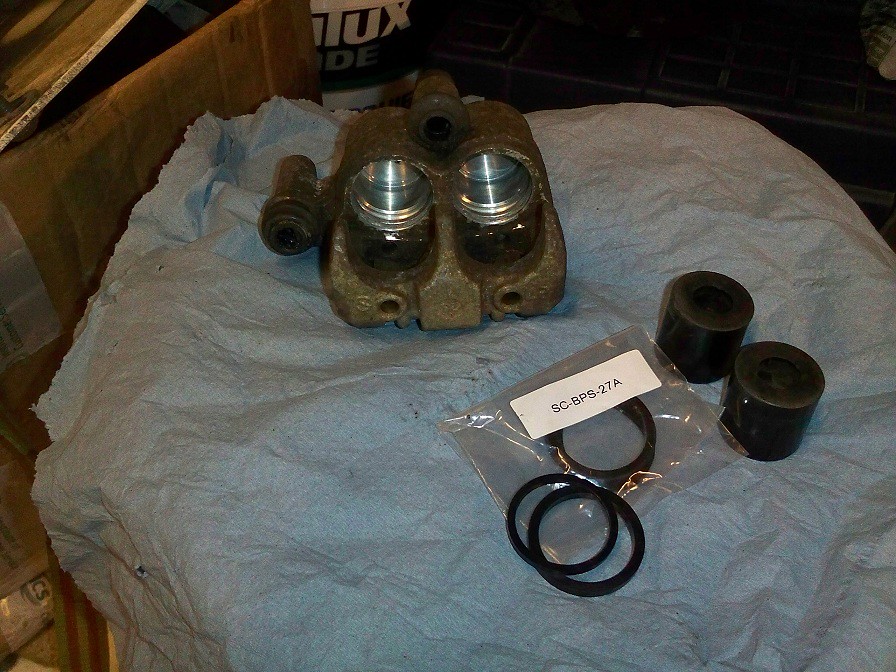
Corrosion builds up behind the seals and pushes them out harder against the piston, and hence sticking brakes.
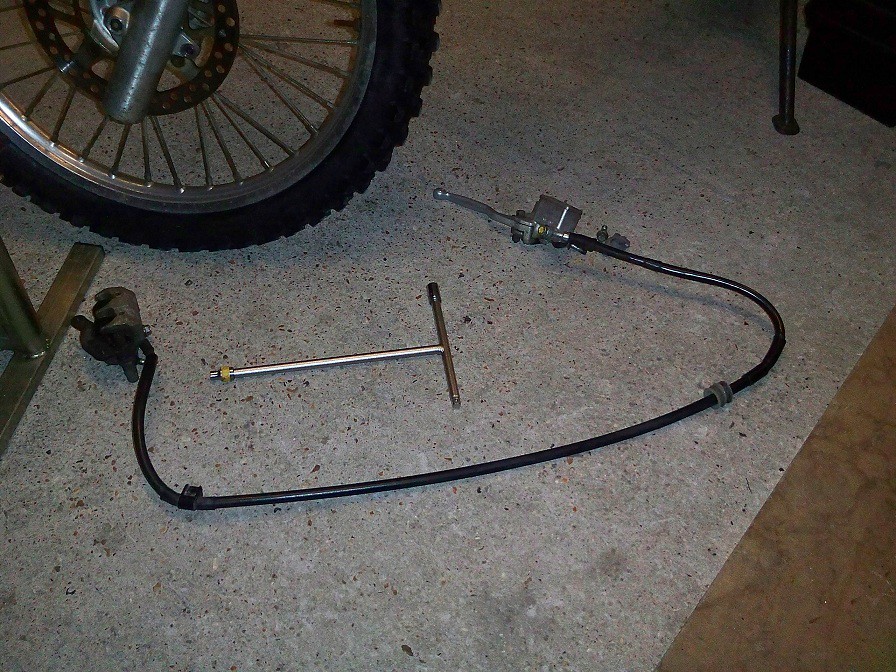
Bleed the brake on the bench with the calliper higher than the master cylinder makes things easier, and then ready to go back on:
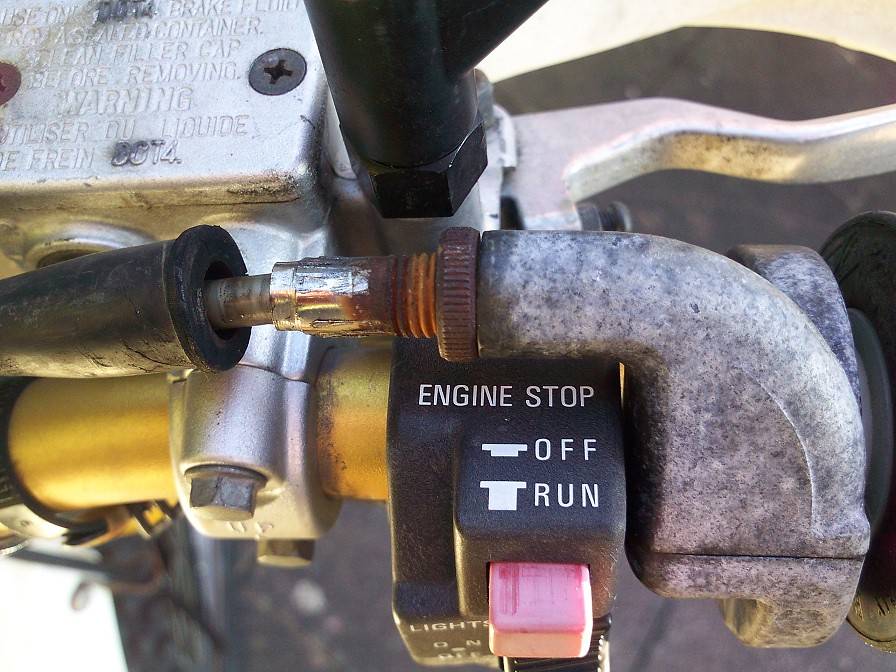
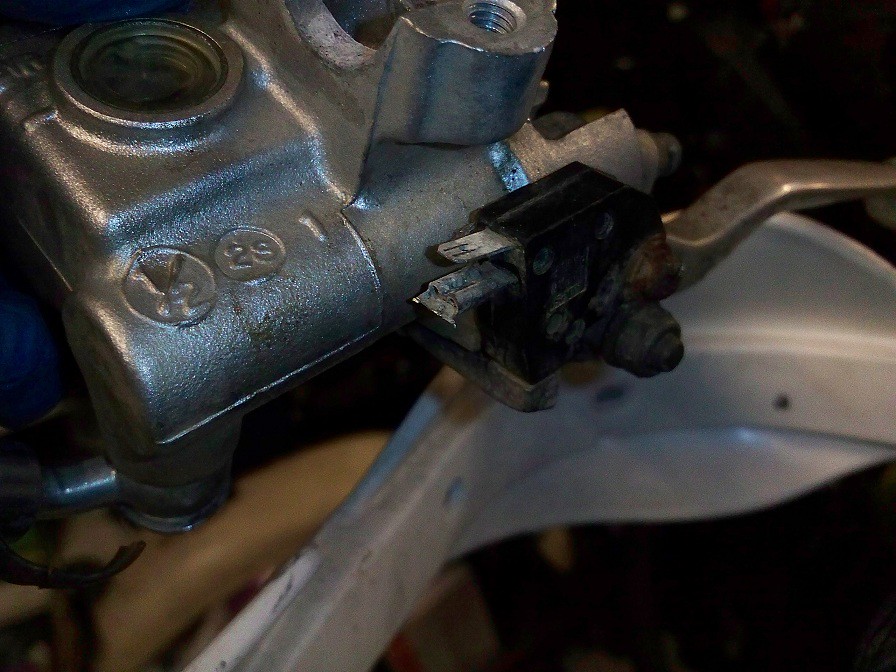
The terminal on the brake switch needs a small repair….
So that’s the front-end done, and relatively easily, unlike the back…
Pop the back wheel out, and tyre off. Oh that was easy to say but MUCH harder to do!!! Squeezing in a vice had no effect on the attempt to break the bead, so had to lay the wheel on the ground and run the car’s front wheel up a plank resting on the tyre! Even then it took several runs and jabbing the brakes to shock the bloody thing off!
Anyway, eventually able to clean the rim, tweak the spokes (we’ve been here before right?), then on goes a slightly(!) newer tyre, thanks to a mate.
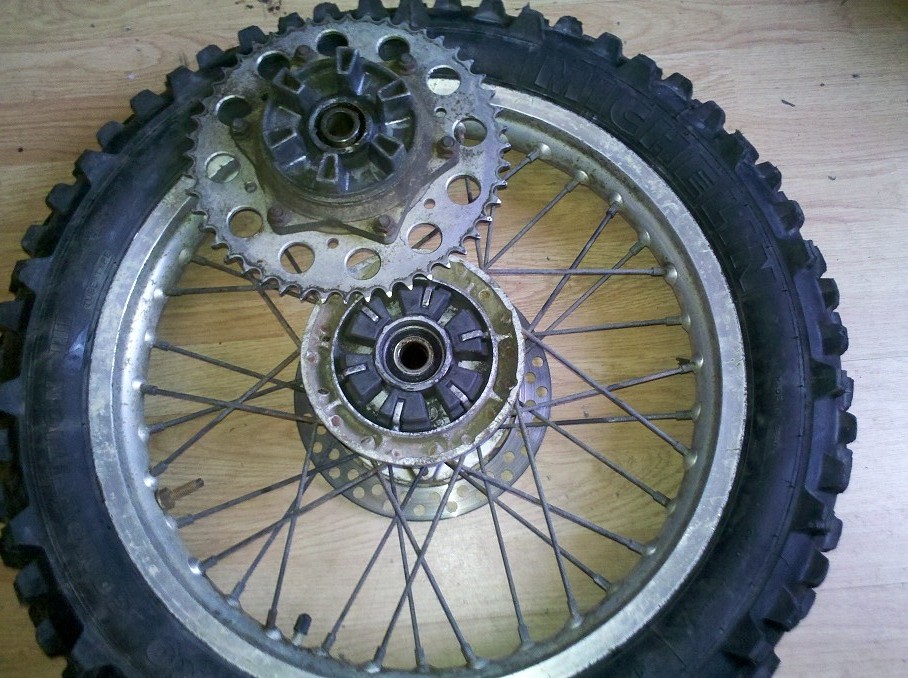
Ah yes, well-spotted - we have a cush-drive, a good thing I reckon, but full of muck like everything else and some time needed to clean it up…. But the rubber still usable, good.
Not so good the disk bolts though – completely seized and the cheesy soft allen-heads no use for anything, so had to get the chisel out to free them off. Then a nice thick new disk can go on:
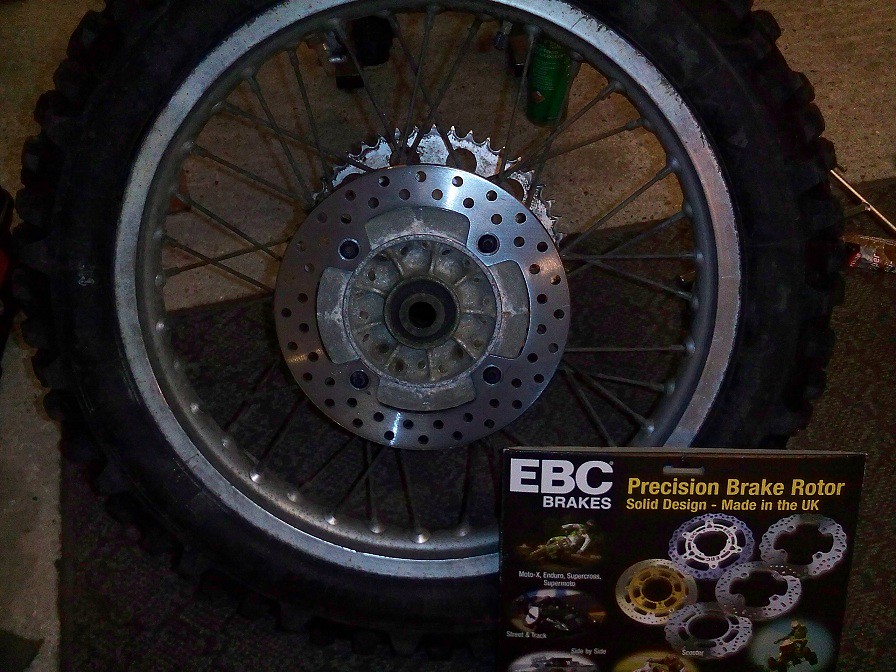
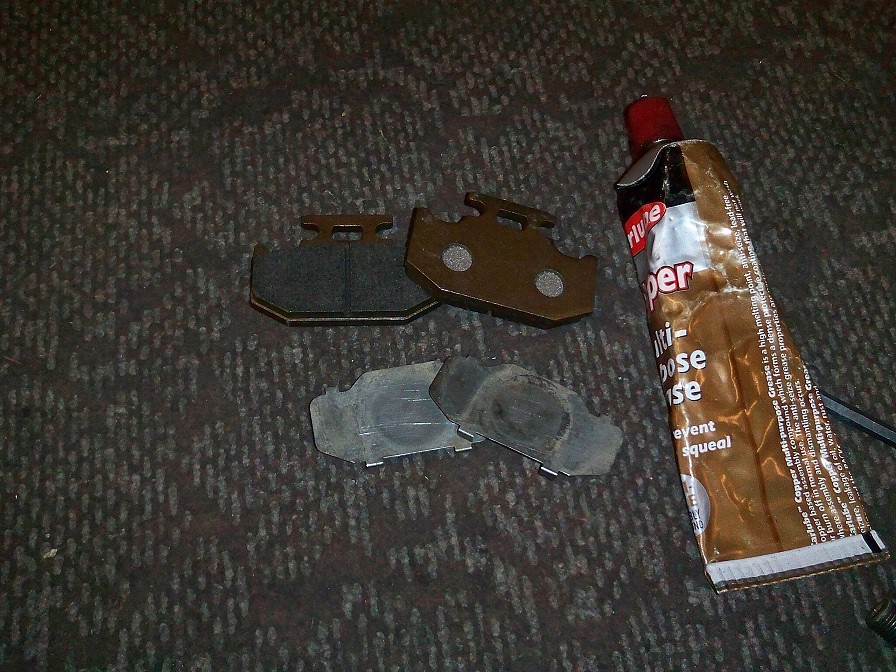
And some new pads of course:
I note slight play in the wheel bearings, <sigh> best order some up then as well….
The rear calliper and piston resuscitated successfully with a good clean and lube, unlike the brake pedal which was well and truly STUCK.
Must’ve taken a couple of hours to get the soddin thing out, beating, heating, and levering. Some fight I tell you.
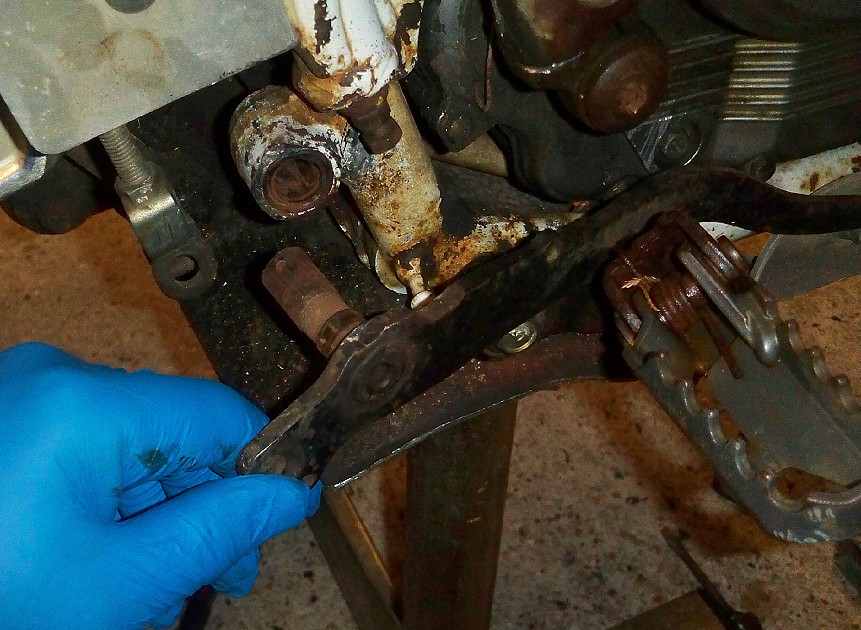
Closer examination reveals why – not only was it rusted solid, but bent as well!
Bit of repair needed on that then……
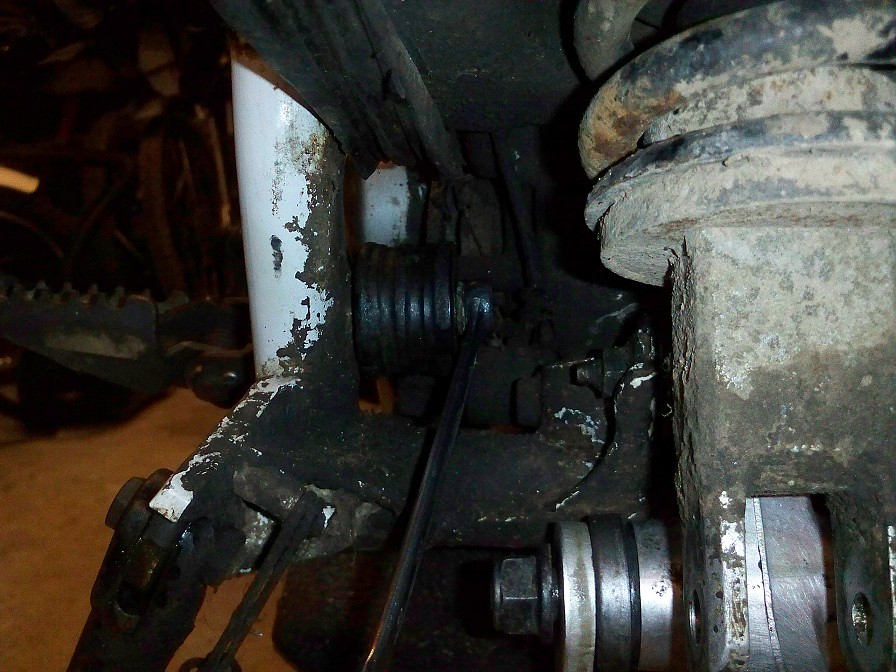
So got the brakes working eventually, front and back, now time to give the suspension some attention:
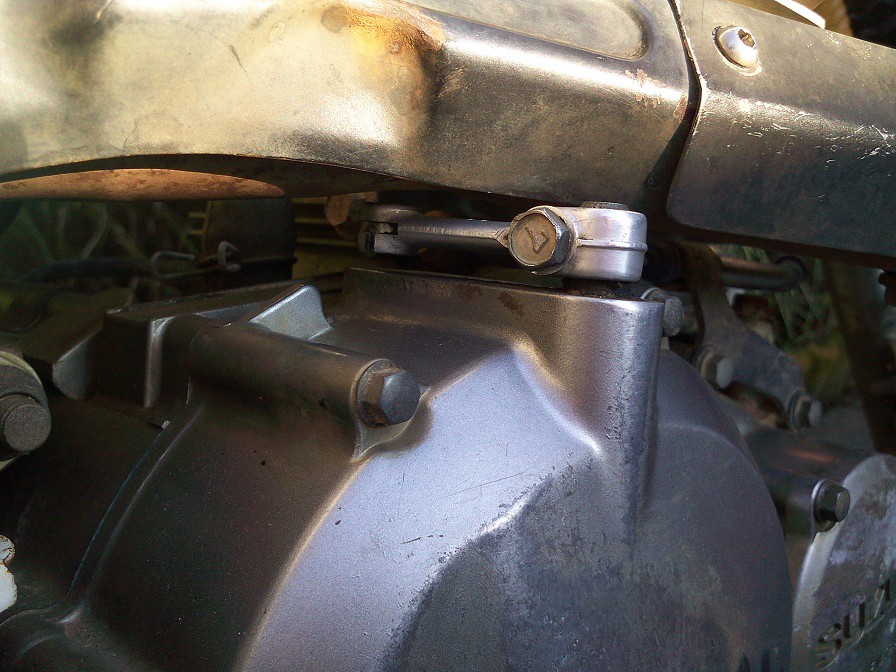
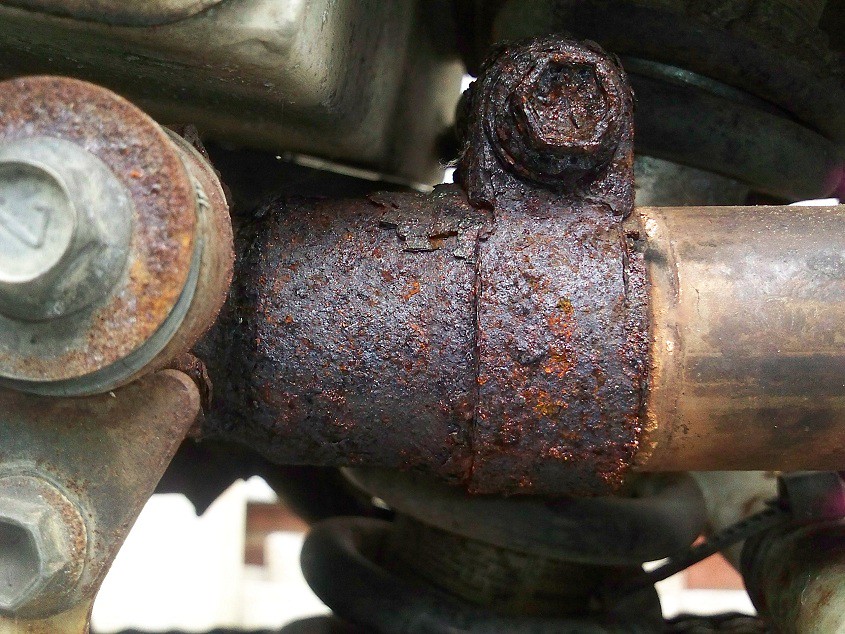
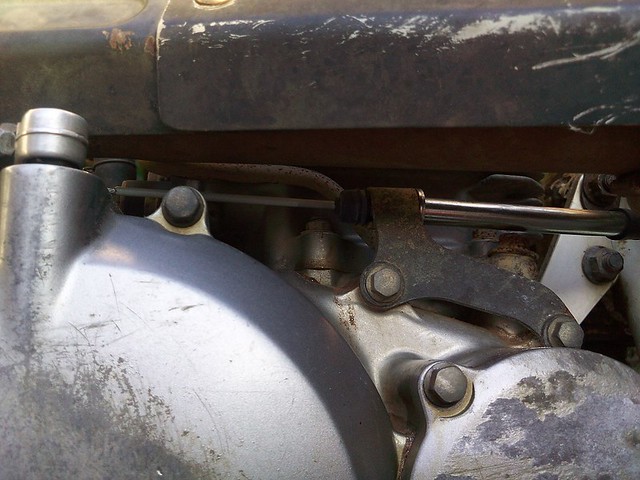
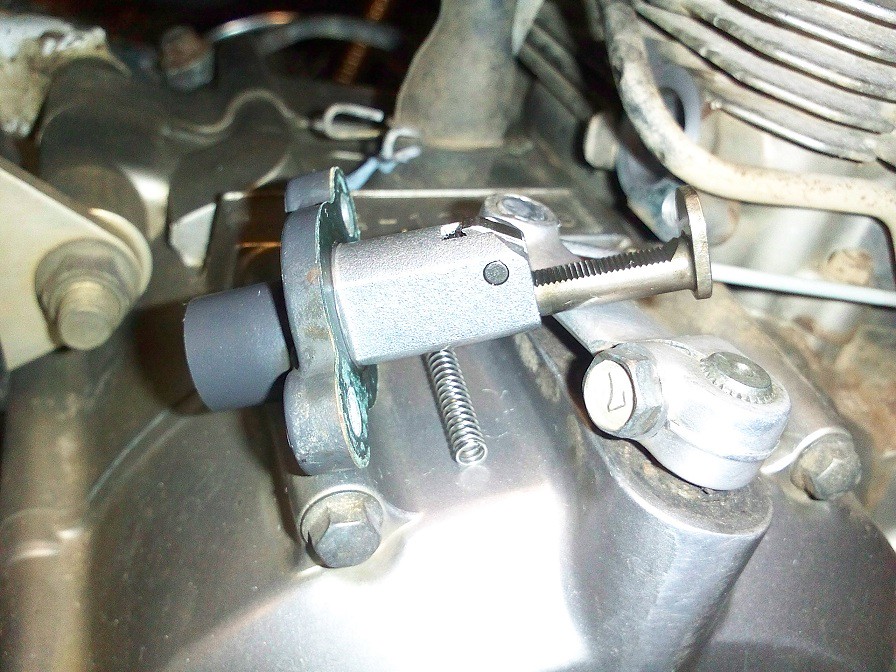
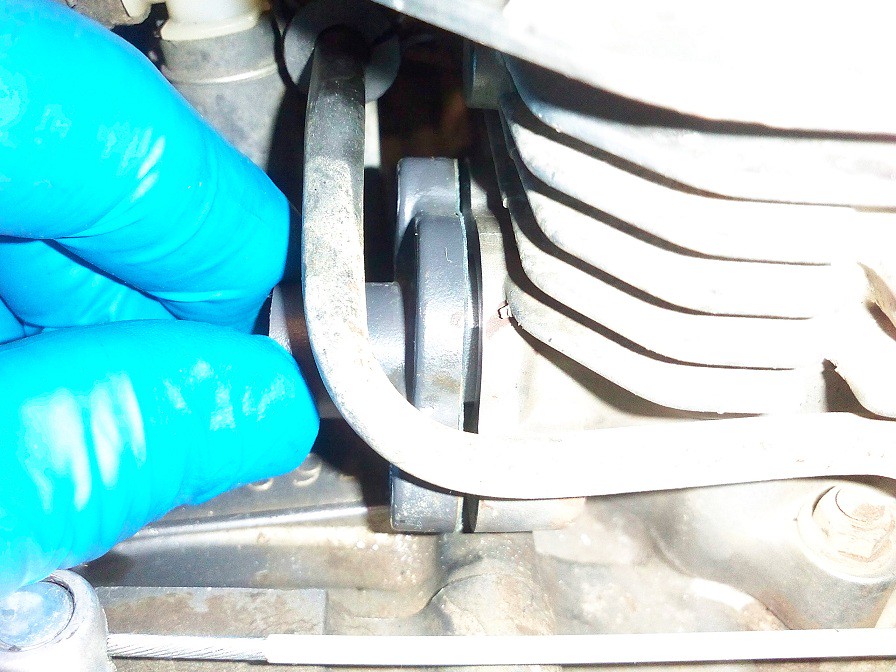
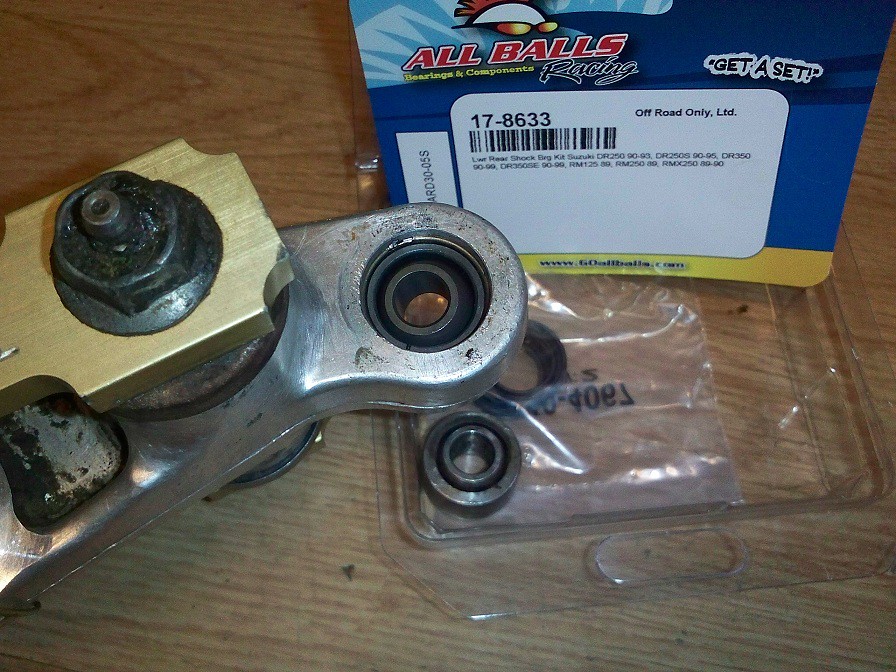
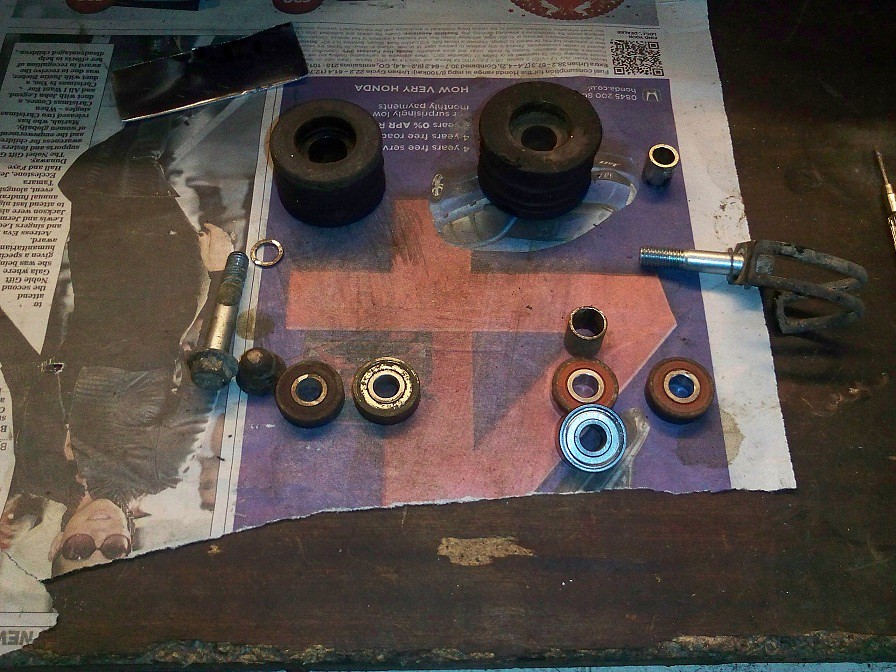
The linkage has to come off to replace the lower shock joint, a spherical plain bearing, on the right.
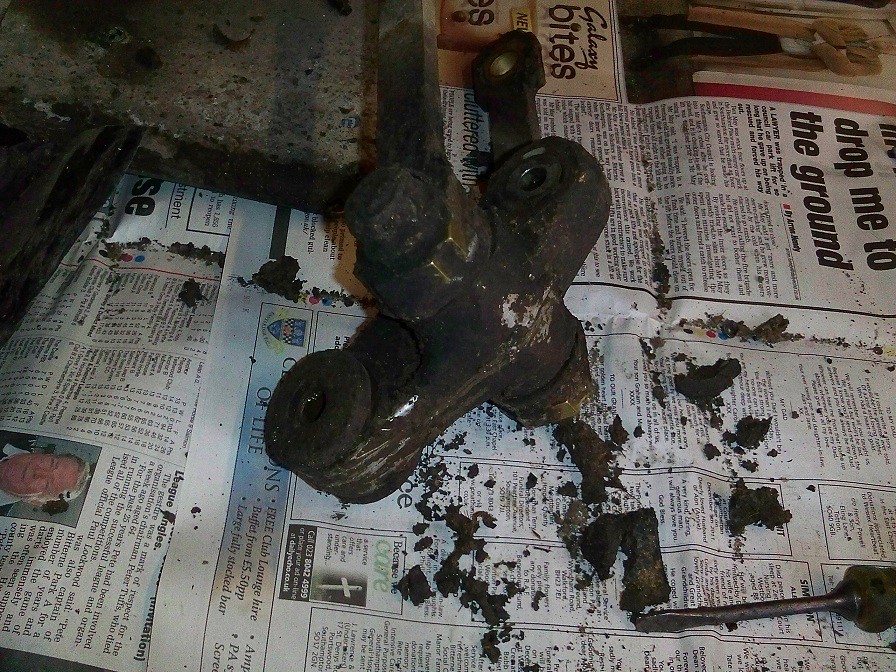
I hate doing linkages - a lot to be said for KTM’s approach and do away with the blimin things! Cleaned up, and yes, it’s the same thing as the previous photo:
A bit of hot air gun, and the bearing fresh out the freezer, it presses in very easily:
However it was a right pain to get the wire circlip things out as you just can’t get anything behind to lever them out. Learn since that a well-positioned whack with a centre punch can bend them enough to help.
New seals to pop in as well. The bearing is the same as a KTM PDS but without the Teflon nonsense so you can at least grease the sh!t out of it.
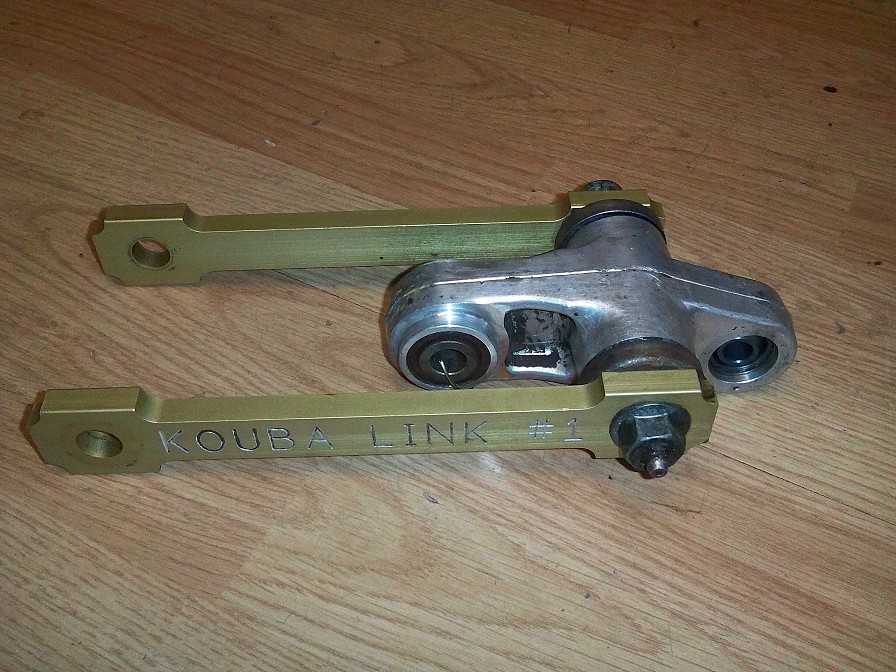
And then back on go the original links:

Why oh why you ask! Well, hard to believe but the fractionally longer Kouba link drop the seat by nearly two whole inches, and hence the footpegs and bottom of the engine too. I prefer my bikes to sit tall and out of the ruts and bumps - I’ll deal with reaching the ground as needed.
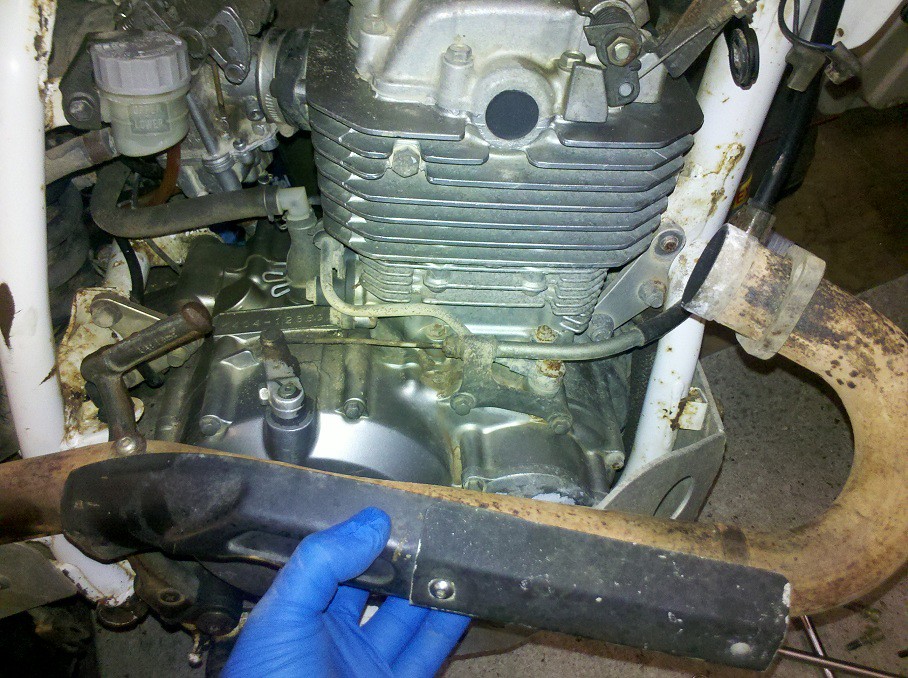
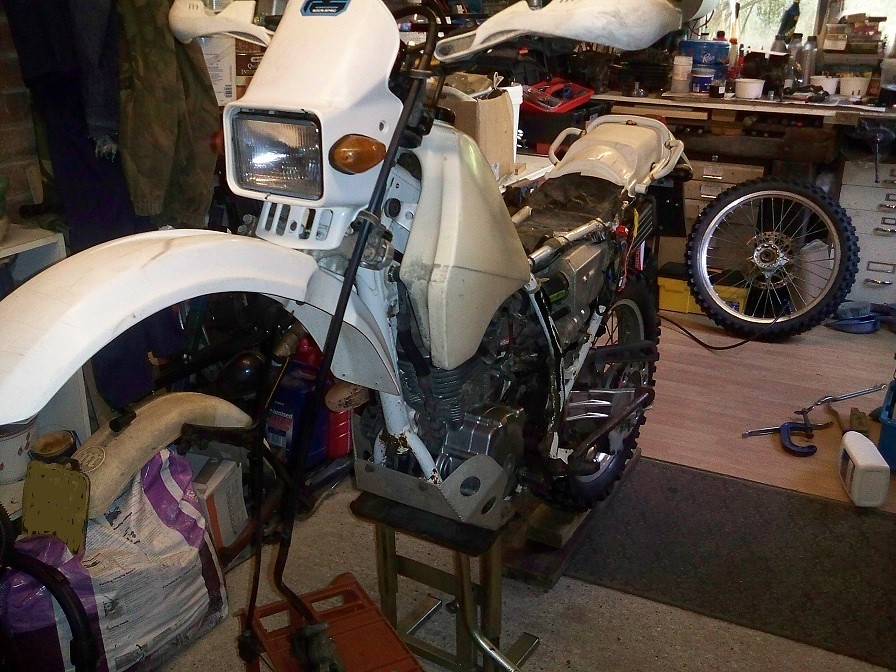
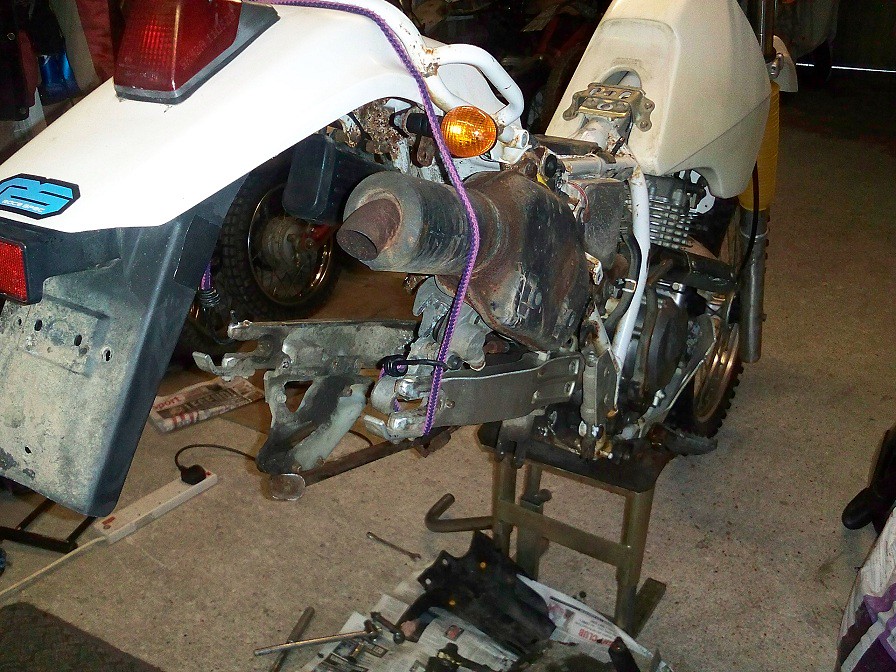
Shall we move onto the drivetrain? - its not looking very healthy though:
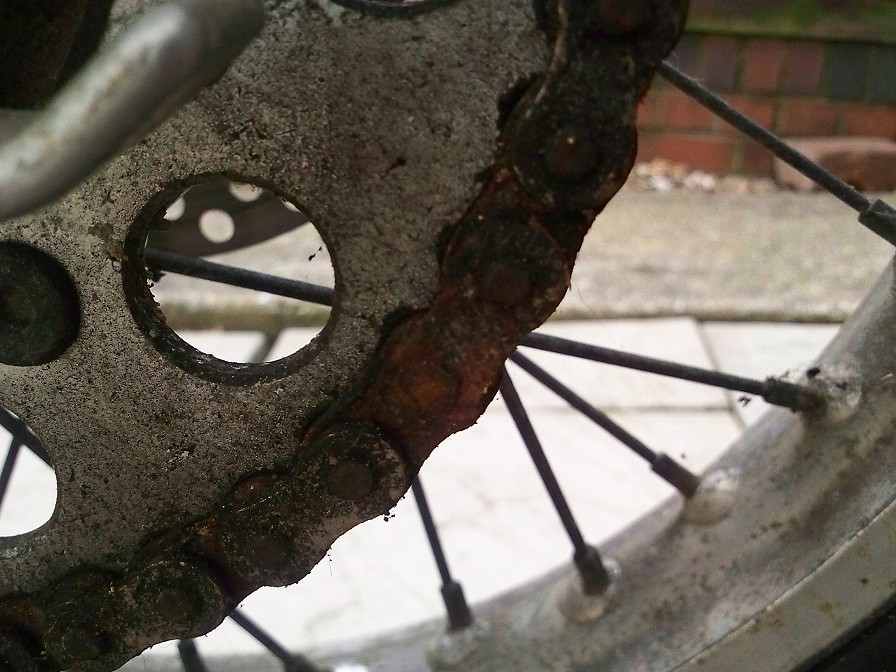
And after soaking in WD-40 several links remained seized solid and it was declared BEYOND HOPE. An old chain is now fitted until final gearing decided on, and a new chain will go with it.
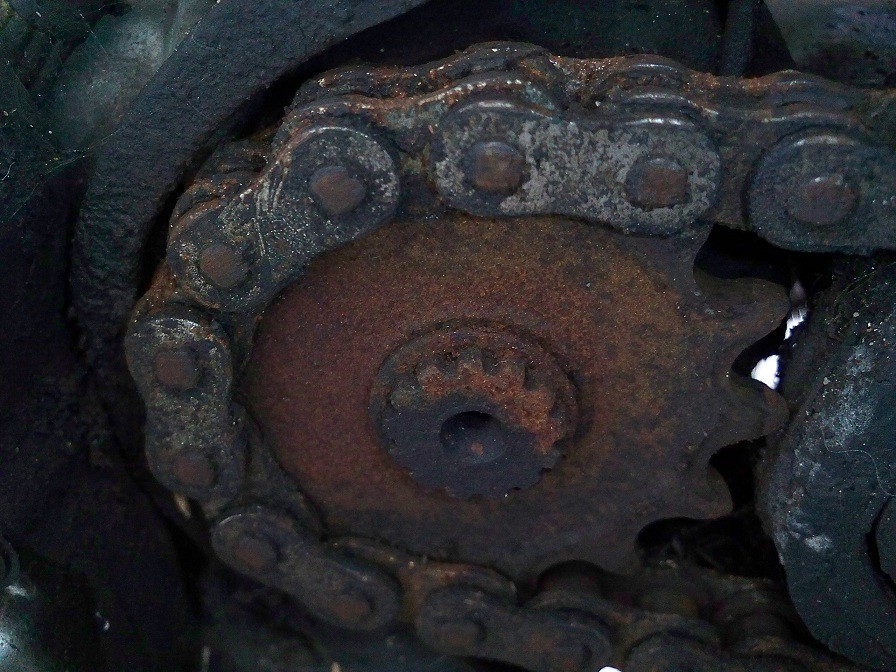
The lower chain roller may seem insignificant but is constantly rotating on these bikes so best not ignored. Needless to say mine was not of the rotating type so it had to come off….
The top roller not so critical so stole a good bearing out that along with a new one that was “just lying about”:
So we now have suspension, brakes, and final drive, but nothing to actually move the mouldy beast, suppose I’d better take a look eh.