Trans-Am 500 - the seven year itch

Where you've been and what you done
JMoandpiglet
Posts: 283
Joined: Wed Dec 19, 2012 9:58 pm
Has thanked: 8 times
Been thanked: 17 times

Re: Trans-Am 500 - the seven year itch

Post by JMoandpiglet »

Day 11 (Moab day 4): Onion Creek, Thomson Canyon and Hell's Revenge.

Mileage today (approx): 97

Since the previous day had taken us all longer than we'd expected (not least having the 4x4 Toyota FJ along, which dramatically changes the pace off-road), we elected to return along hwy 128 the following morning and take a more scenic trail ride/drive through the valley below Top of the World, that offers a real sense of travelling cross-country.

Onion Creek is so named because the wild garlic that grows alongside the water smells a lot like spring onions... The trail itself is a reasonably well maintained dirt road, that features numerous creek crossings, albeit it usually shallow, especially at this time of year.
Image


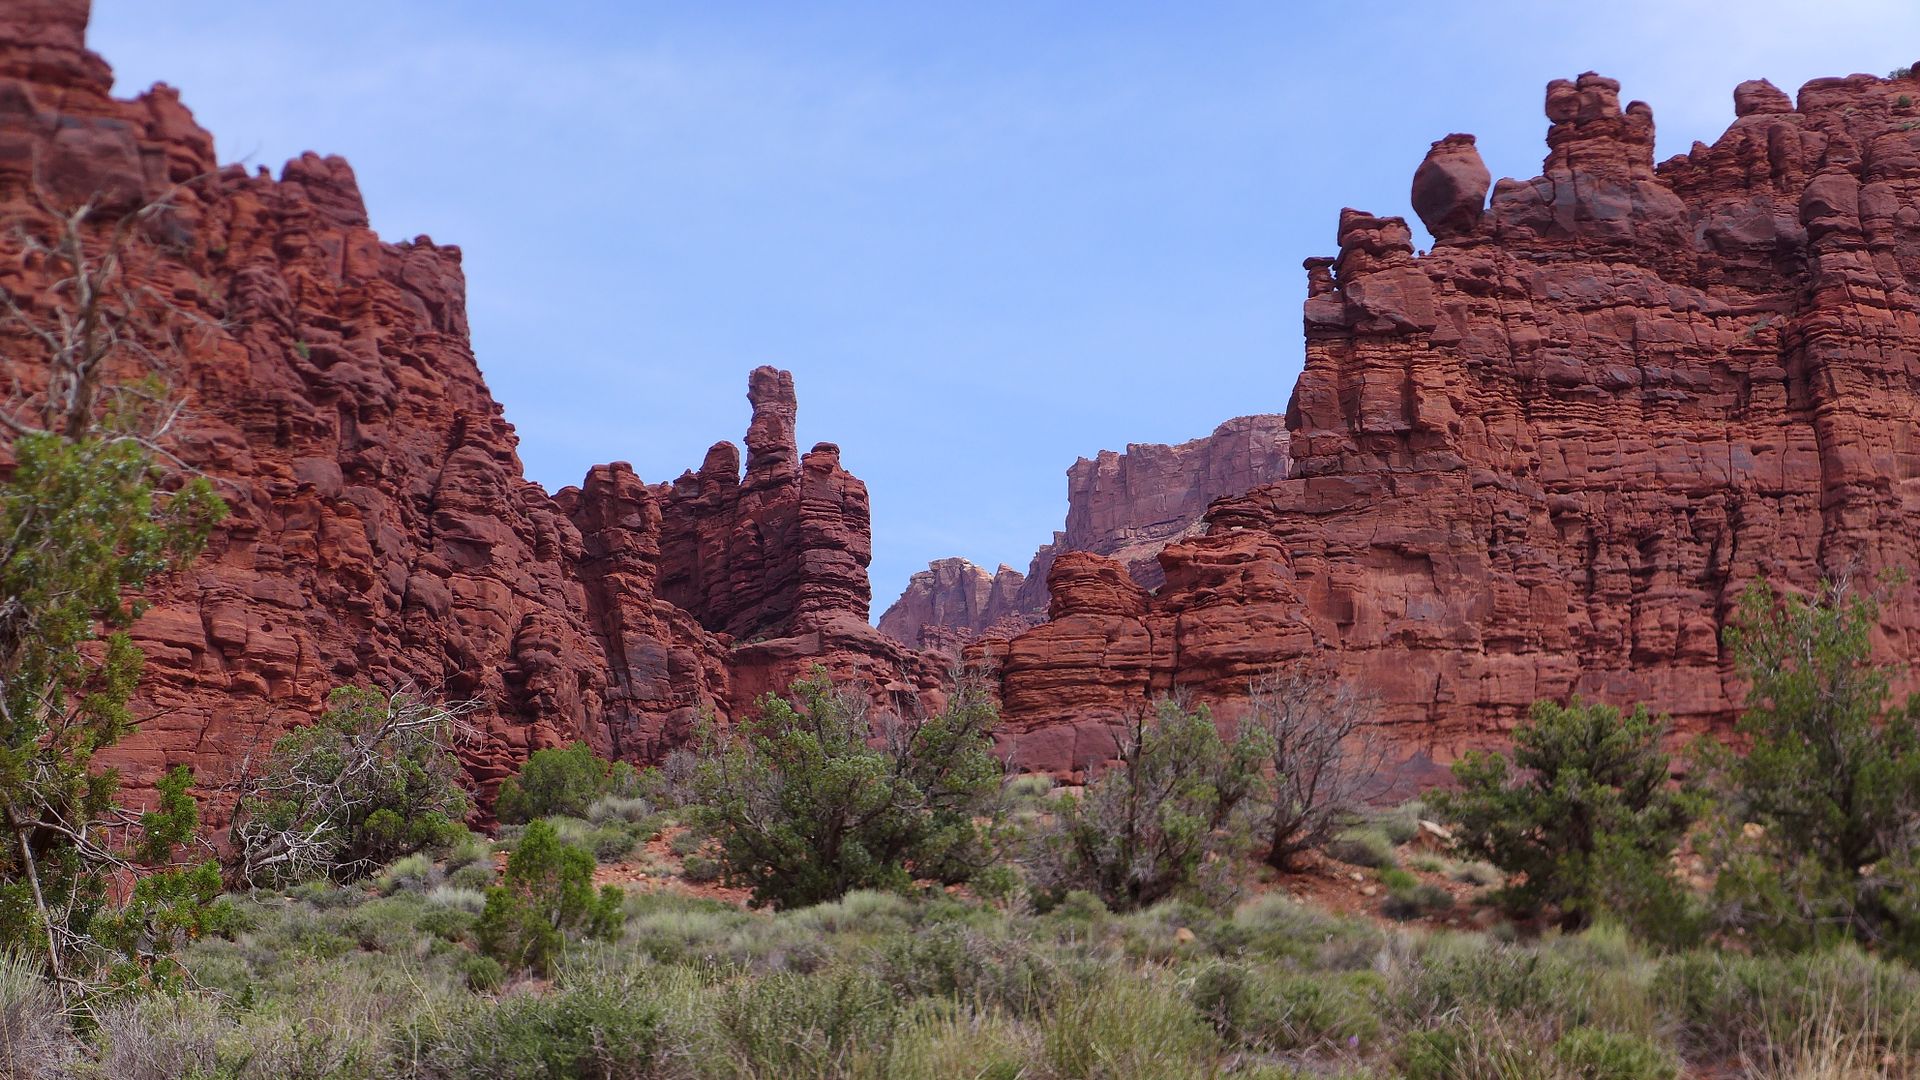
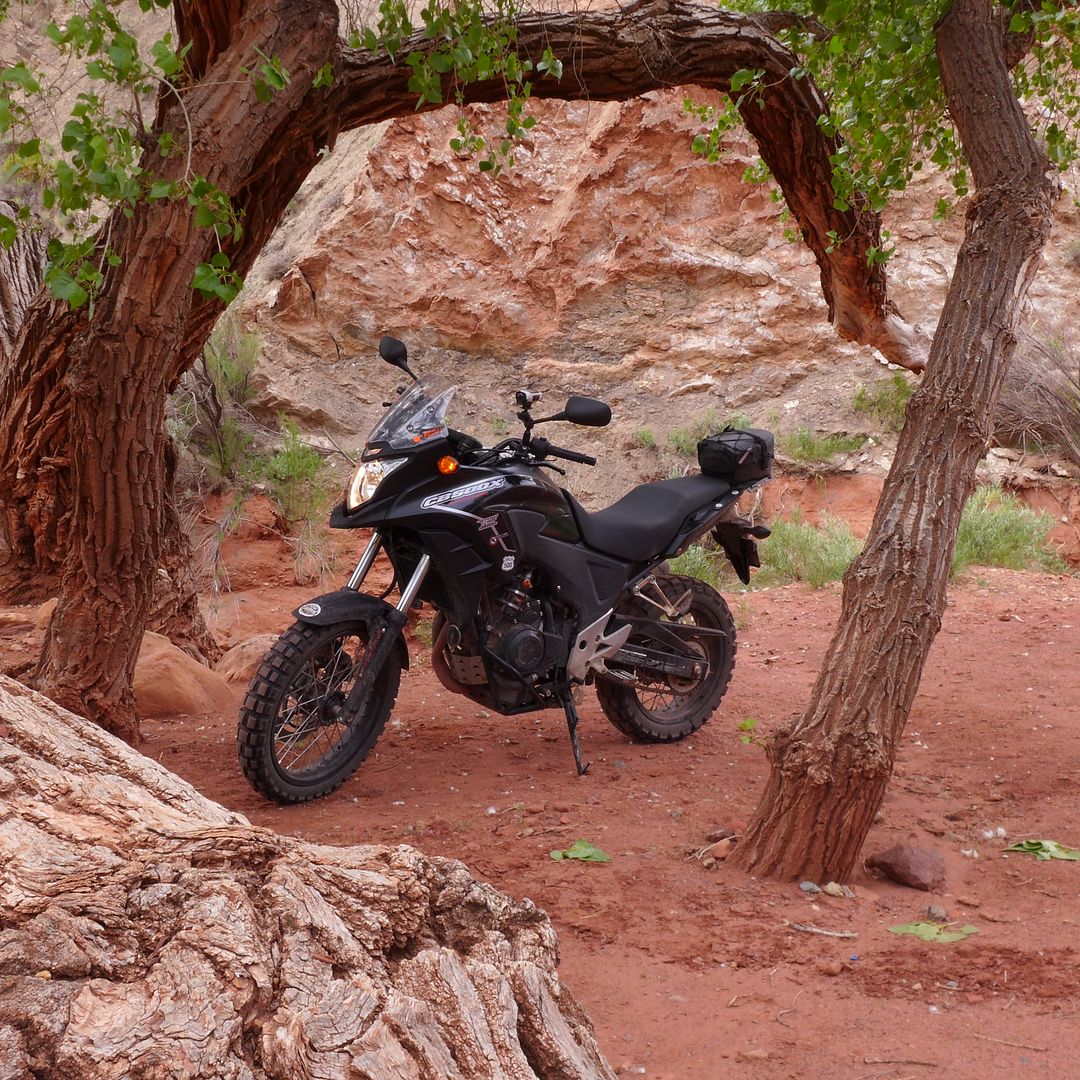
The scenery as you pass through the canyon is like something out of a Wile e Coyote cartoon, full of strange columns and balanced rocks... While the odd burst of greenery can provide a cool and welcoming rest or picnic spot from the otherwise fierce sunshine.
Image


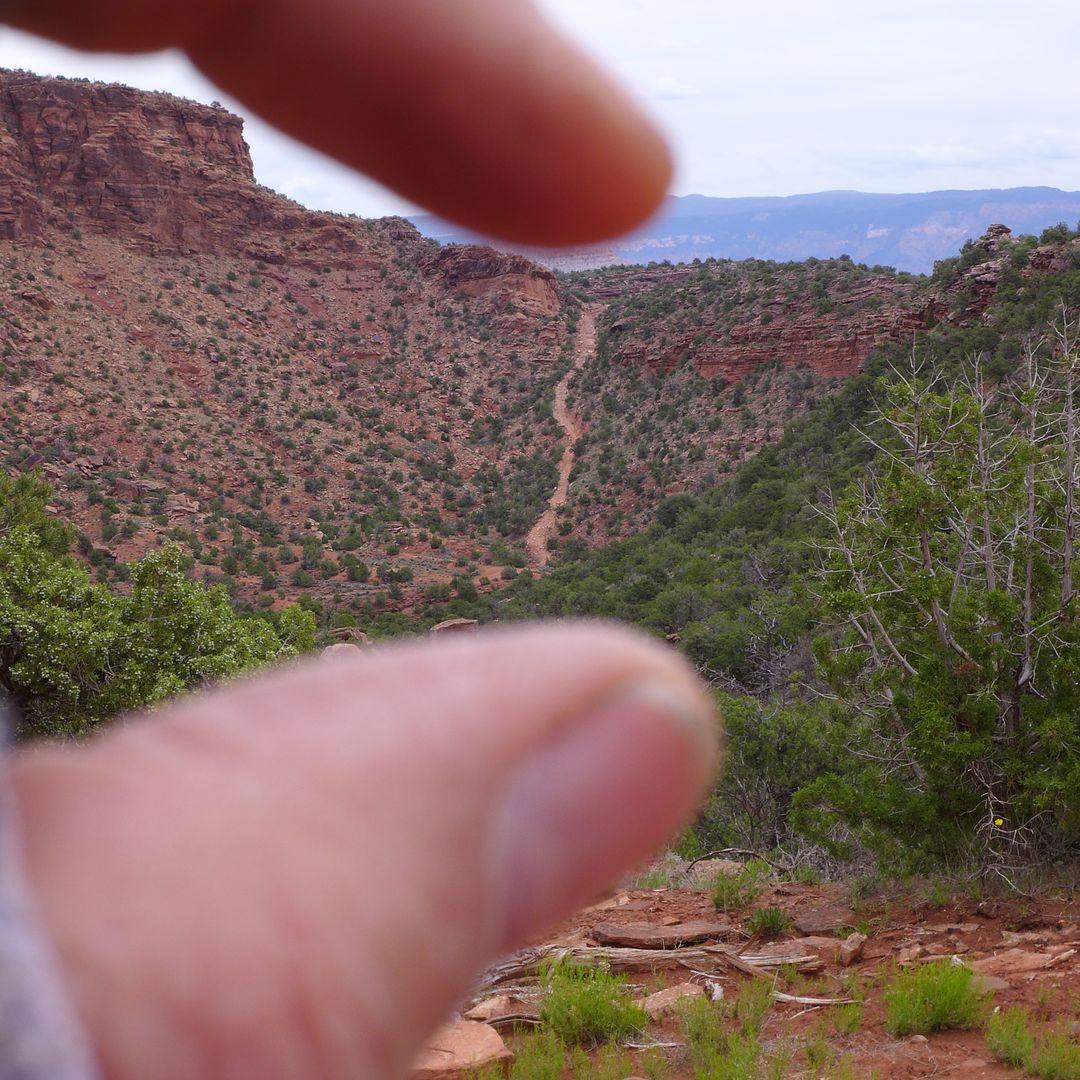
It was fun to try and spot the 'diving board' promontory at Top of the World high up on the cliff above us, before electing to take the side trail that leads to the bottom of the infamous 'Rose Garden Hill' (another Easter Jeep Safari favourite) as a suitable spot for lunch. On arrival we were fortunate to witness a number of well prepared Jeeps attempt the climb, which is always fun to watch.
Image
photo. Looks like an innocent quarter mile from a distance doesn't it? - the reality is a typically 30 degree or more slope full of loose rocks and shelf steps about 2/3rds the way up...

I would add that I have actually ridden down Rose Garden Hill on an XT225 in the past, and it was nerve wracking to say the least - so goodness knows what it must be like to try and go up this loose rocky climb on a one-wheel-drive machine - it was certainly not something I was going to attempt on the hefty CB-X... I may be crazy, but I'm not insane!!!


Image

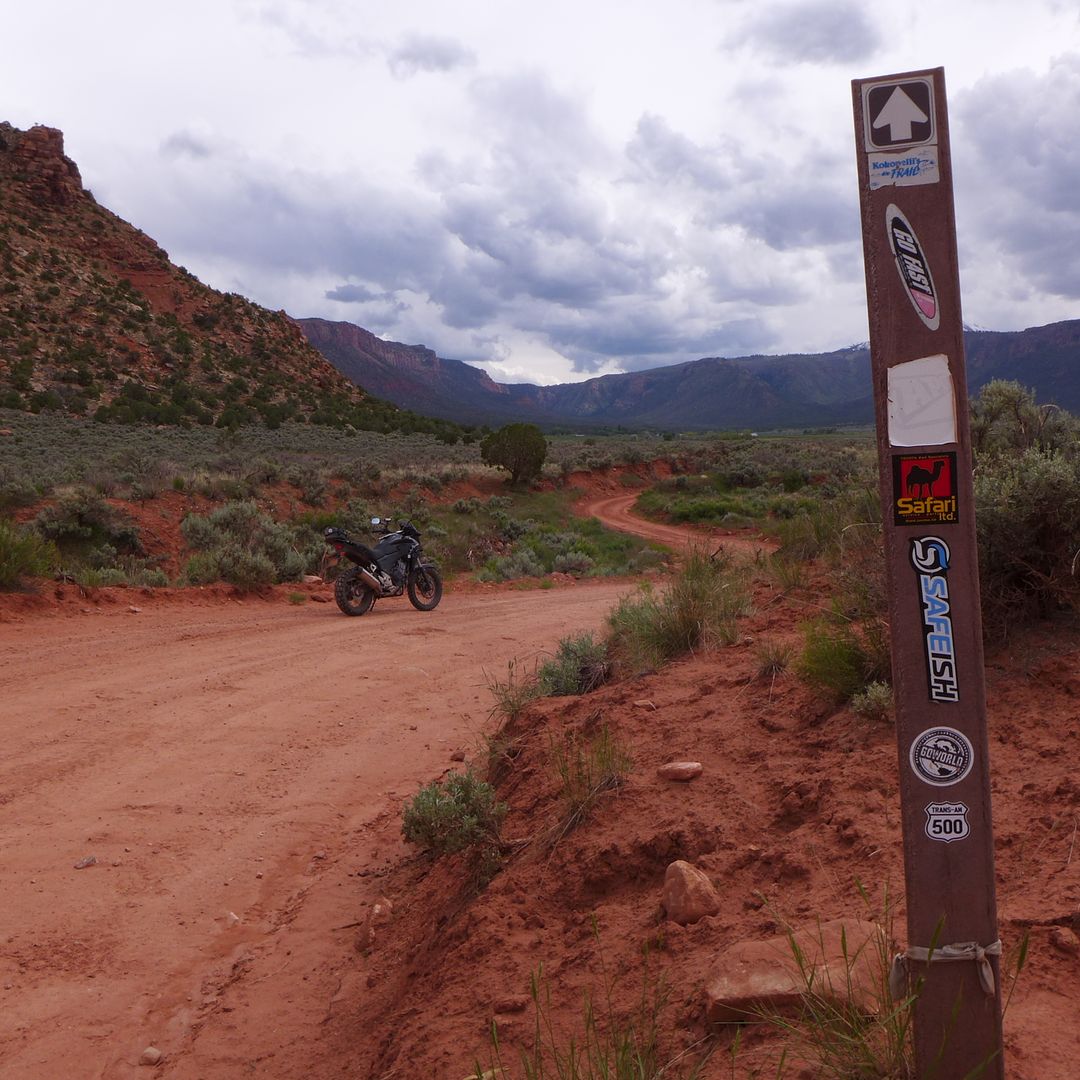
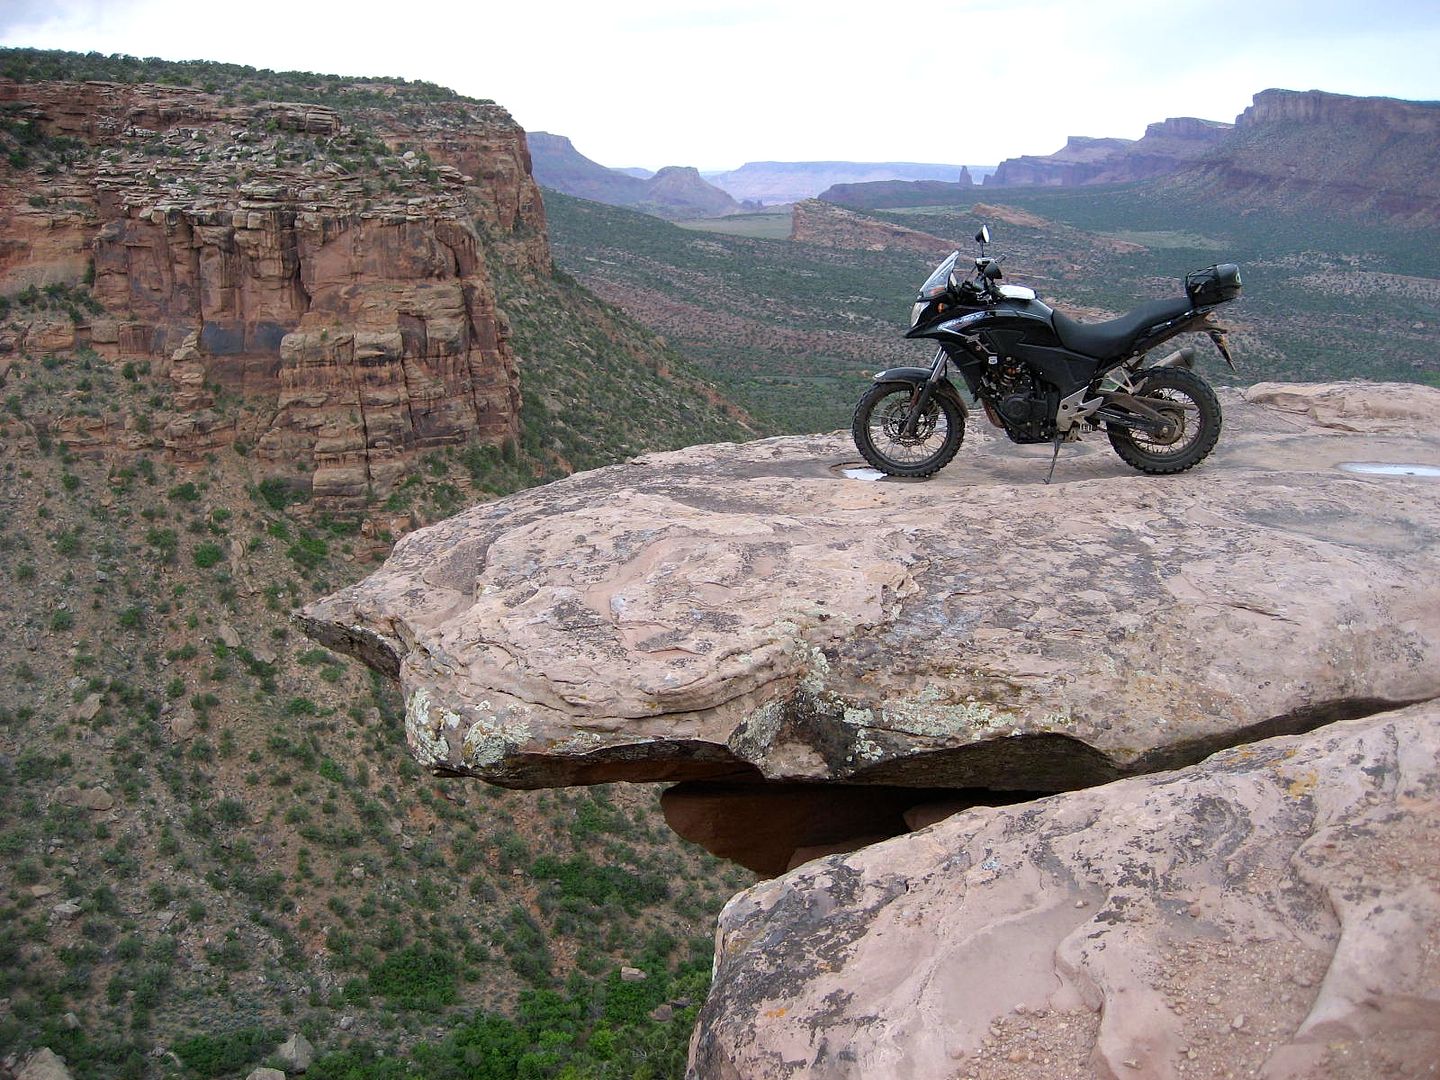
Having left a TA500 sticker on a marker post at the trail junction, we continued to climb up into the foothills of the La Sal mountains, through the scenic Thompson Canyon, which in turn led to some stunning views across the valley below:
Image

...Before returning to Moab via the Kokopelli Trail (and scenic Sands Flats Road) for what would be a fitting finale for our four-wheeling friends... The legendary Hell's Revenge slick-rock trail!


Hell's Revenge

Slick-rock - an abrasive sandstone surface which (on-the-whole) offers exceptional grip - isn't unique to Moab, but certainly there is nowhere else on earth where it is available in such quantity, and fundamentally, where you are actually allowed to ride/drive on so much of it!
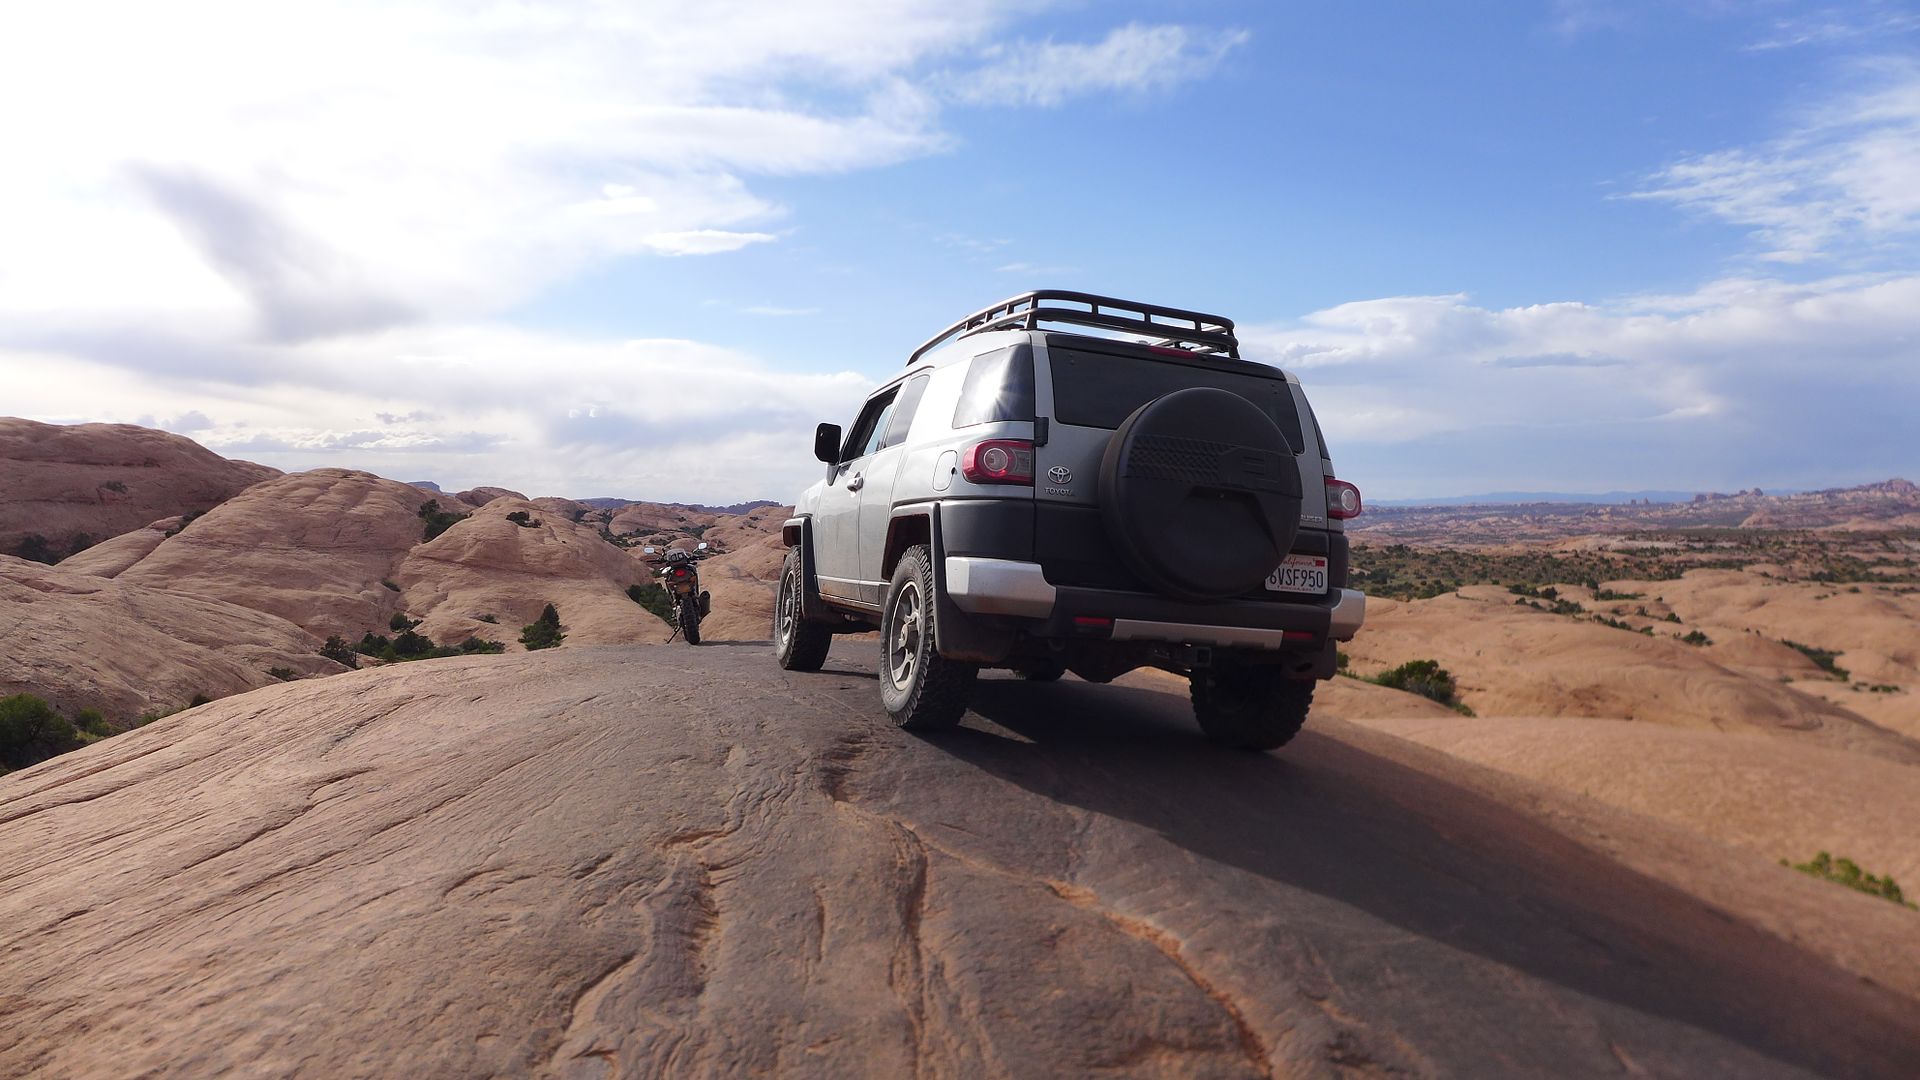
Image

While there are hundreds of square miles around Moab that feature multi-user trails, just to the east of the town is a huge plateau of slick-rock dedicated to recreational use, be it on two or four wheels, and powered by either legs or engines - marvellous!

There are three* key trails off Sand Flats Road - at the eastern end Porcupine Rim is primarily a mountain bike trail, that features an exhilarating single-track decent from the rim down to the Colorado river (and hwy 128).

*Four if you include the dedicated Slick-rock Bike Trail that shares much of the plateau with Hell's Revenge...

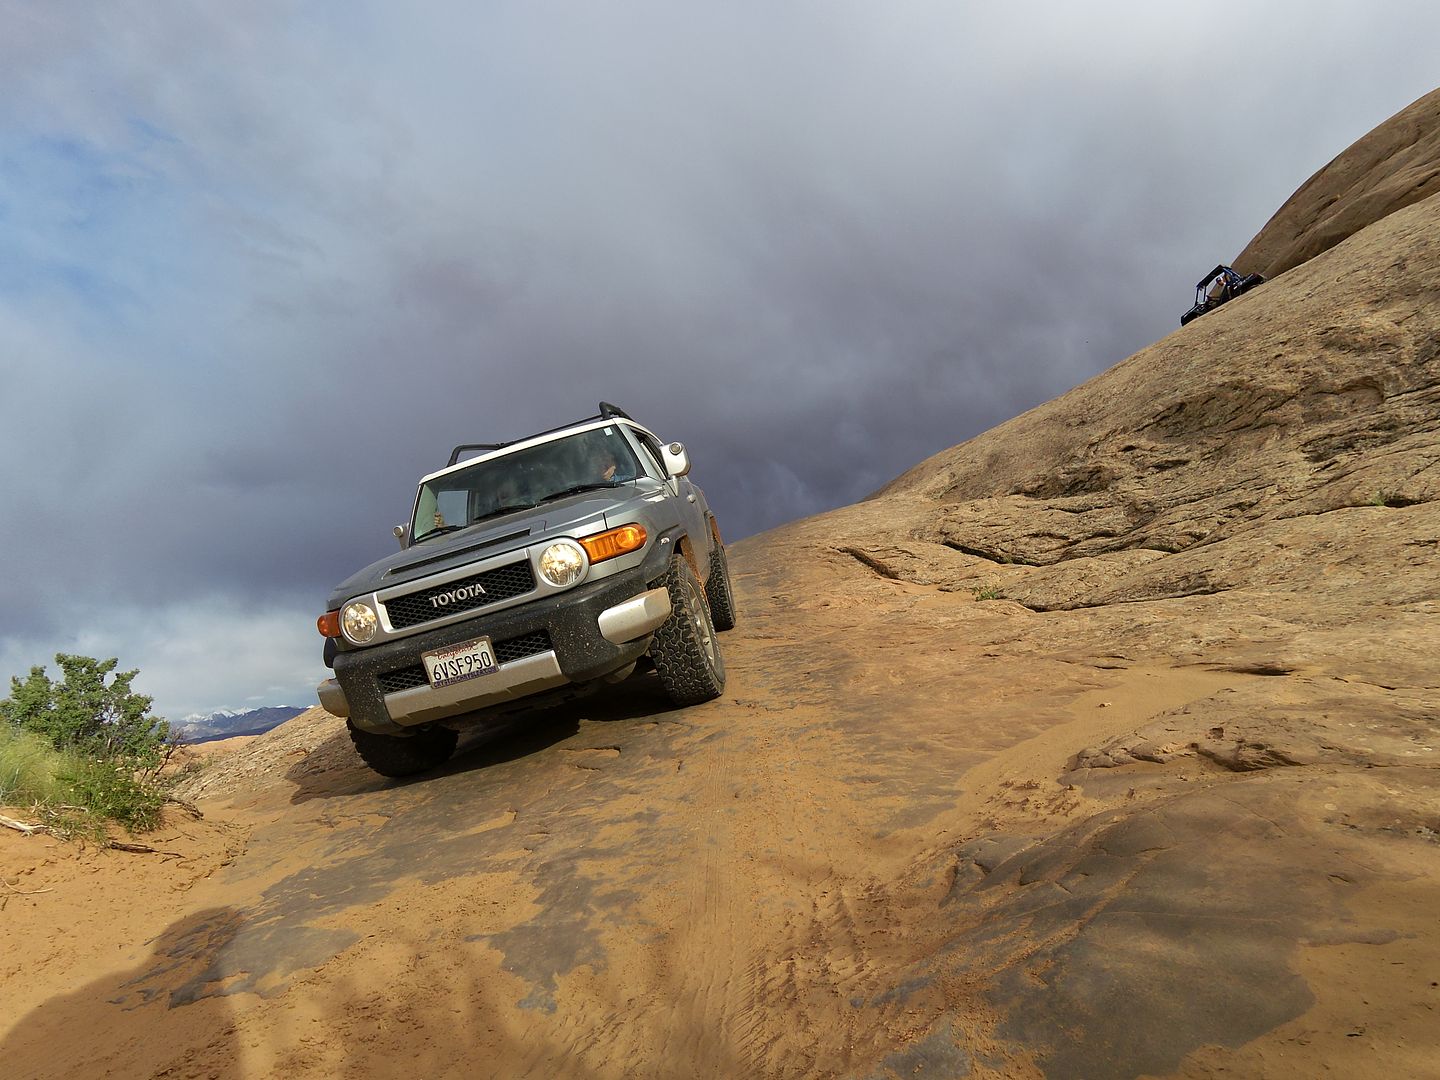
Meanwhile the motorised vehicles tend to play on Fins N' Things which features a variety of slick-rock fins and sandy trails, with a stunning backdrop of the snow covered La Sal mountains; and of course the daddy of them all: Hell's Revenge - which is just a stone's throw from the town itself, and particularly popular with the guided 4x4 tour companies as if offers an exhilarating roller-coaster of a ride up and down some seriously steep slick-rock slabs and fins.

Hell's Revenge also features some extreme optional hazards (and thank goodness they are optional!) such as the Devil's Hot Tub, The Escalator and Hell's Gate. If you have a little time it's worth looking up these on YouTube, you'll be amazed at the nerve (or is it stupidity?) of some people!

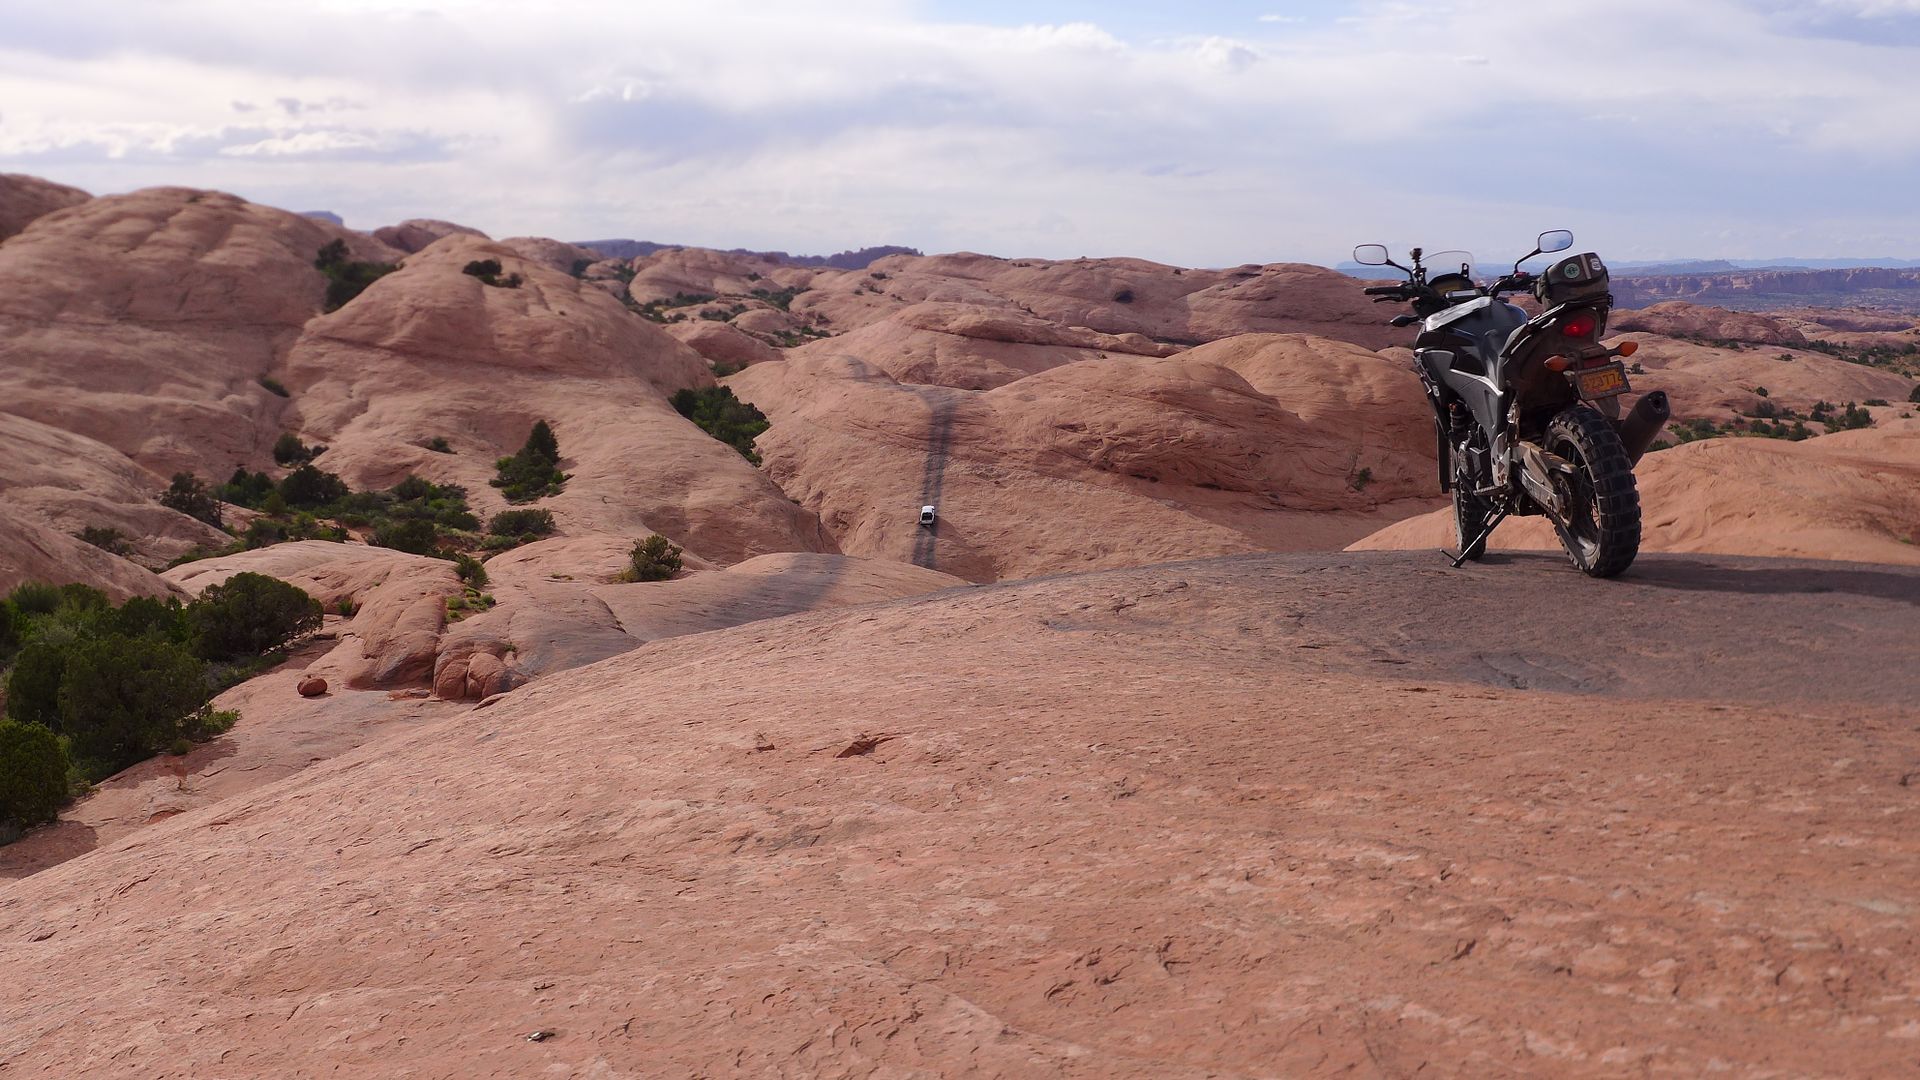
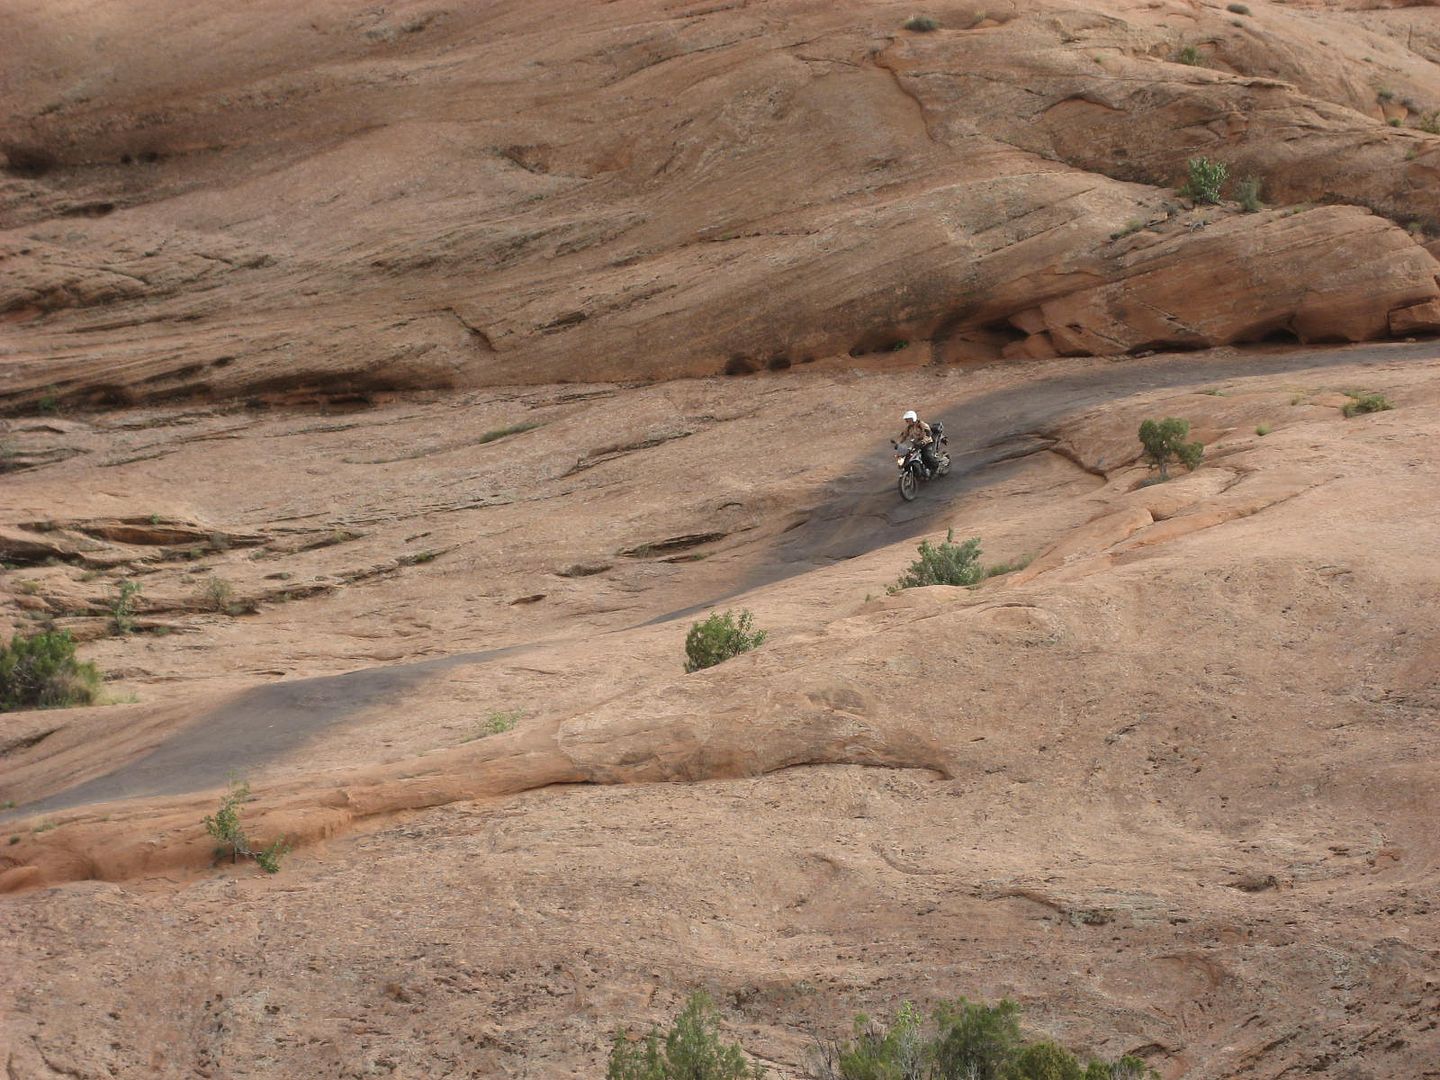
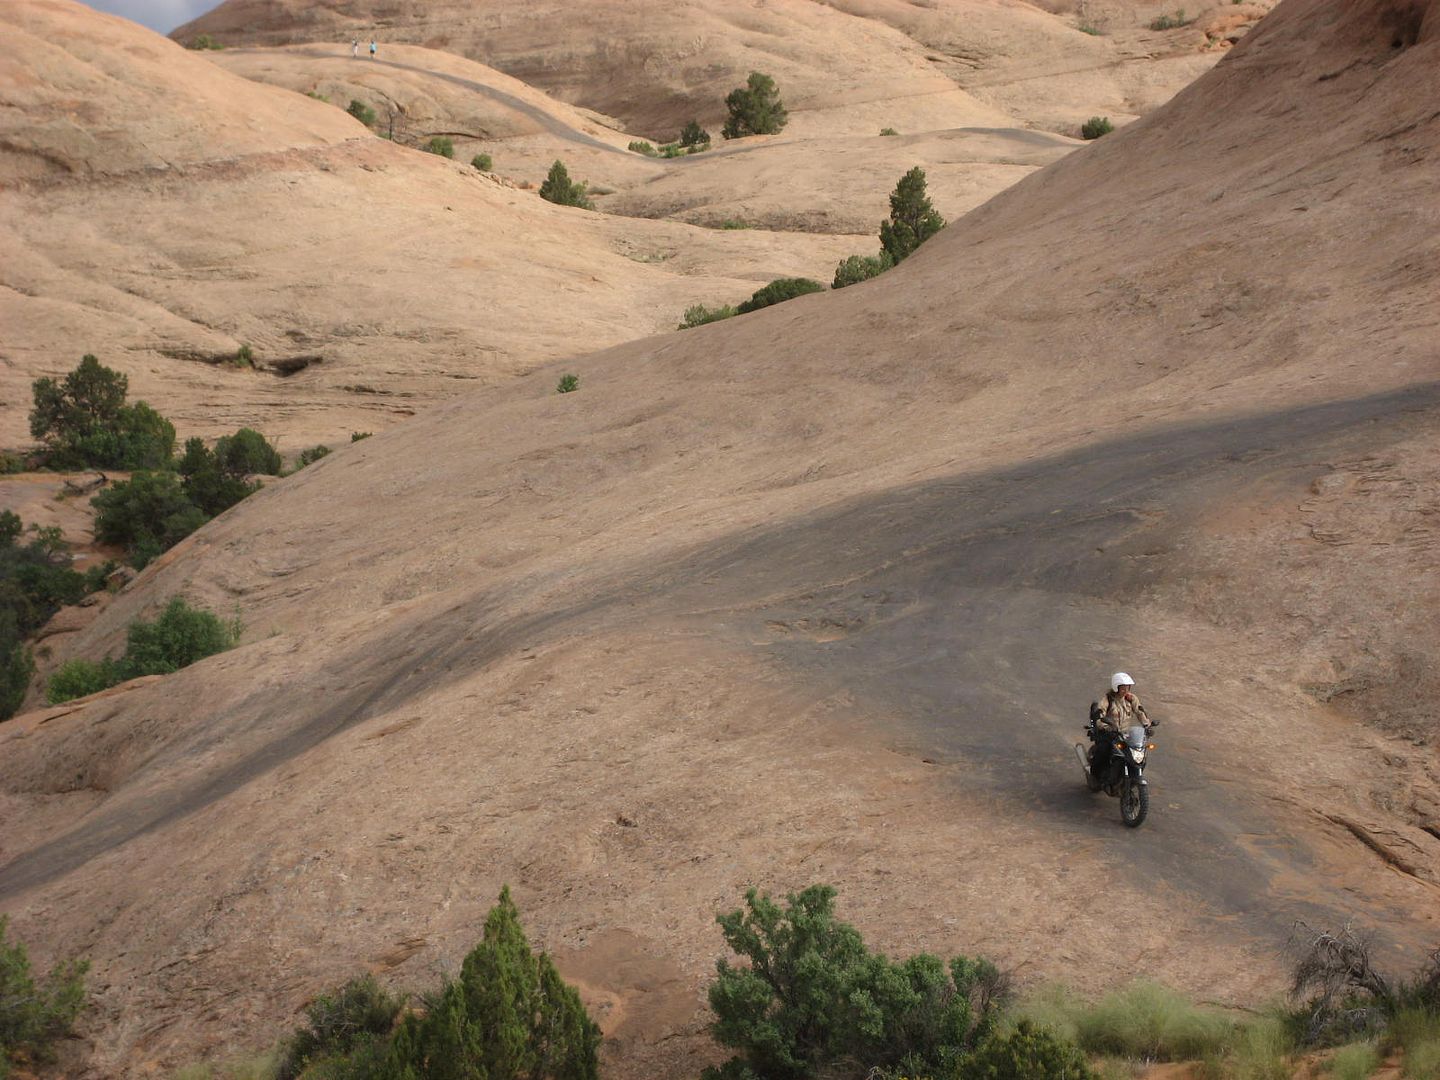
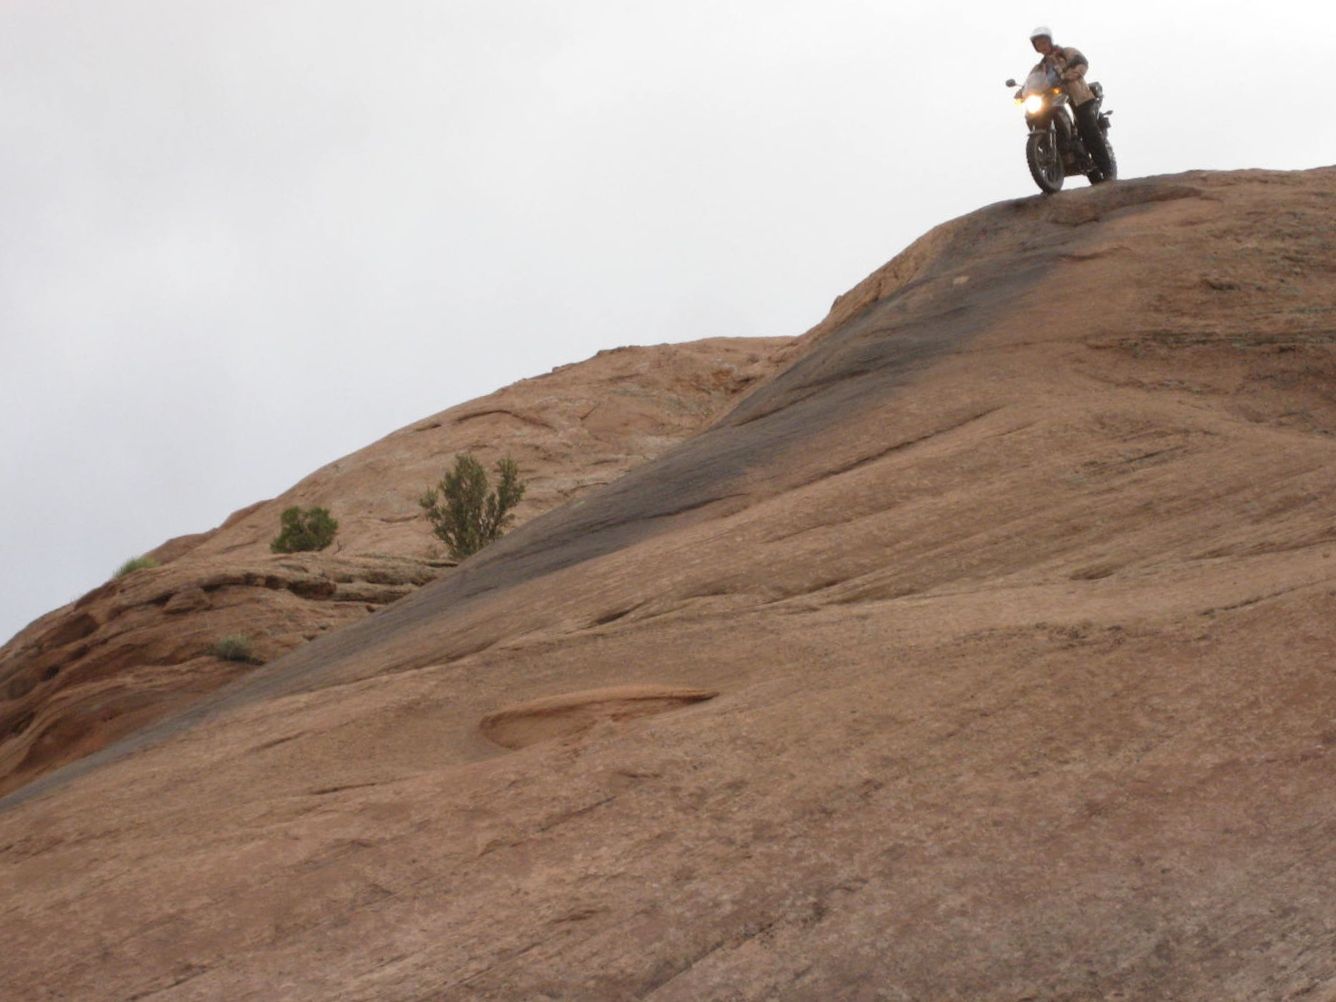
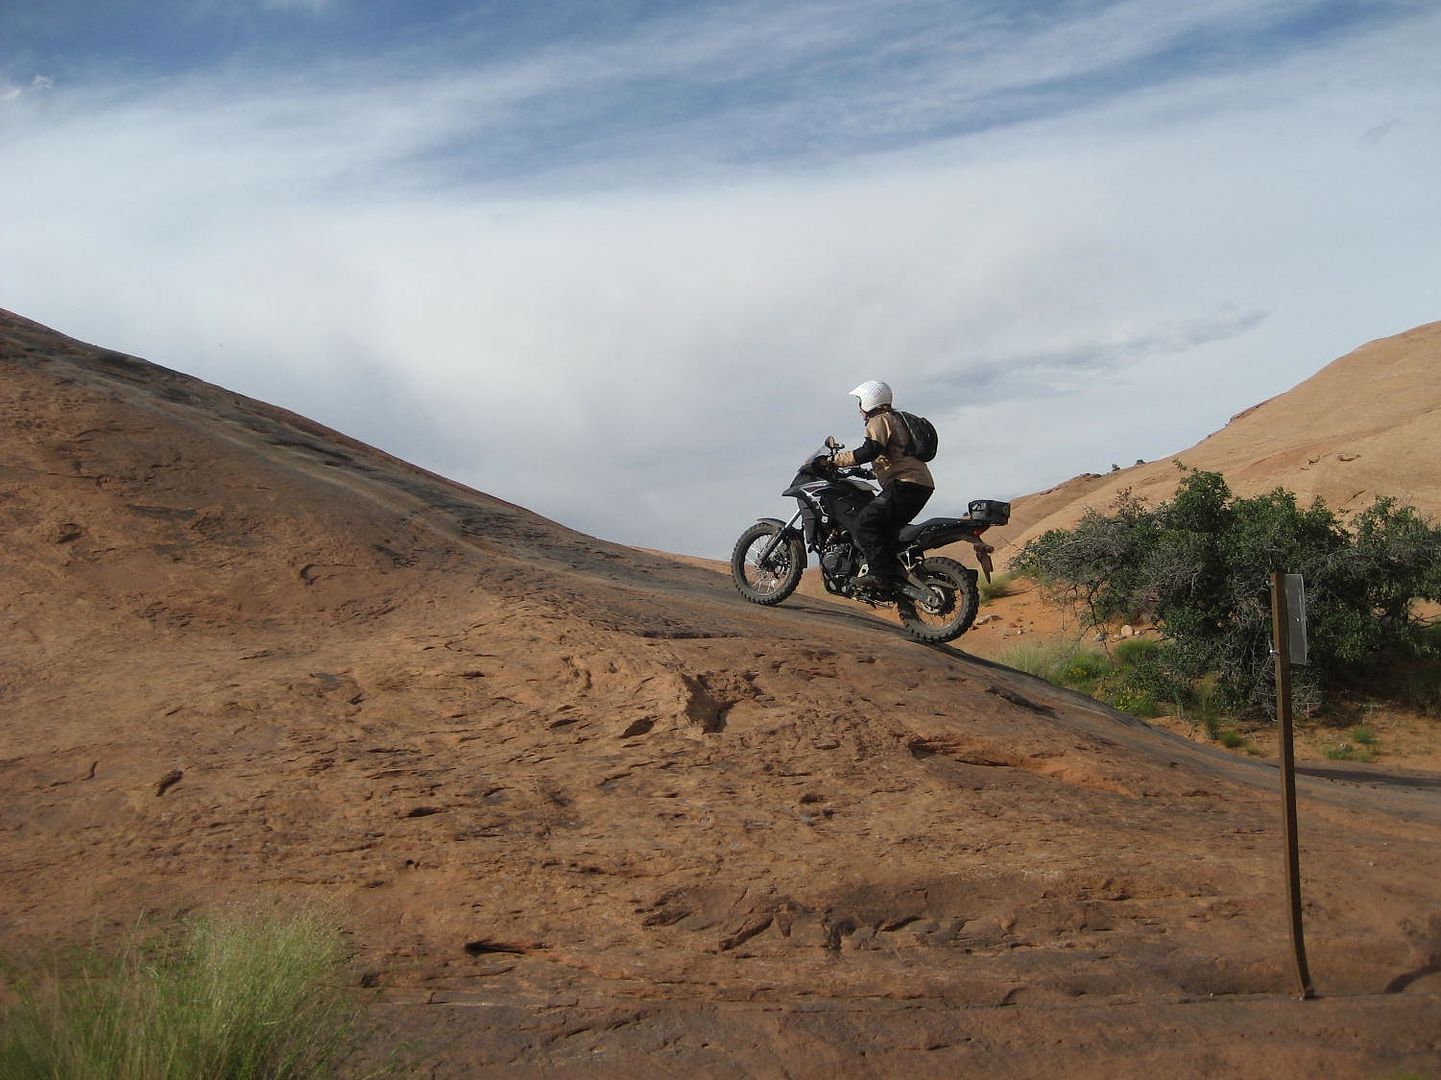
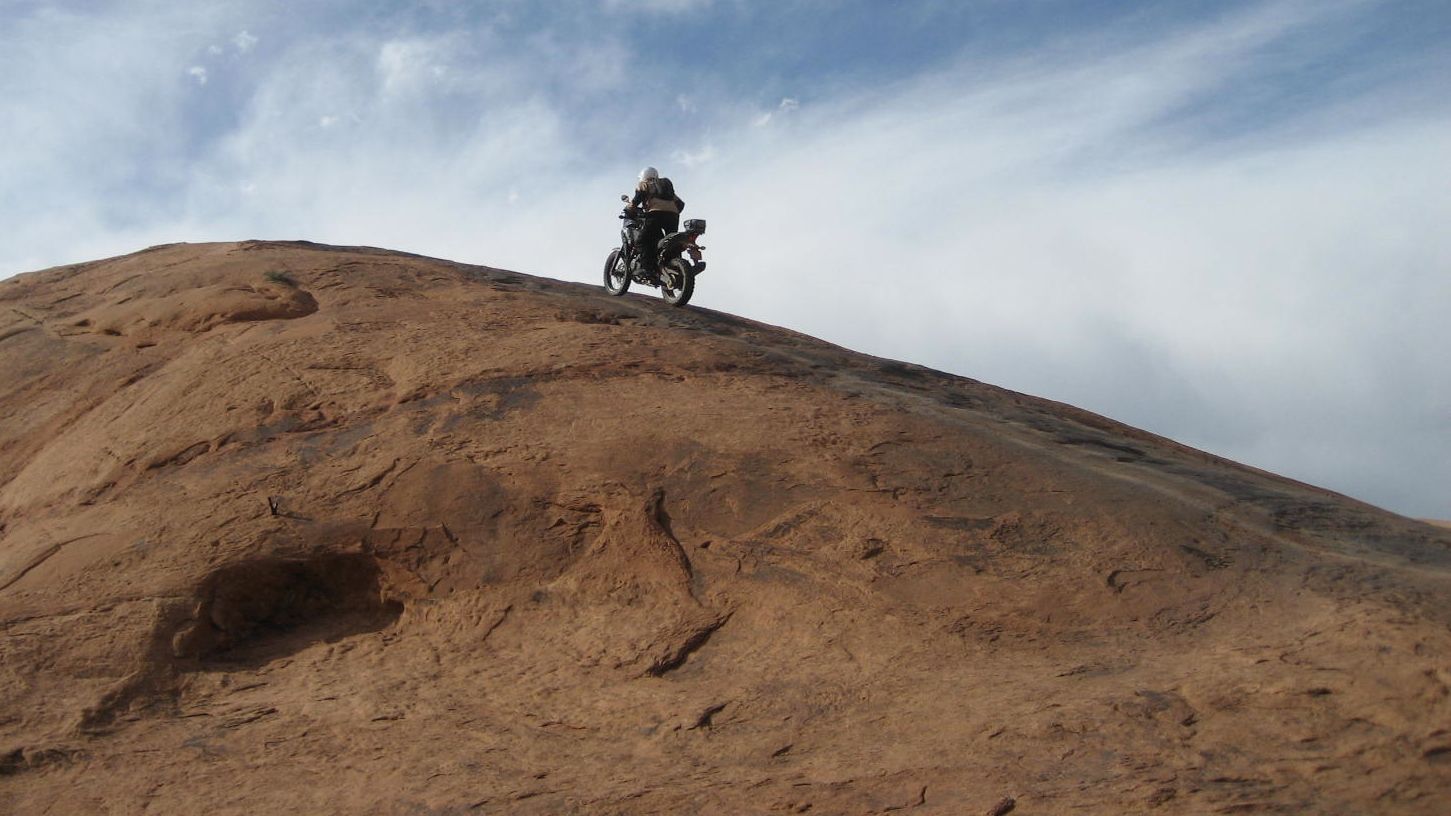
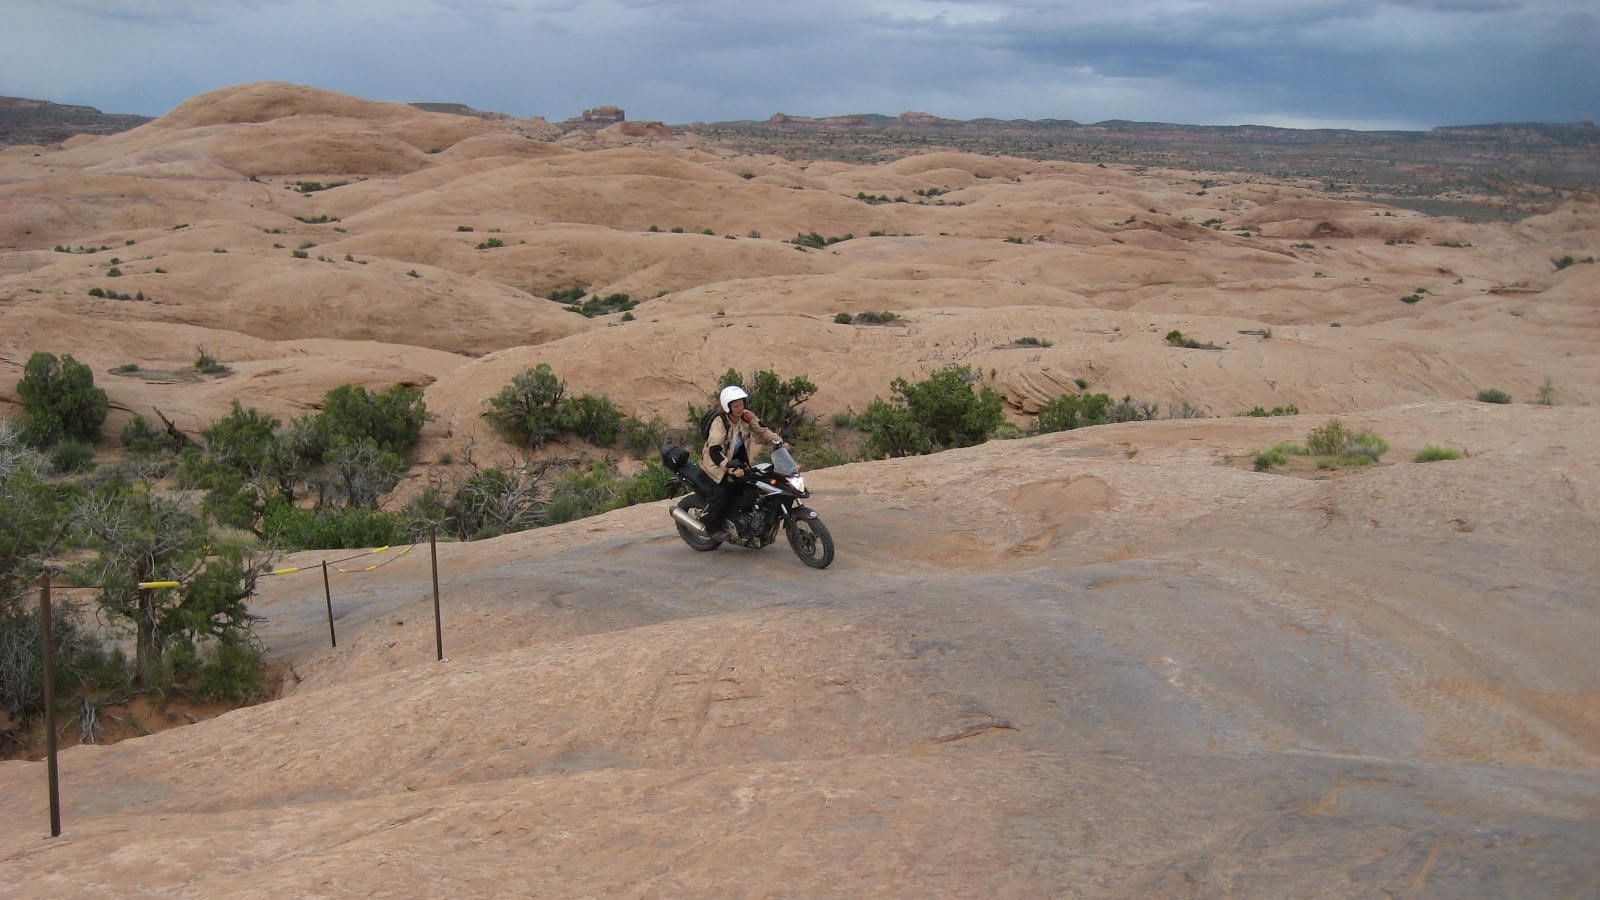
So for now I'll simply let the following photos illustrate just some of the terrain on offer - although typically it is difficult to impart the actual severity of some of the slopes!

Warming up on 'Baby Lion's Back' - a slick-rock fin just before the start of Hell's Revenge... In the past Hell's Revenge used to include the legendary 'Lion's Back' - a huge hundred foot high fin that was a nerve-wracking finale to the original trail. Unfortunately the fin has been closed for a number of years now (as it resides on private land, and not because of the infamous Chevy runaway... YouTube it ;o)
Image

Image


Before hitting the trail proper:
Image

Image

Image

Image

Image

Image


Riding this trail late afternoon/early evening is my personal preference, as it means the temperature is more bearable, and the views particularly can take on an even more dramatic air (which I'm sure is why the sunset rides are particularly popular with the tour companies). Of course conversely it means the shadows are longer and visibility over some of the steps and other hazards a little more tricky...
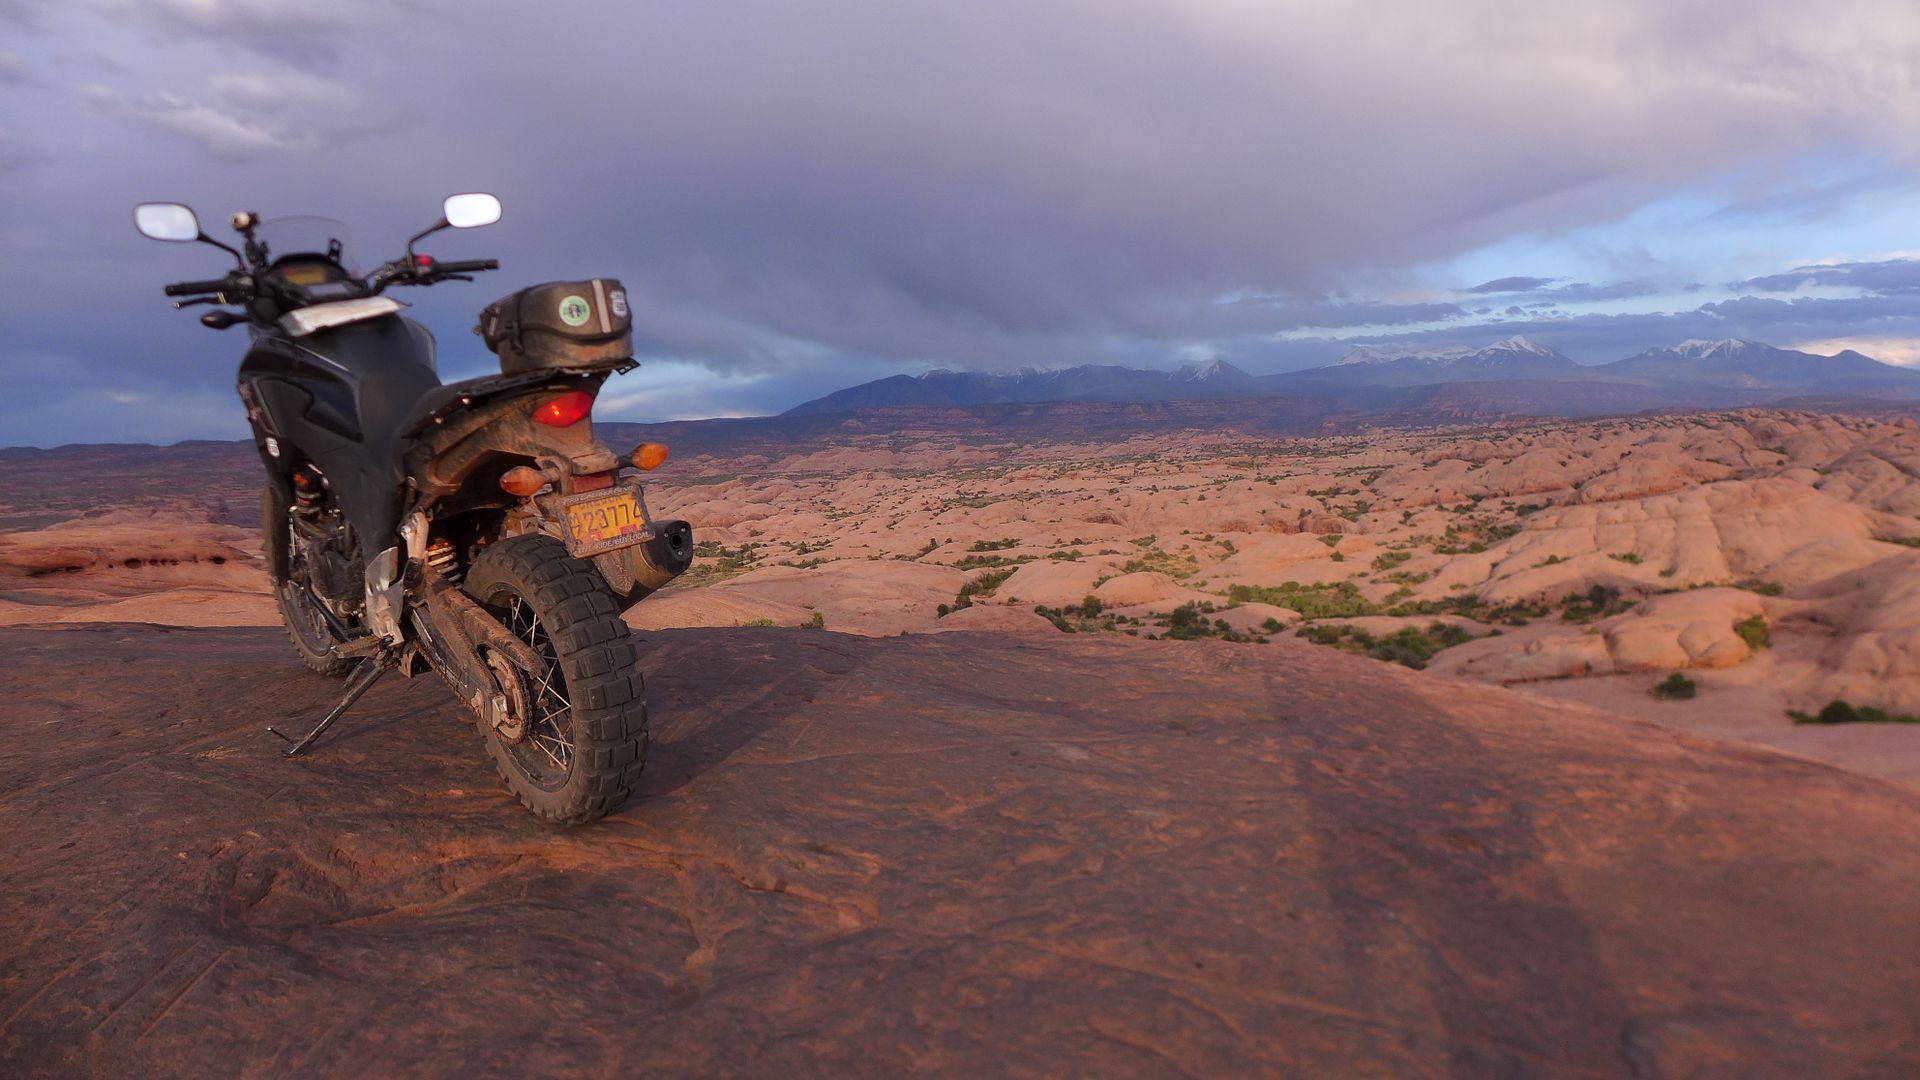
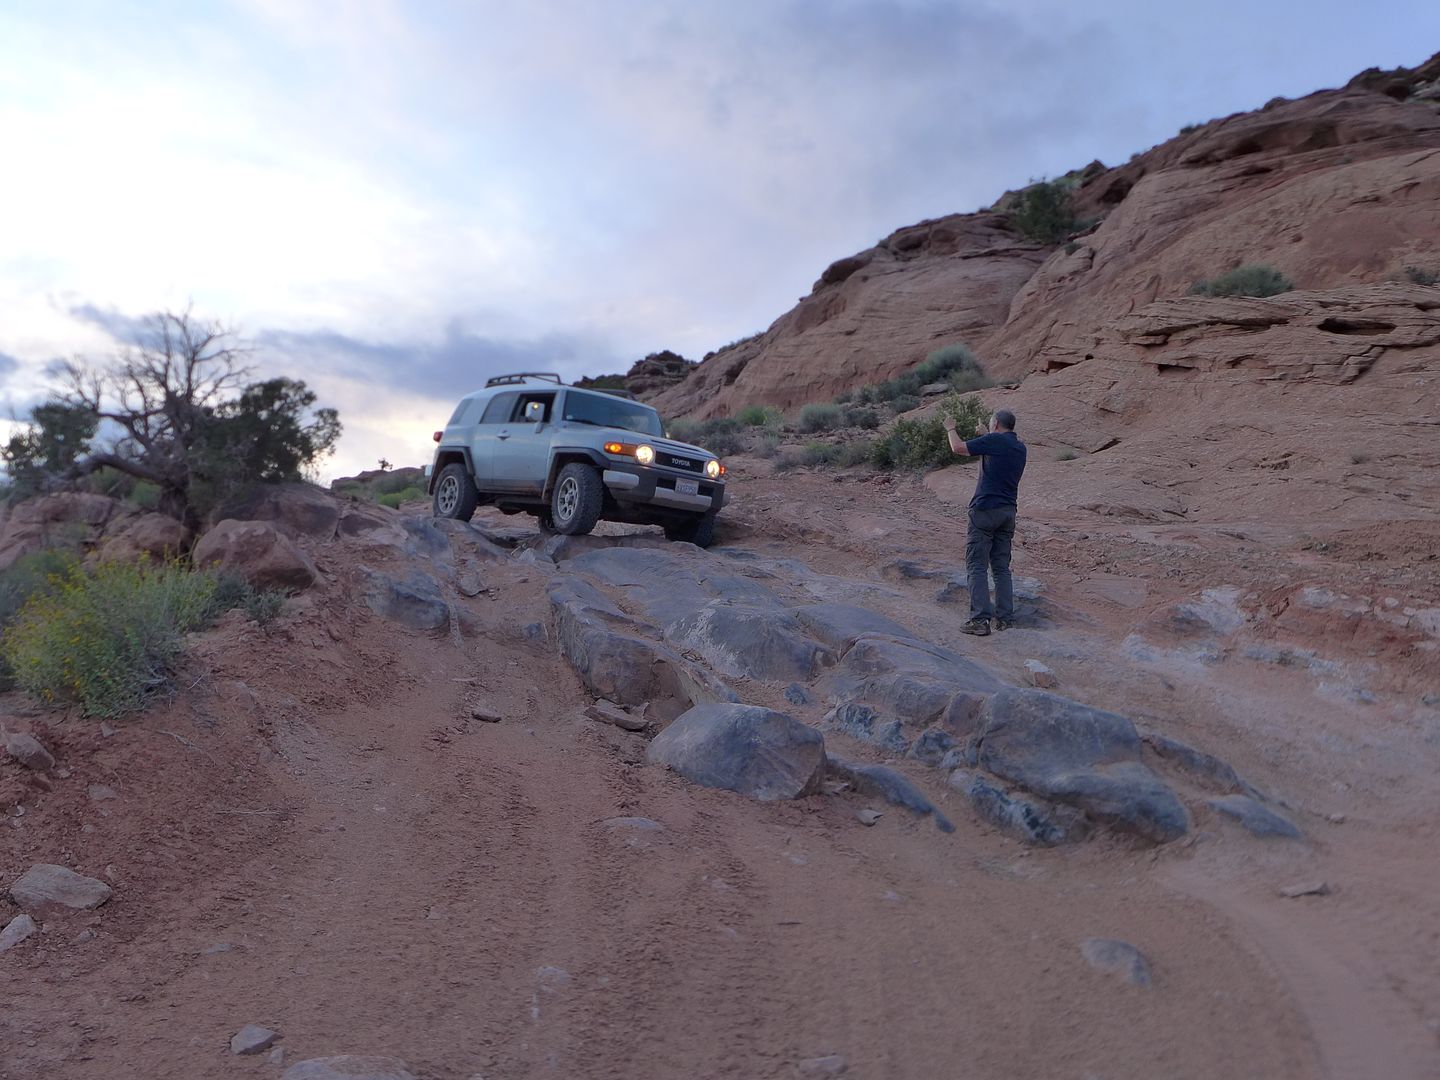
Image

Image


And ultimately, as the sun began to set, it was time to head for the hotel and celebrate another successful day on the trails...
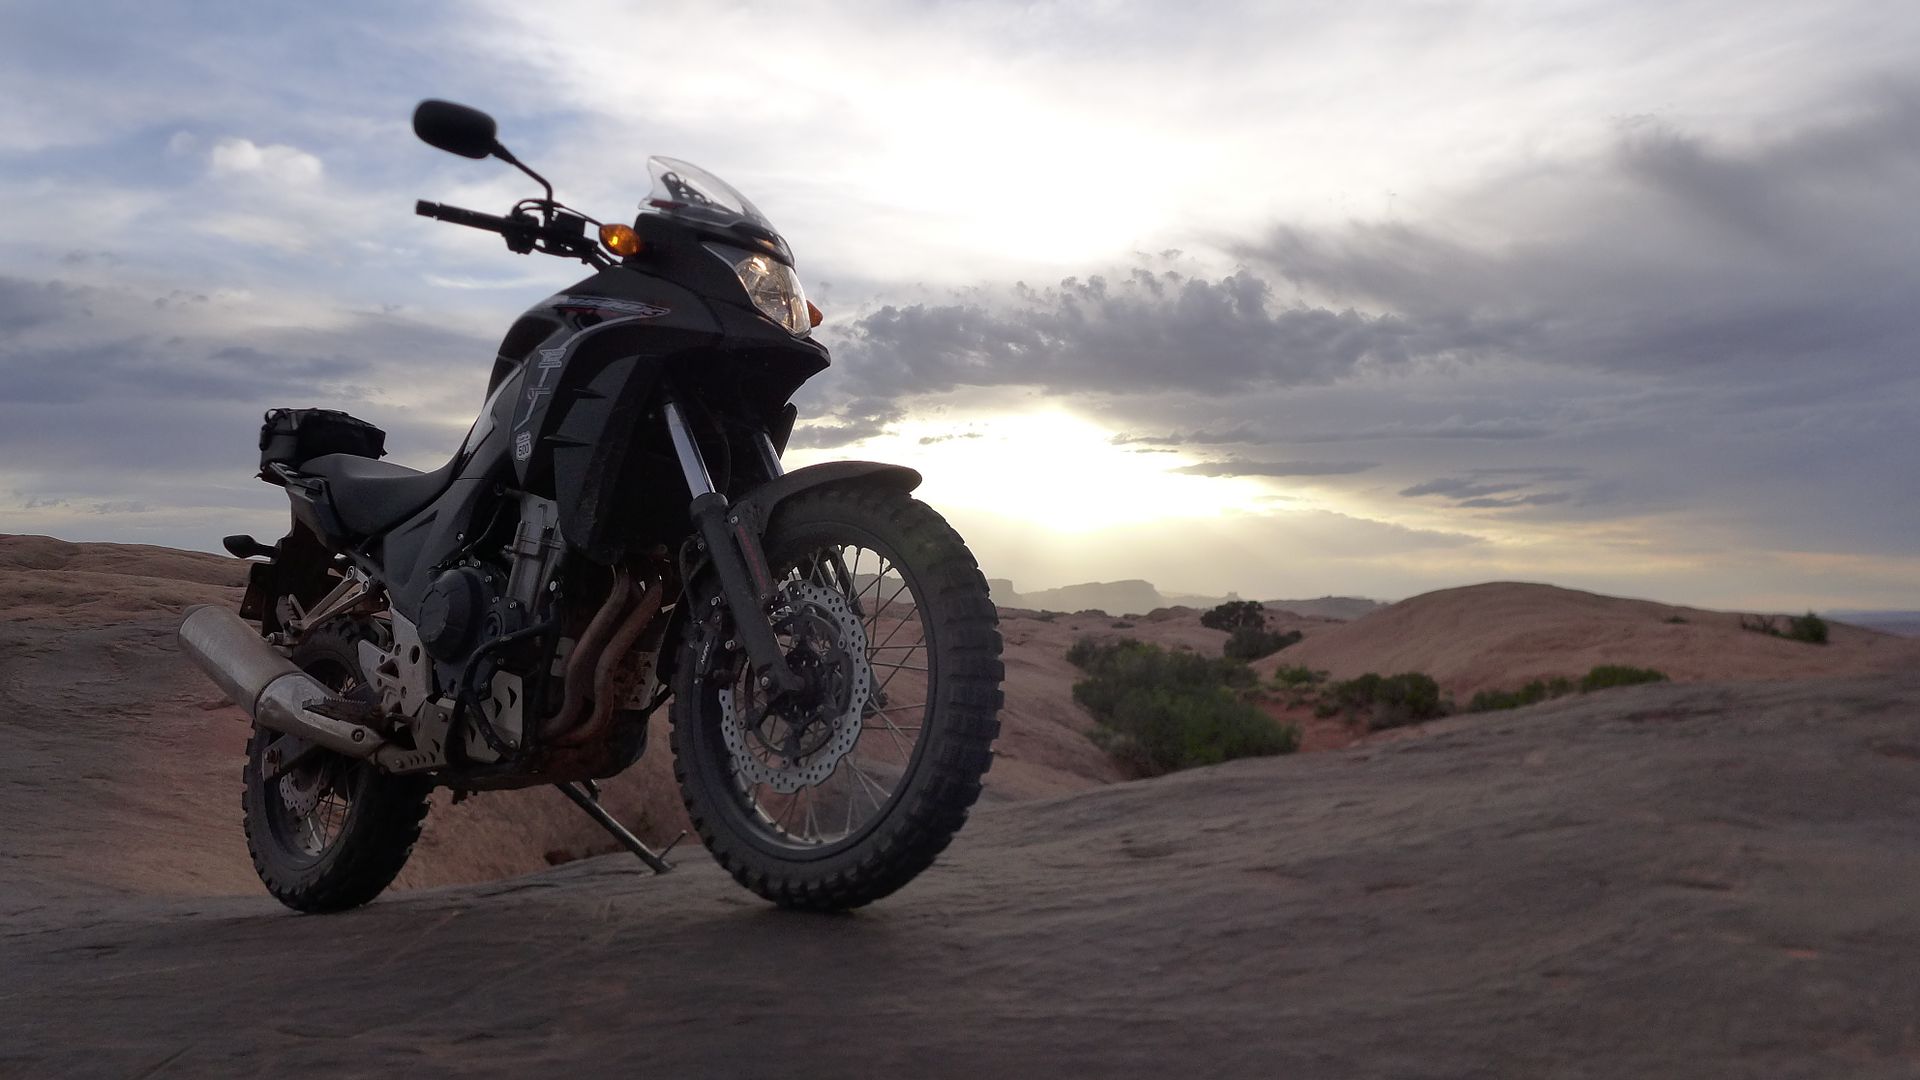
Image


Jx
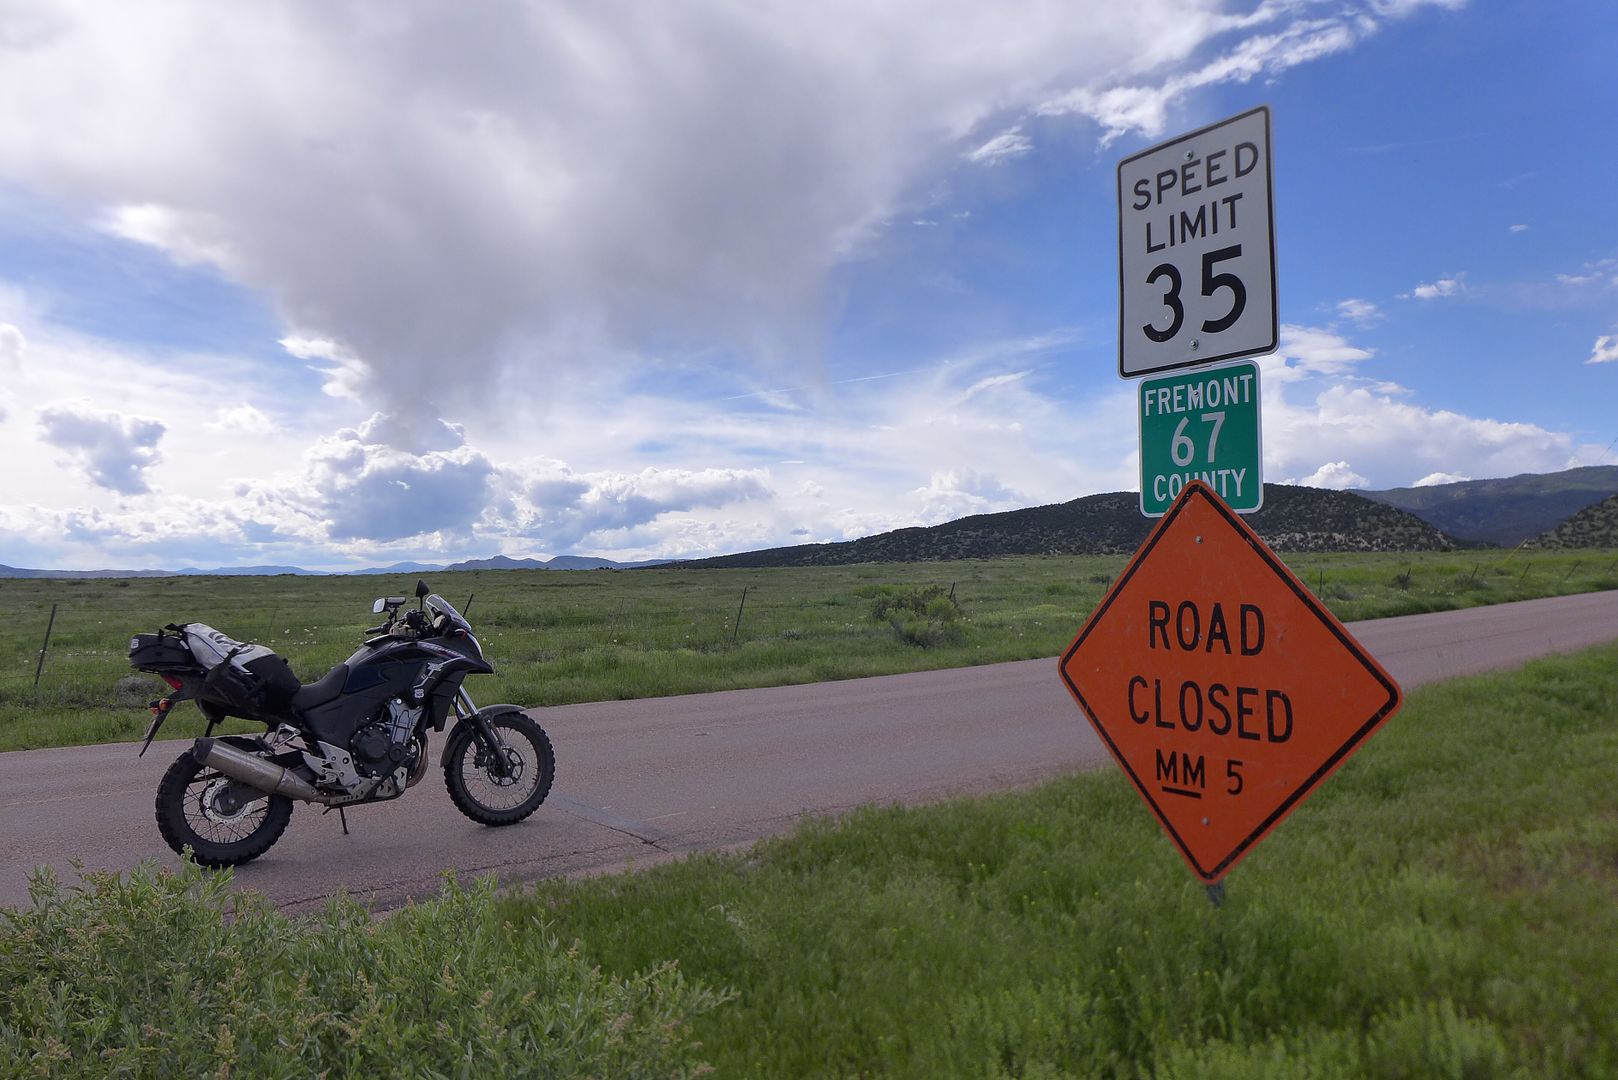
JMoandpiglet
Posts: 283
Joined: Wed Dec 19, 2012 9:58 pm
Has thanked: 8 times
Been thanked: 17 times

Re: Trans-Am 500 - the seven year itch

Post by JMoandpiglet »

Day 12 & 13 (Moab day 5 & 6): Fossil hunting and the Fiery Furnace.

Having spent the past four days comprehensively putting the CB through its paces, it was time to kick back a little and enjoy the remaining time in Moab with my friends... and to experience what else the region has to offer.


Friday was spent riding a relatively easy trail (again on the CB-X), and looking for rocks and fossils.

Despite increasing environmental pressure to restrict use (and not just vehicular, but all users) - it is refreshing to see new trails continue to be opened up, offering greater access and helping to spread the load over a larger area.

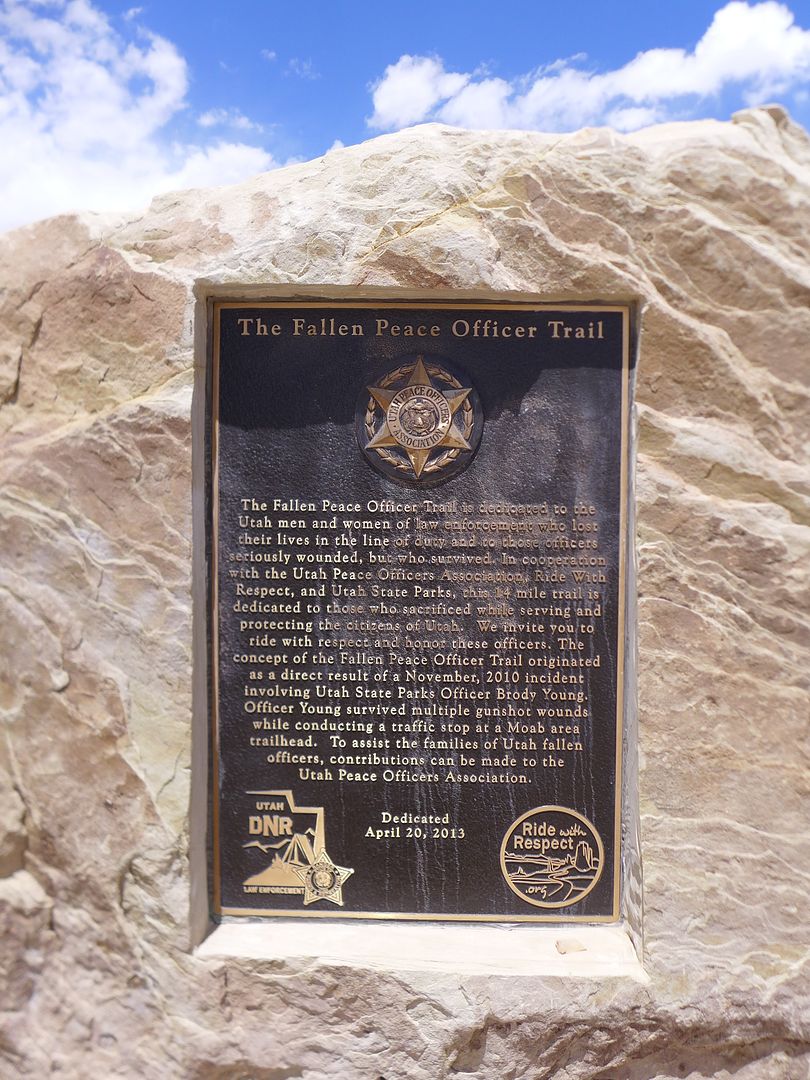
One such multi-user route is the Fallen Peace Officer Trail - a 14 mile meander across an otherwise barren plateau, and which is actually rich with interesting rocks and fossils if you know where to look. The trail itself is dedicated to those law enforcement officers in Utah who were either killed or seriously injured in the line of duty:

Image


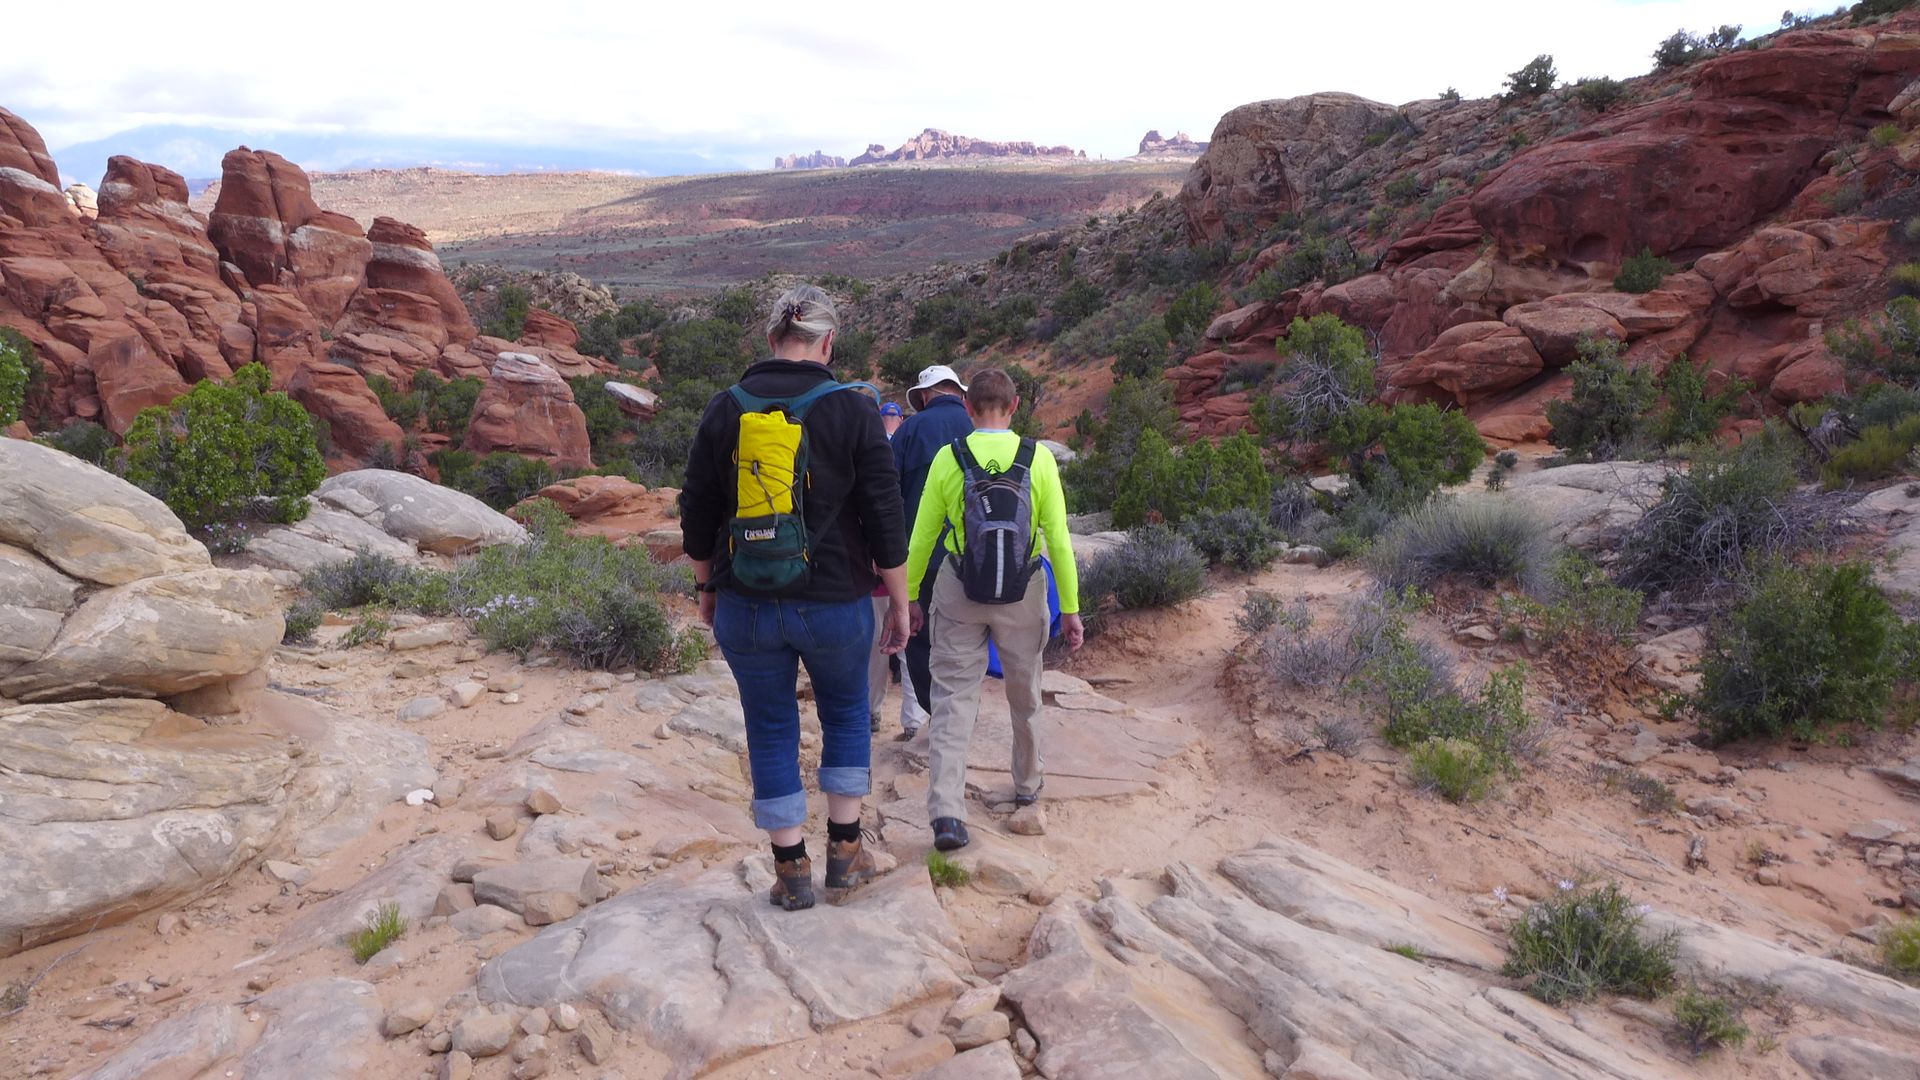
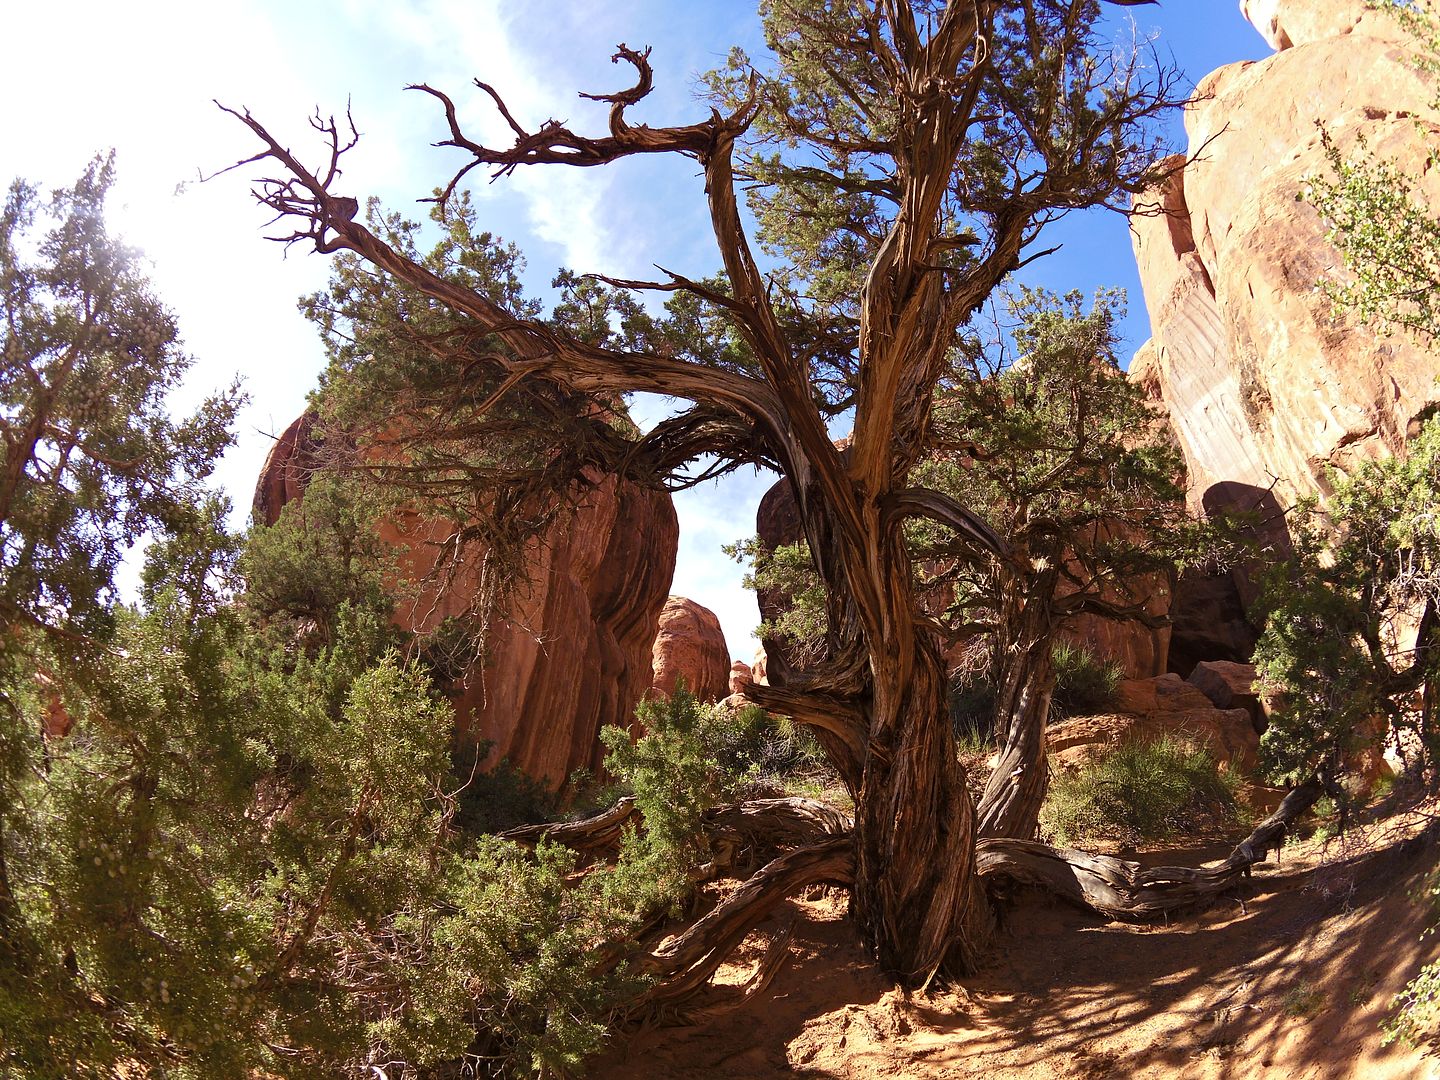
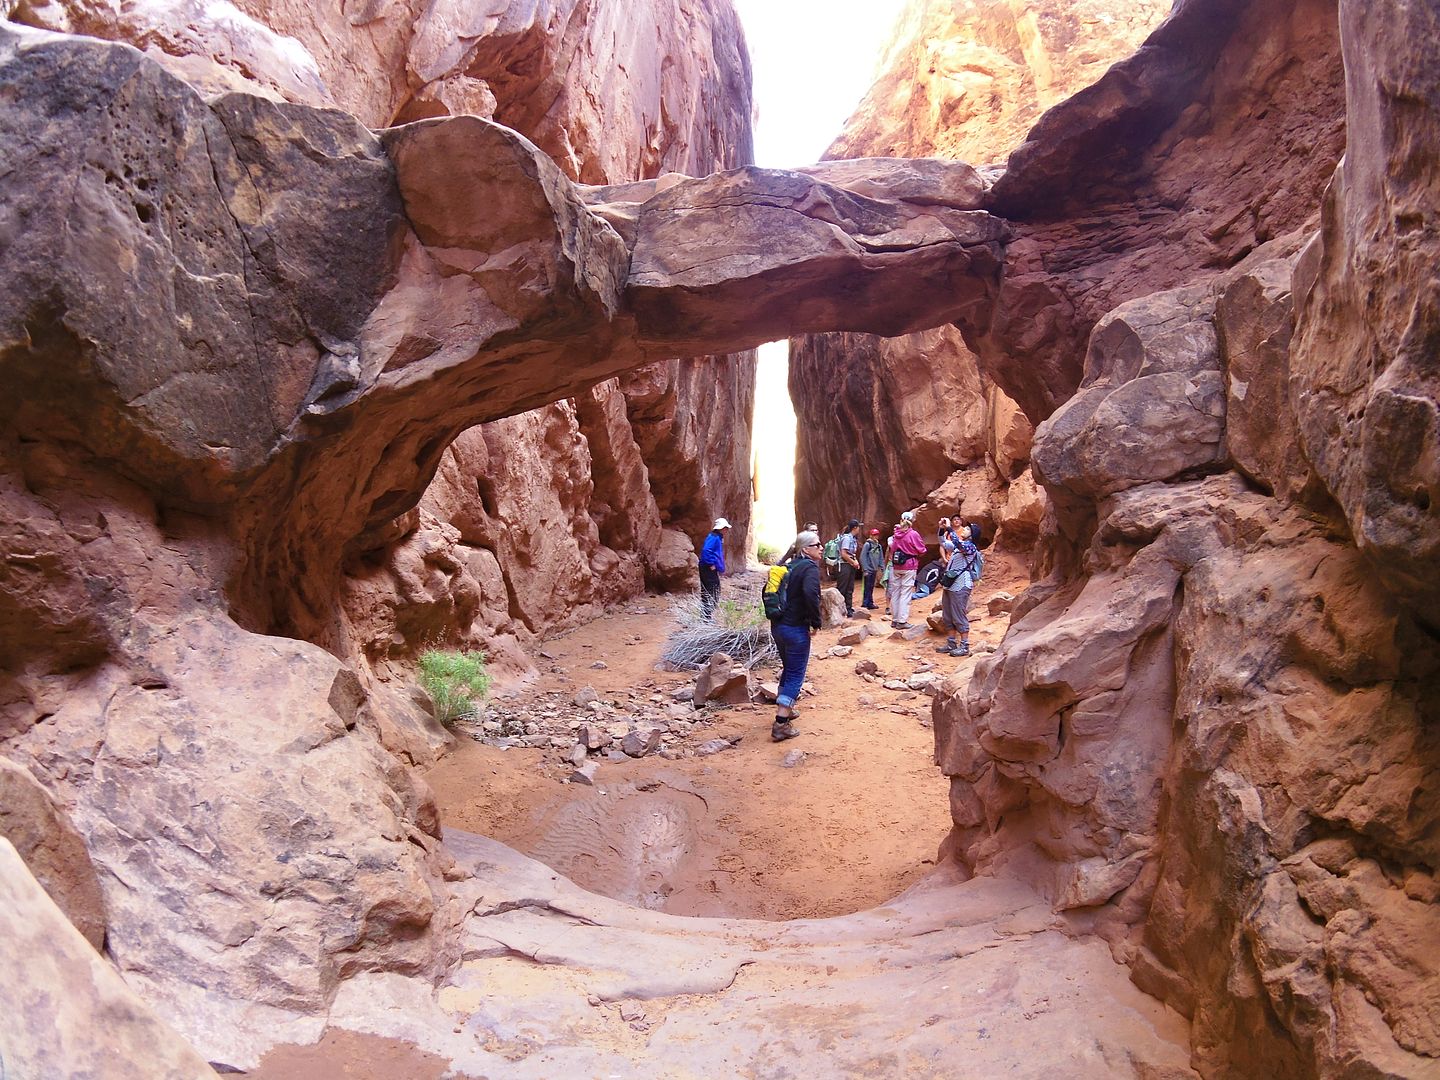
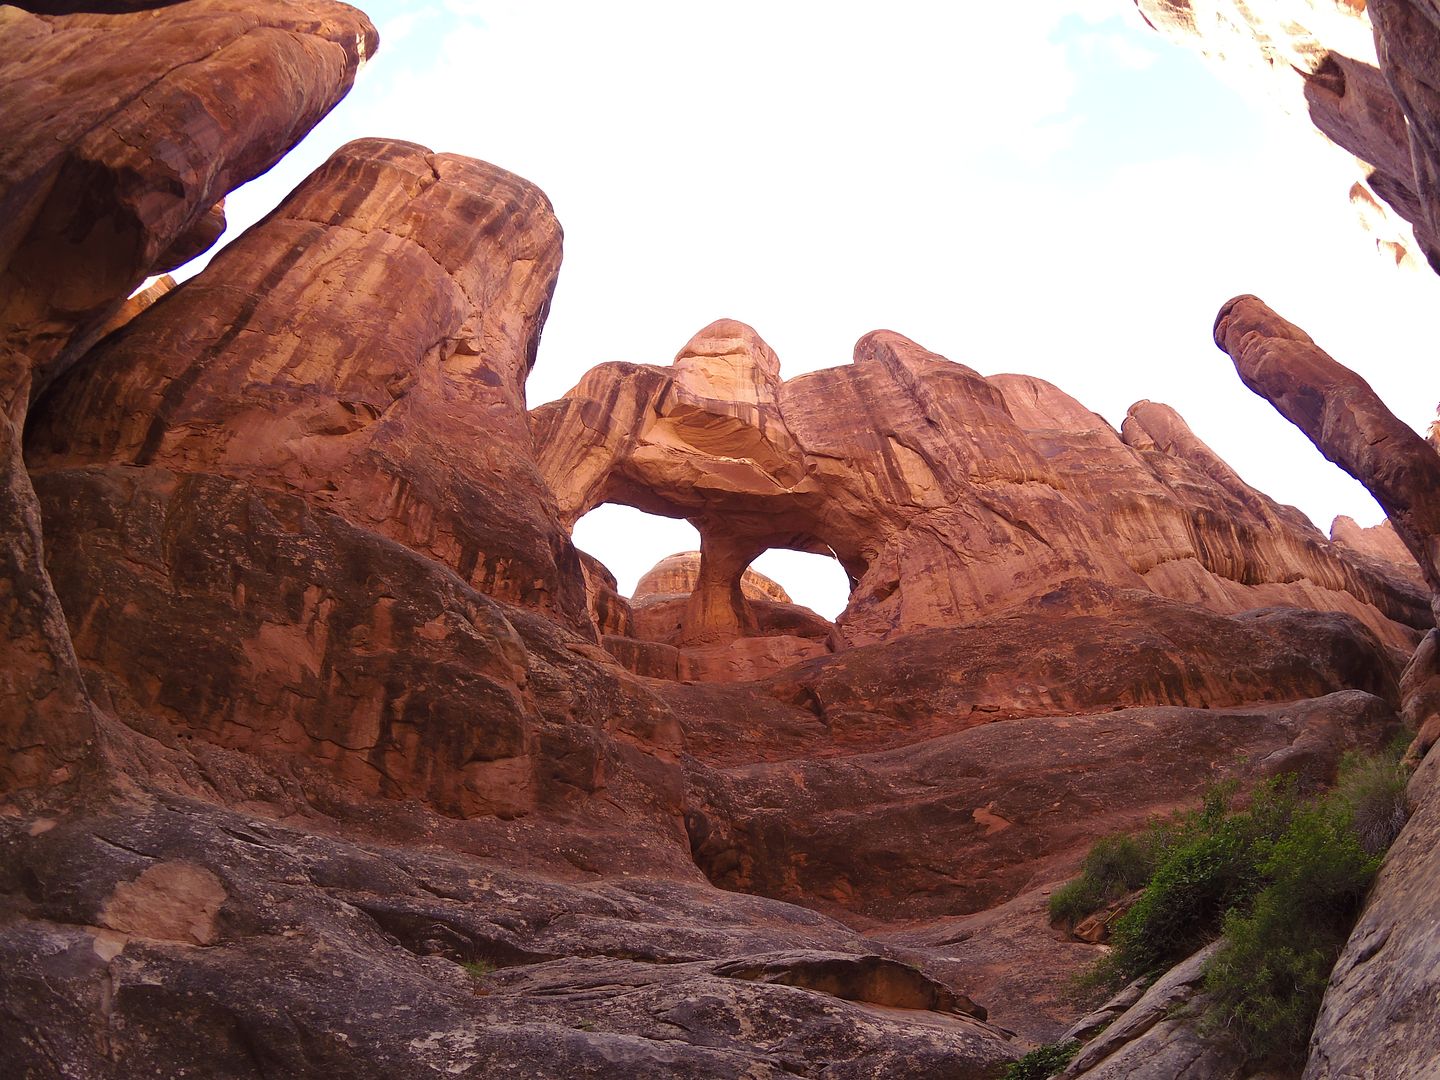
The following afternoon we embarked on a guided hike through the Fiery Furnace in Arches National Park, and were able to immerse ourselves in these deep narrow canyons and simply wonder at the incredible geology that surrounded us!

Image

Image

Image

Image

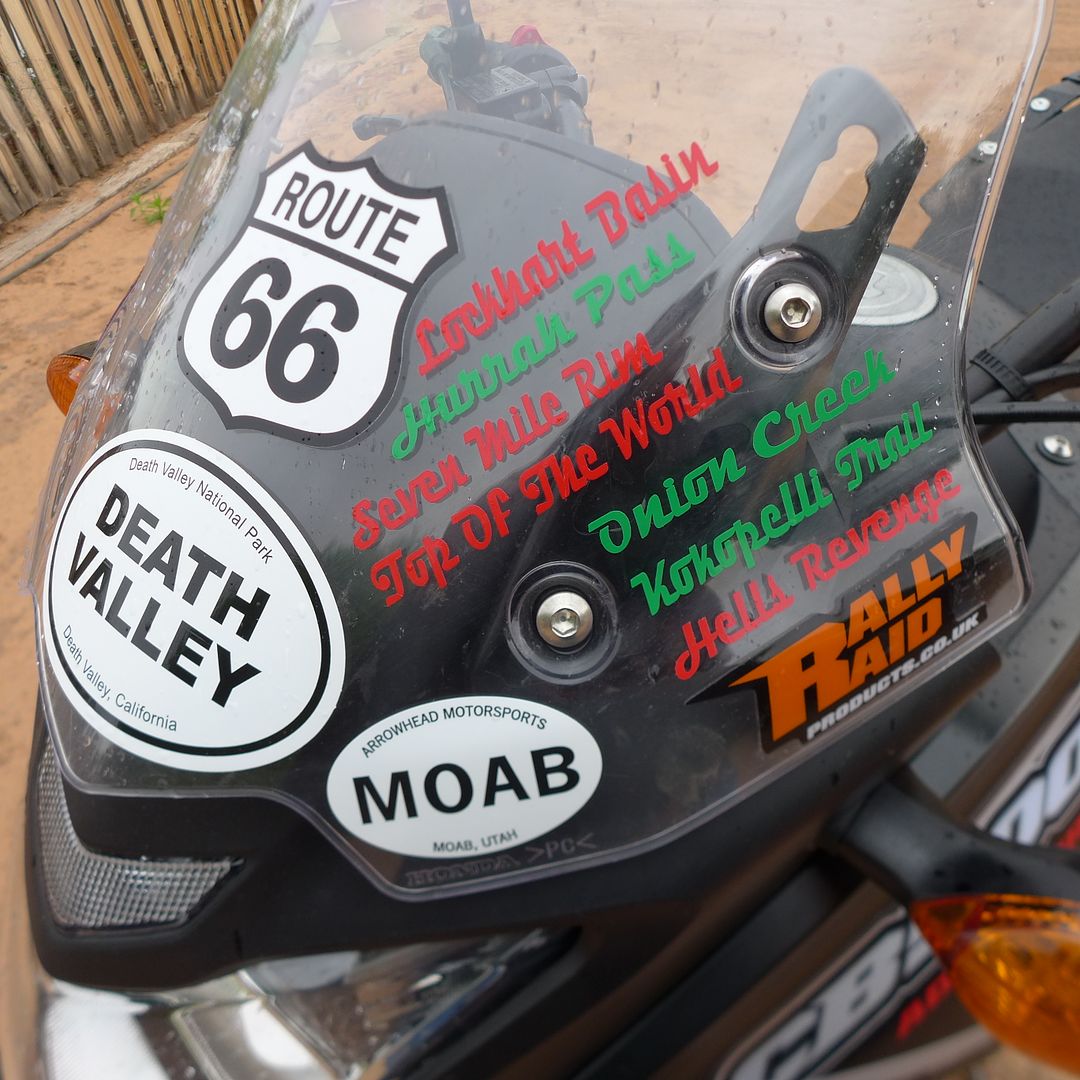
And with that, it was time for a final meal out, followed by some hurried packing and a wave goodbye early the following morning... Oh, and the liberal application of a few windshield stickers of course!

Image

Then it was time for Piglet and I to load up the CB, and hit the road once more - destination unknown, but somewhere over the state line in Colorado we hoped...

To be continued!

Jx
JMoandpiglet
Posts: 283
Joined: Wed Dec 19, 2012 9:58 pm
Has thanked: 8 times
Been thanked: 17 times

Re: Trans-Am 500 - the seven year itch

Post by JMoandpiglet »

Day 14: Moab UT to Montrose CO.

Mileage today: 147

Having finally caught up on my ride-reports after a week in Moab, it was time to head east and see what neighbouring Colorado has to offer...

... erm, snow drifts, swollen creeks and washed-out roads it would appear!

Certainly the continued winter weather this year and recent heavy snowfall at high elevations, meant that all of the unsurfaced passes remained closed as I was leaving Utah.

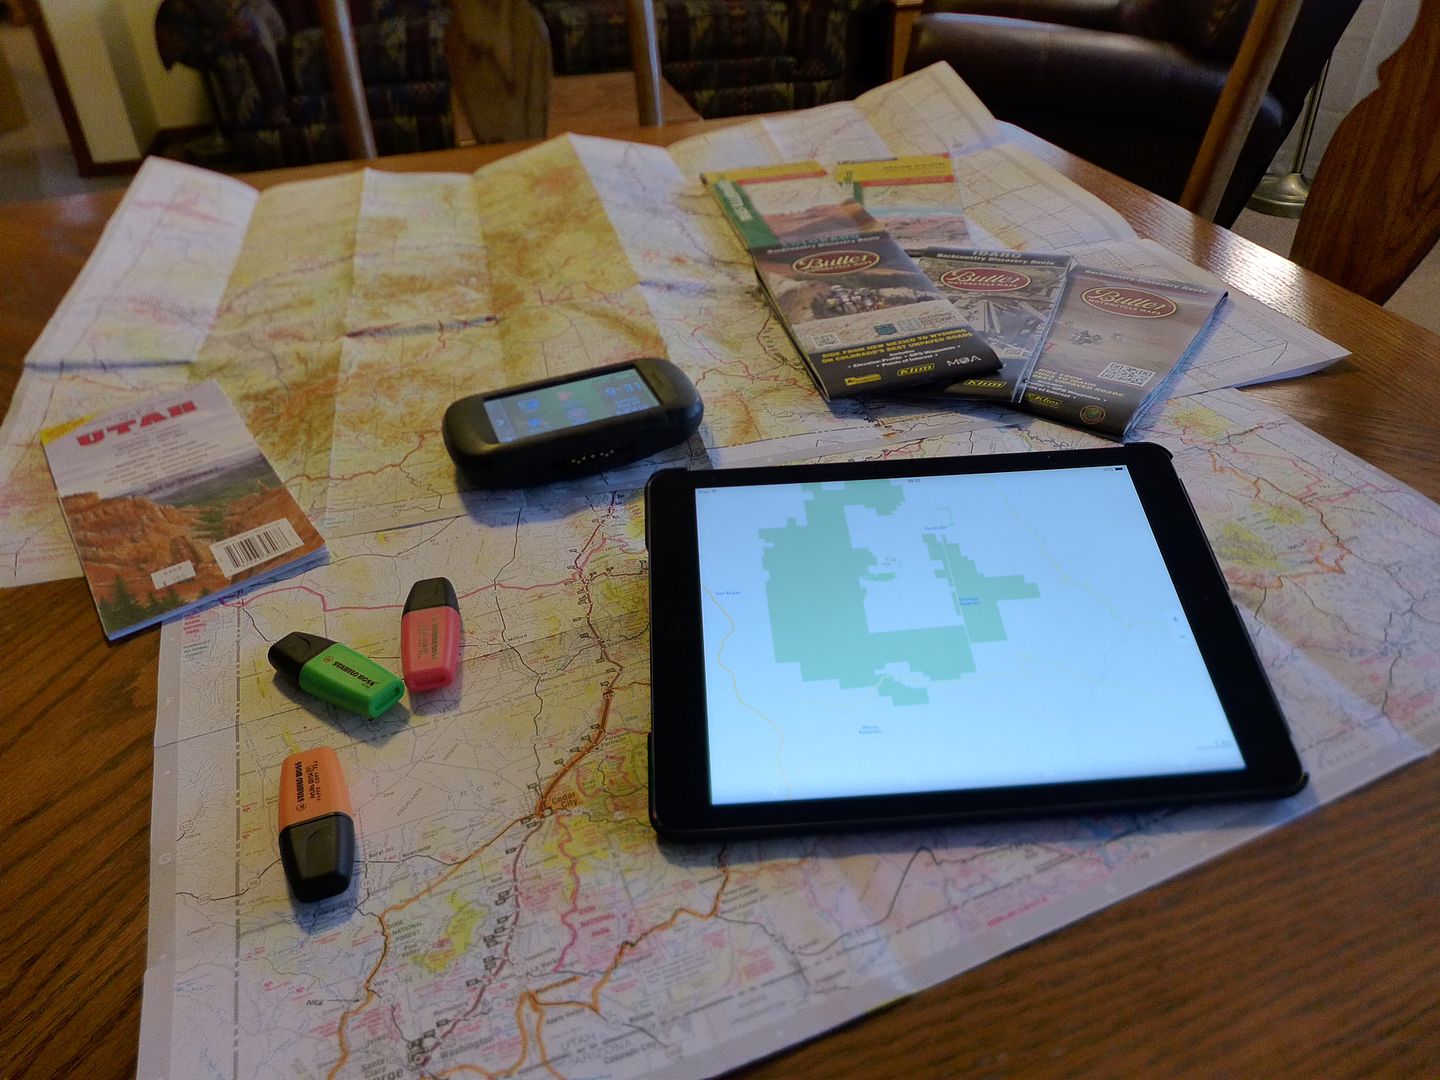
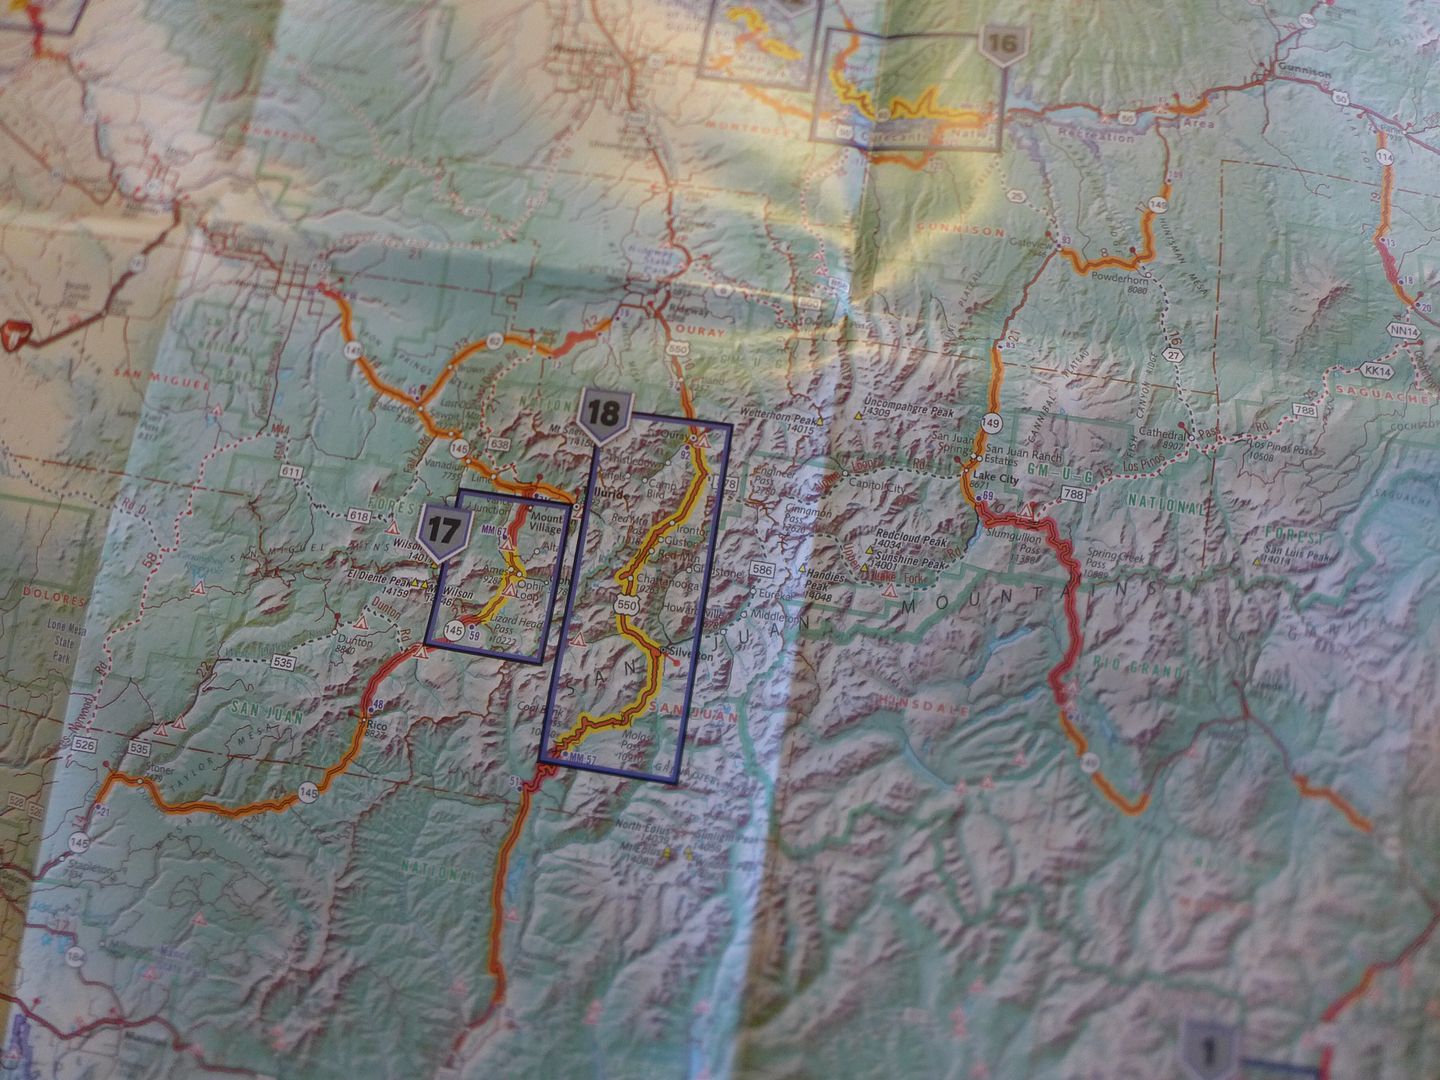
While I have at last moved into the 21st century with regard to digital mapping for this trip (although I've always tended to use a GPS for on-the-fly navigation and route amendments), bringing a paper map of both Utah and Colorado of this outbound leg of the trip would pay dividends over the next couple of days as a number of the dirt roads I'd intended to take had been washed out and closed... Using a paper map helps to see the bigger picture - as indeed these days there is almost too much information on the digital maps, with a myriad of trails and route numbers to try and comprehend into some kind of through-route!

Before I left Moab, I plotted a route using the traditional paper and [highlighter] pen method I'd employed previously when passing through this region:

Image
photo. My primary nav gear for this trip is a Garmin Montana (with both TOPO and City Navigator maps installed), my iPad with both Google Maps and Maps.Me (and excellent offline/downloadable map resource) and good old pens and paper maps - this time including the excellent Butler* range of Motorcycle Maps, which effectively is like buying a map of each state where someone has already highlighted all the great riding roads for you!

Image

*These are the guys who also produce the BDR (Backcountry Discovery Route) maps, which are another great resource - especially if you are touring on a bigger adventure/dual-sport bike.


My intention was to try and ride some alternative roads/trails to those from my previous trip, and fundamentally to try and stay below the snow line to avoid any unnecessary back tracking due to blocked or closed roads...

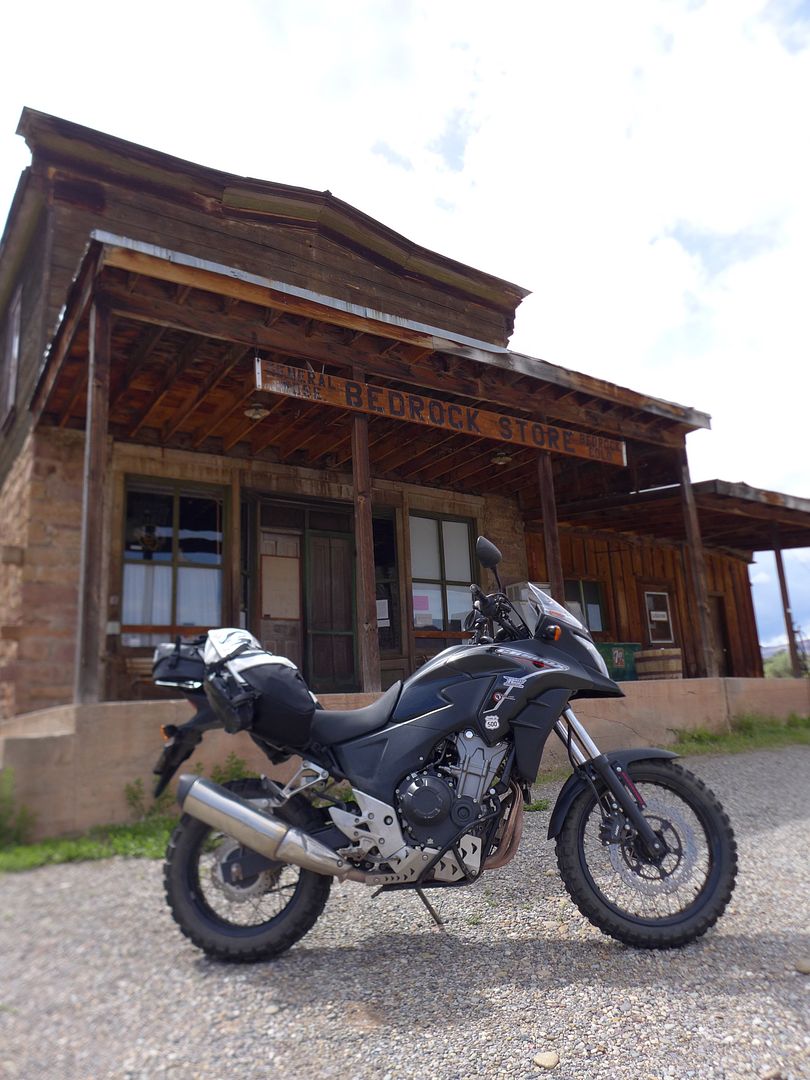
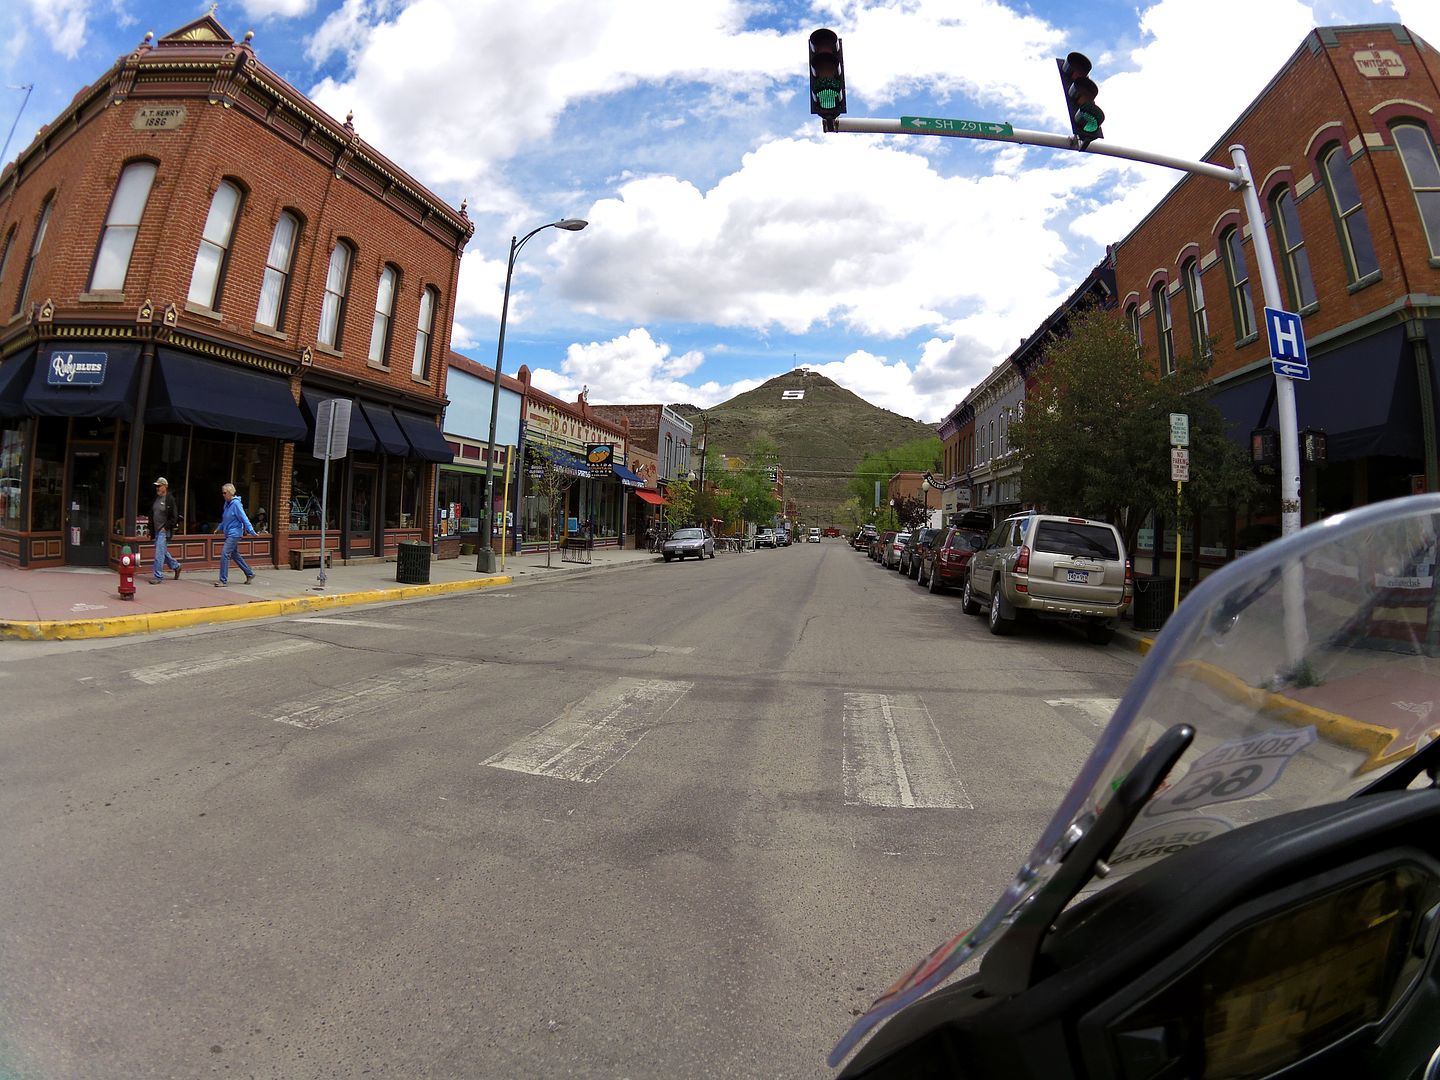
I would be passing through the La Sal mountains on the TAT return leg, and since they were currently covered in snow anyway, elected to make up some ground by taking the highway across the state line towards the comically named town of Bedrock - yabbadabbado!

Image


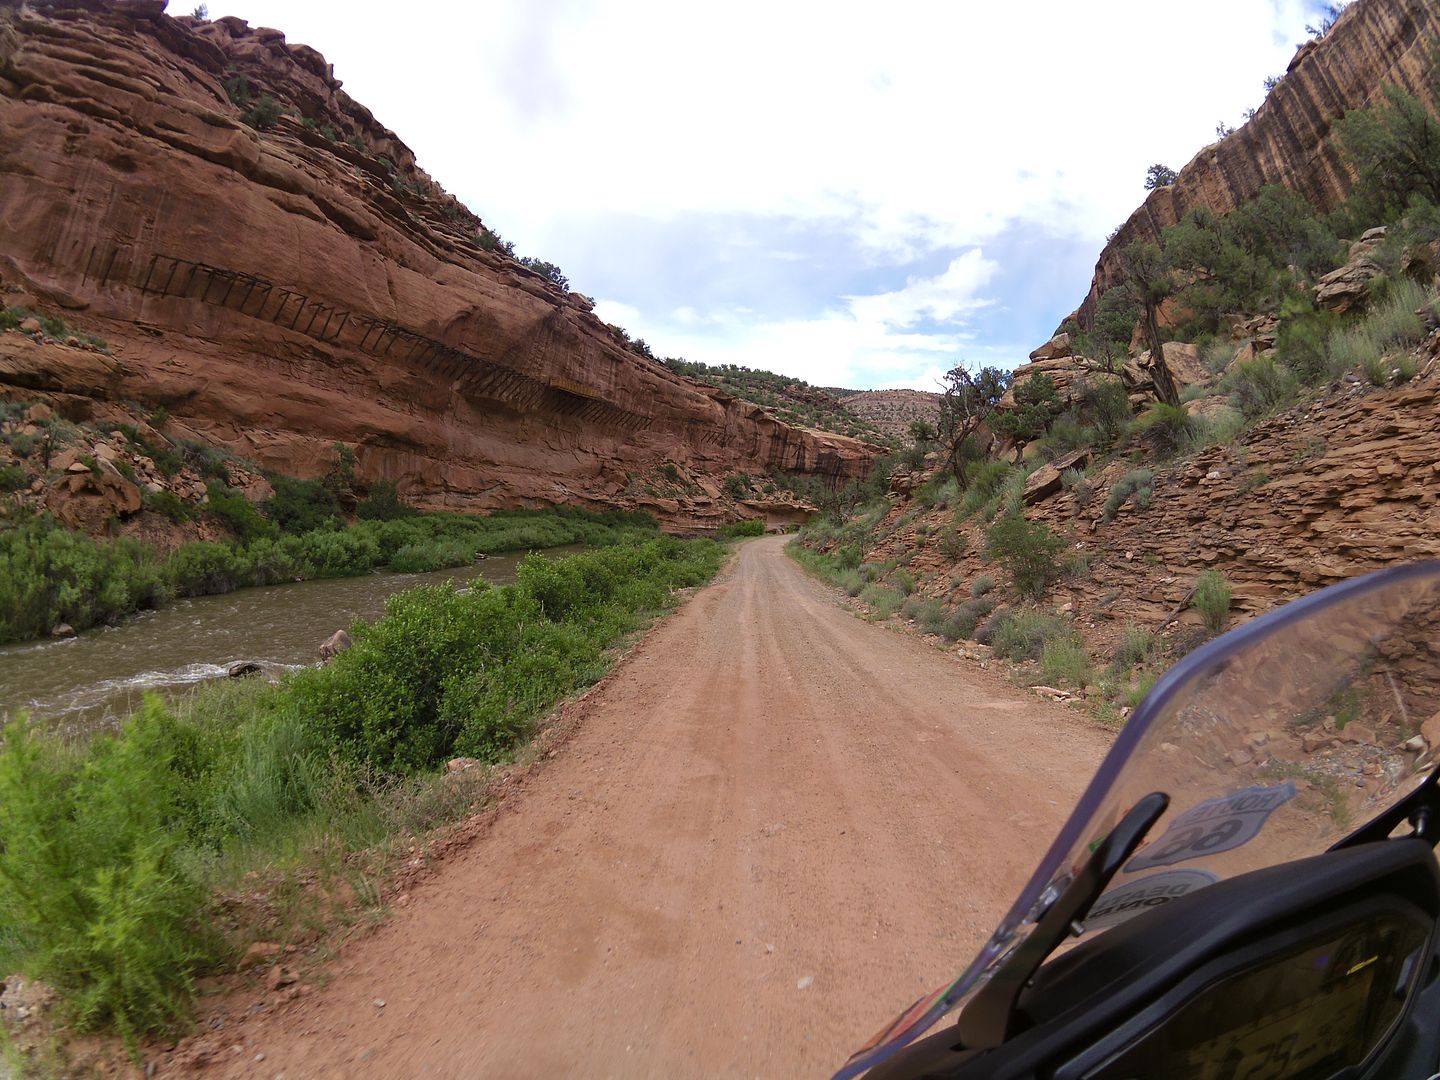
Just south of here I spied an interesting dirt road in the GPS (it helps to have the map detail set on 'most' in such instances), and detoured alongside the Dolores River on a fast gravel road:

Image

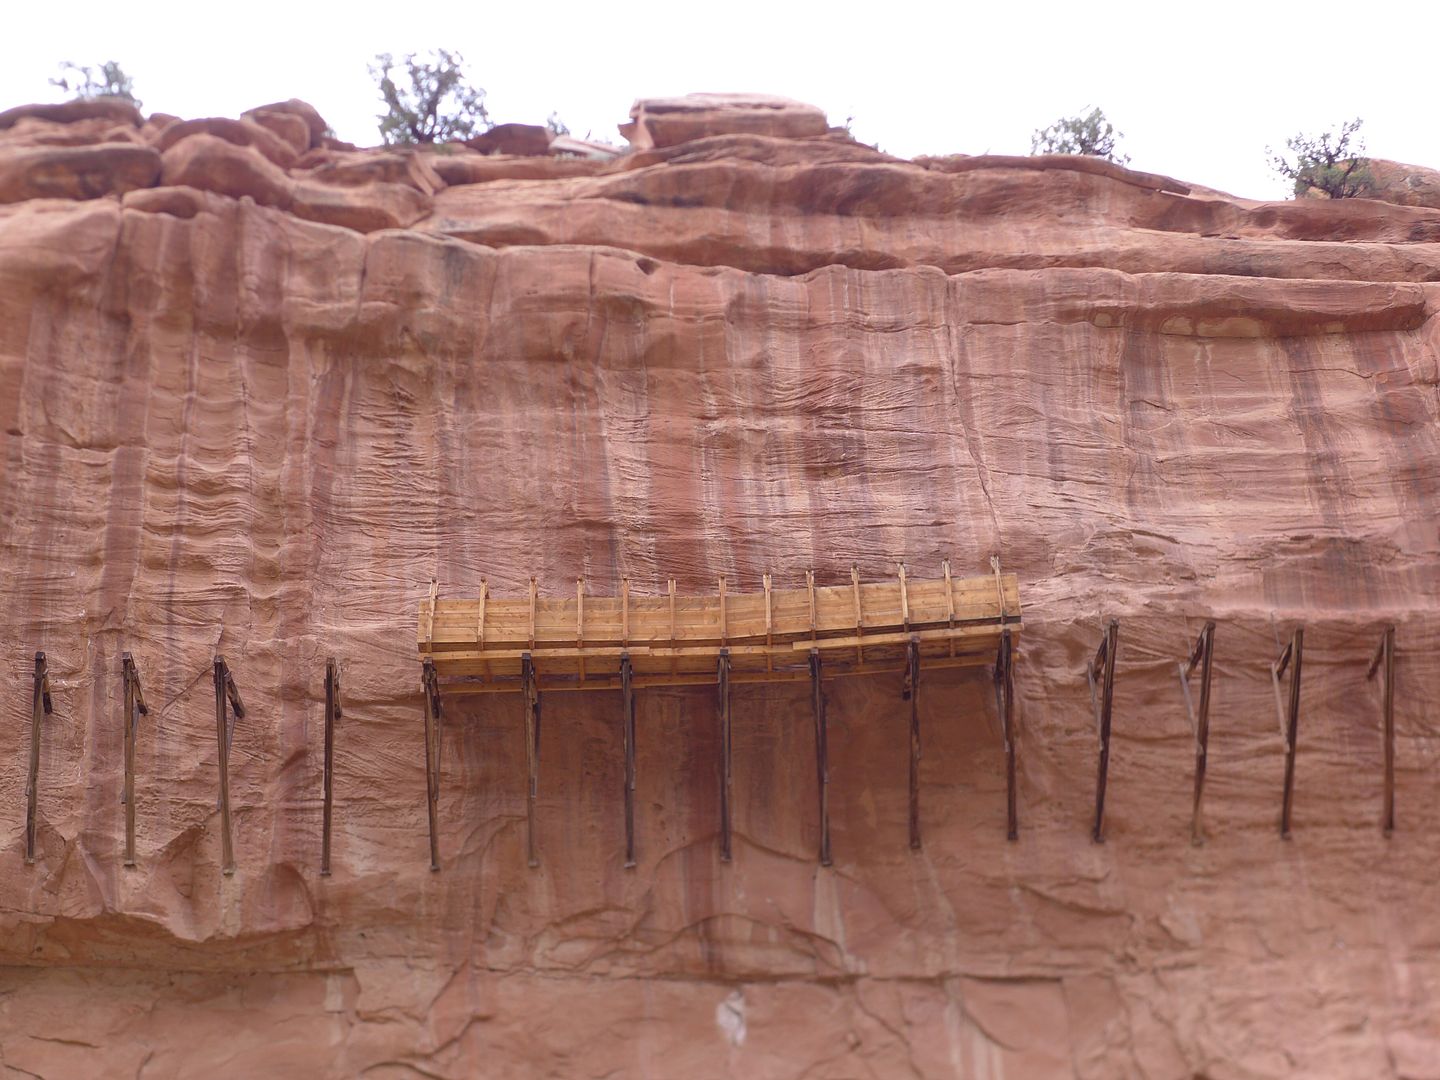
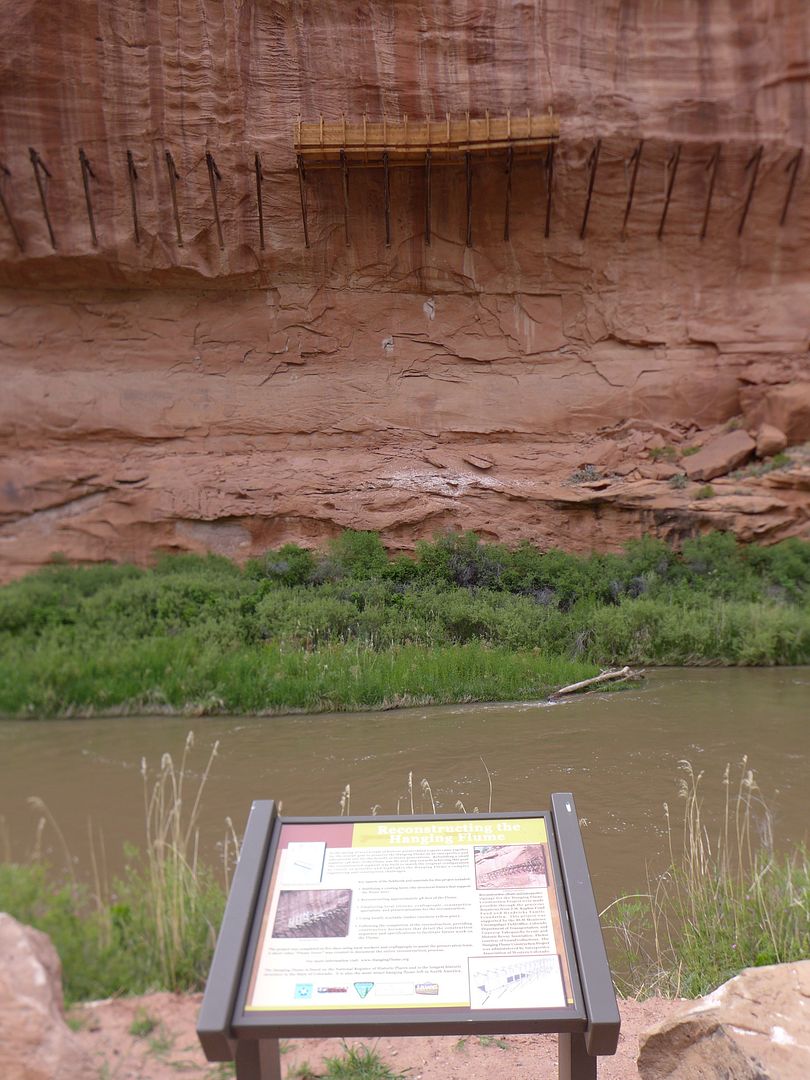
... and where I happened on this interesting historical curio, high up on the cliff face:

Image

A reconstruction of a small section of the original 10 mile long suspended flume that was built in 1889 to provide water for hydraulic pumping as part of the Gold Rush mining in the region. Of course this being America, there is a detailed plaque opposite the site summarising the project, complete with the requisite website: www.hangingflume.org - its certainly worth a read!

Image

Since I had scheduled a stop-over day in Colorado Springs for maintenance (to hopefully coincide with a trip up to the top of Pikes Peak) later in the week, there was no immediate hurry to blast through Colorado - allowing me the luxury of time to explore some new trails (and as it turned out, revisit a few sections of the TAT I'd ridden before), while avoiding the snow-bound passes.

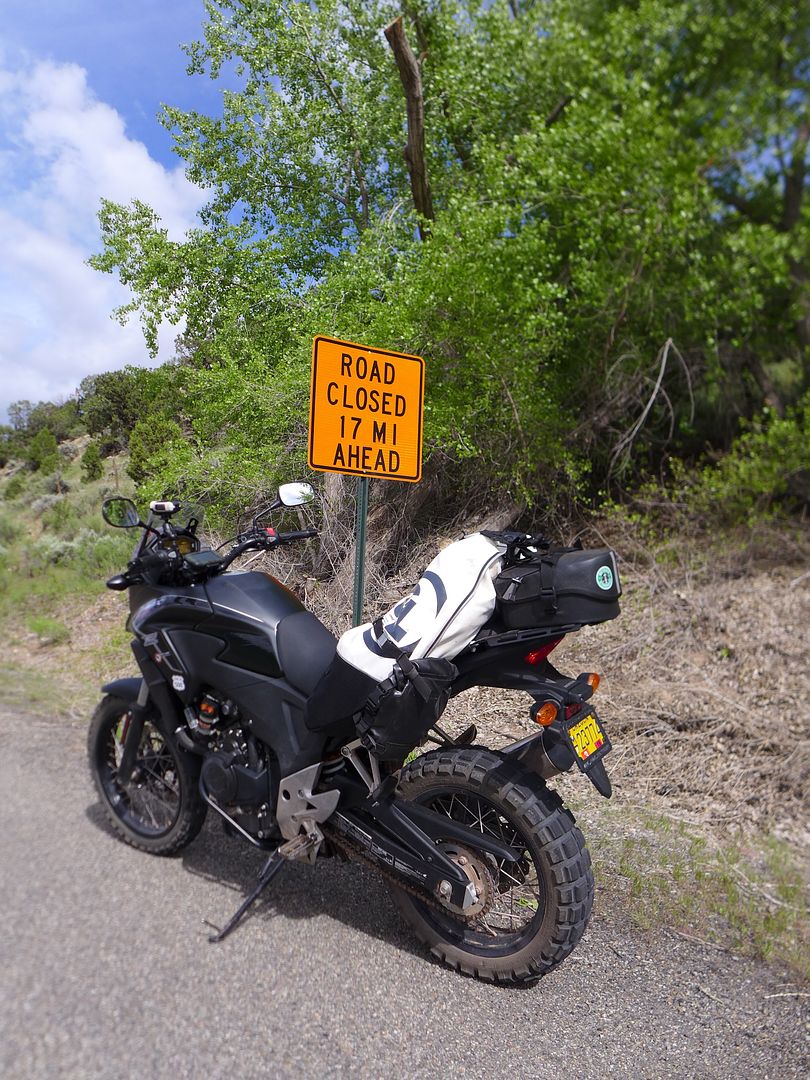
However, having planned to take County Road 90 between Naturita and Montrose that cuts out a huge chunk of highway, I was dismayed to find this a short distance before the pavement ended:

Image

... which was sadly an indication of what was to come time and again over the next couple of days, as many of the dirt roads in the region had been severely damaged by torrential rain and flood water.

However, all was not lost - having found an alternative dirt road a little further south, I made it to Montrose just as the rain started, and ducked into a toasty motel across the street from one of the finest Mexican restaurants I can recall - their Premium Margarita was the smoothest I've ever tasted, and came with countless top ups from what can only be described as a bucket sized cocktail shaker - what a result!

Jx
JMoandpiglet
Posts: 283
Joined: Wed Dec 19, 2012 9:58 pm
Has thanked: 8 times
Been thanked: 17 times

Re: Trans-Am 500 - the seven year itch

Post by JMoandpiglet »

Day 15: Montrose CO to Salida CO.

Mileage today: 143

A muddy Memorial Monday...

The following morning was spent on a very scenic section of hwy 50 that passes the Blue Mesa reservoir - again I was lucky to dodge a few showers in the distance, and elected to take a dirt road detour after lunch that looked interesting on the map at least...

... it was certainly interesting!

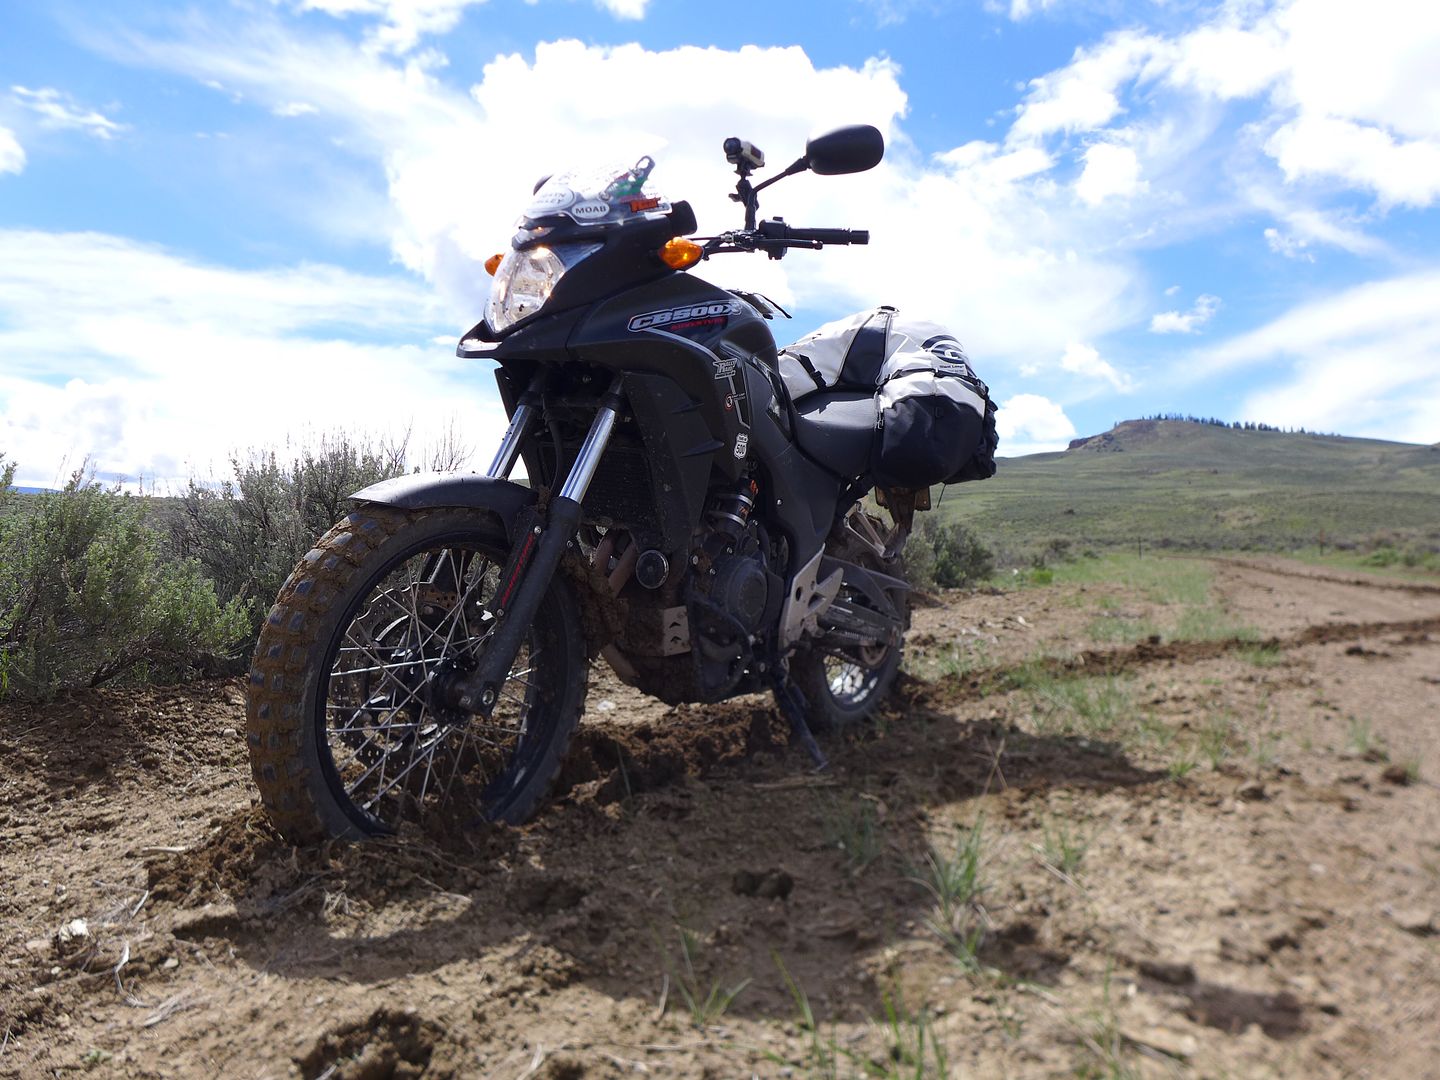
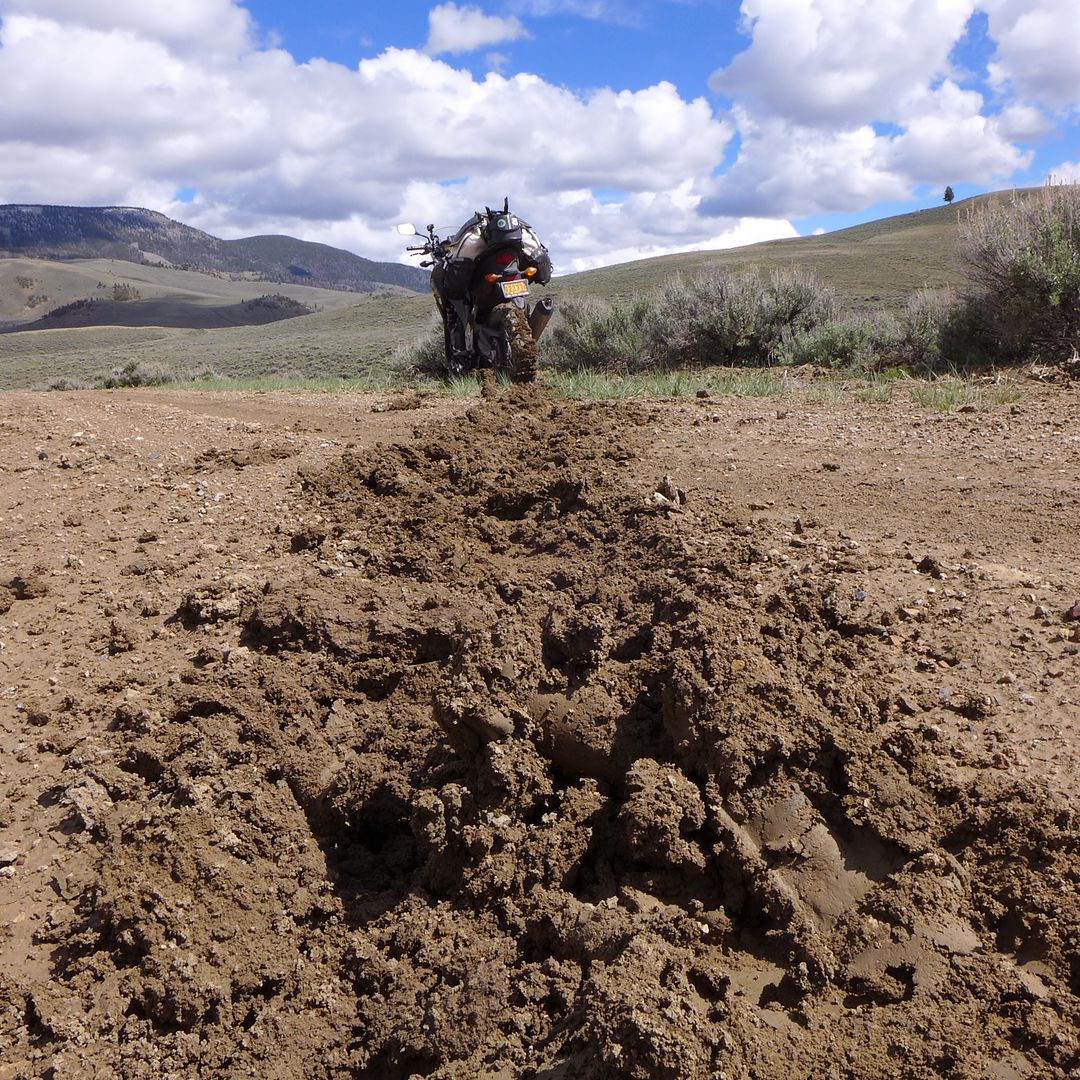
Image

Image

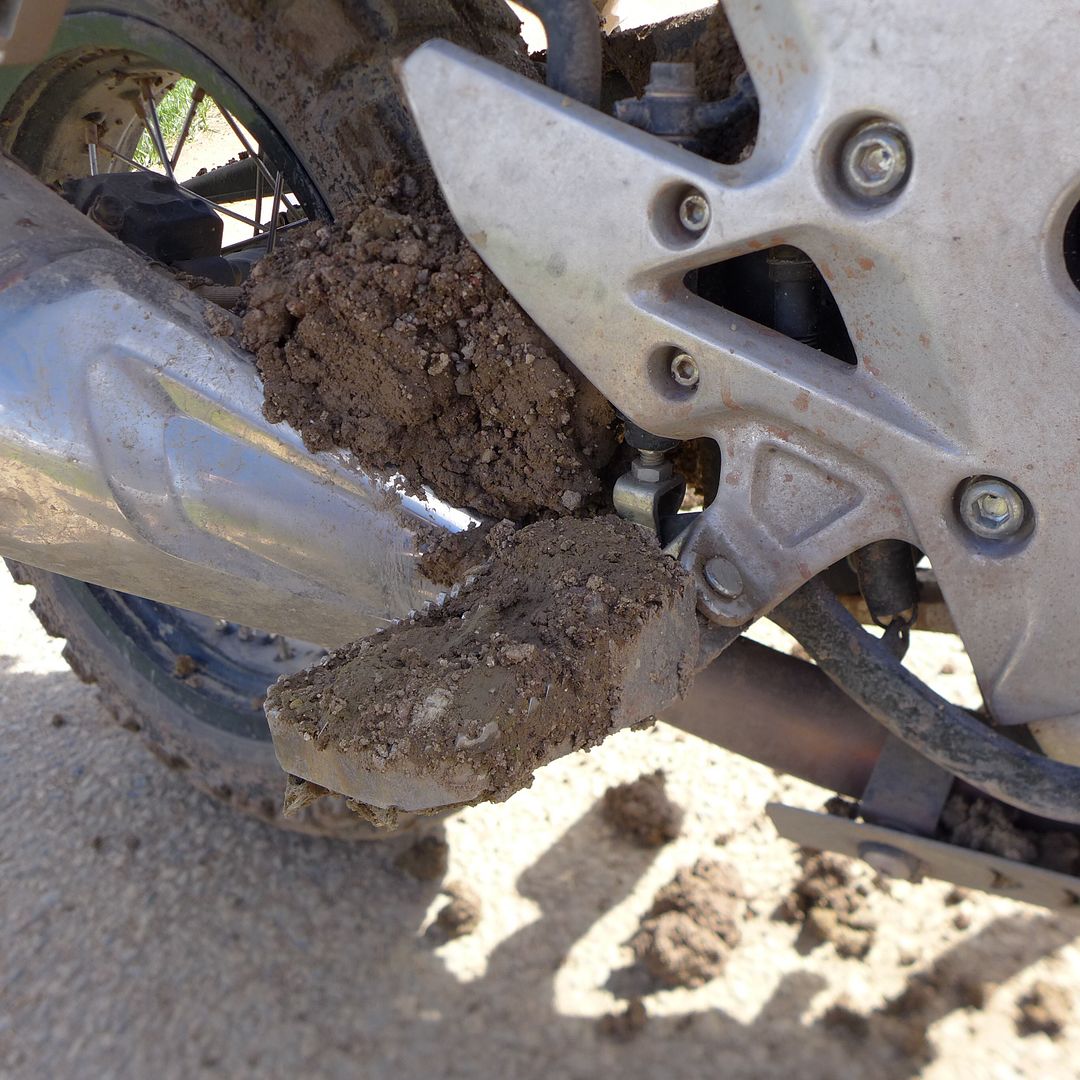
I don't think I have ever ridden on such sticky clay soil, even in the UK... The photos don't really do it justice, this stuff was like glue!

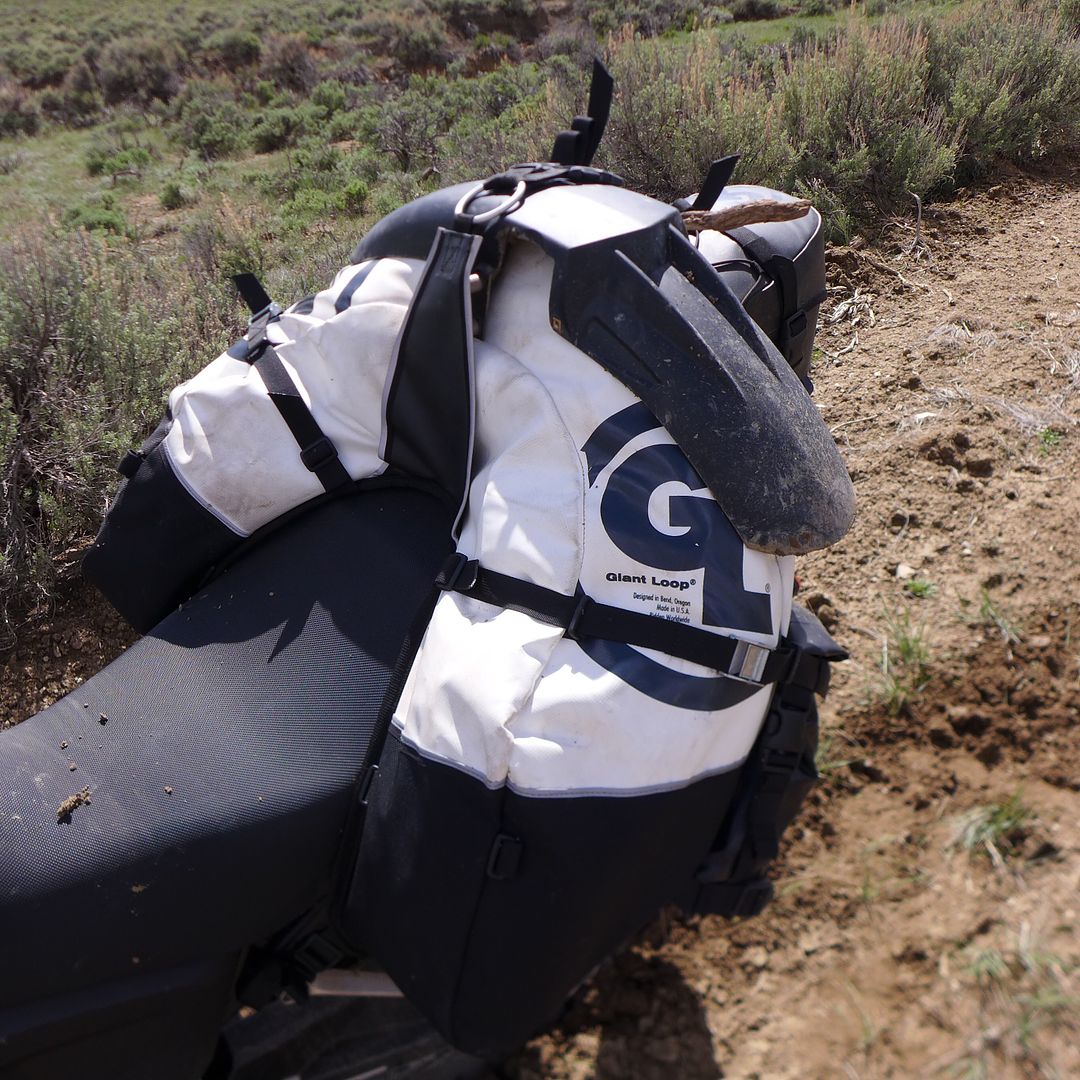
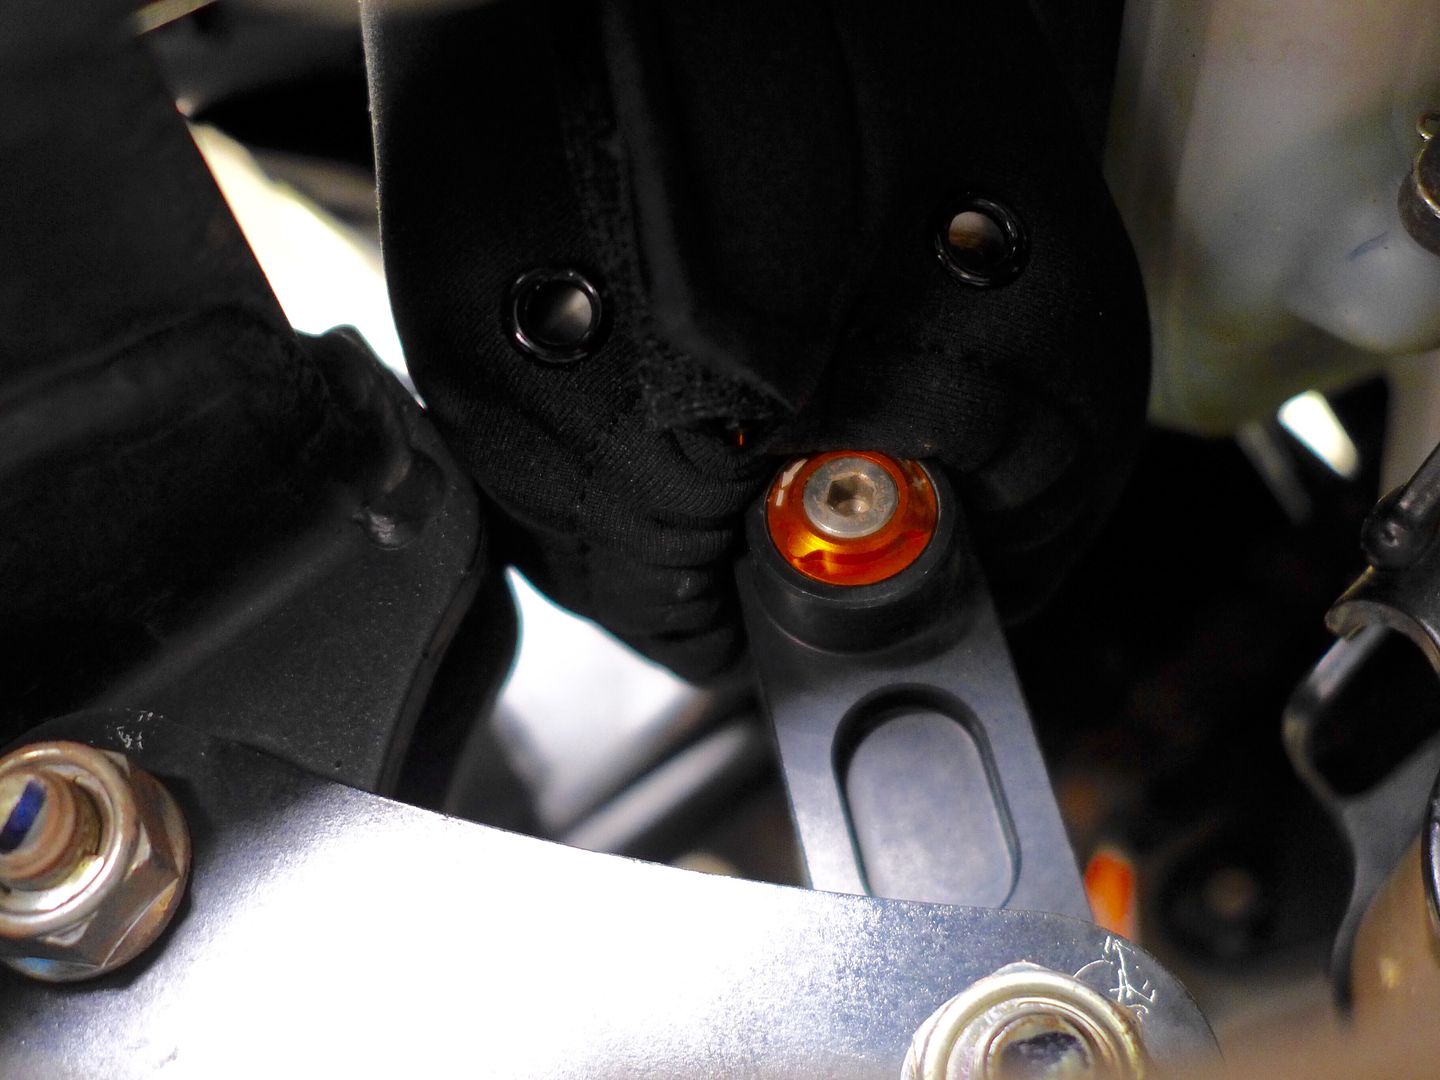
It was a balance trying to ride fast enough to keep the tires from clogging, but not too fast so that when the inevitable jam happened, there wasn't an almighty accident... I elected to stop just short of completely locking-up the front wheel, and removed the lower fender for safety - fortunately this is a less than 5 minute job with just a 5mm Allen wrench and an 8mm socket, and the GL Coyote straps provided the perfect place to secure the fender for onward travel:

Image

I have to say, I was tempted to leave the fender off the bike once I rejoined the highway, as it does look bad-ass ;o) however, at the same time I was mindful of protecting the radiator, and the fact that the bare front wheel had thrown a lot of mud up in front of the engine.

Image


Up and over...

I continued eastward on Hwy 50 and crossed the Continental Divide at Monarch Pass (elevation: 11,312ft):

Image
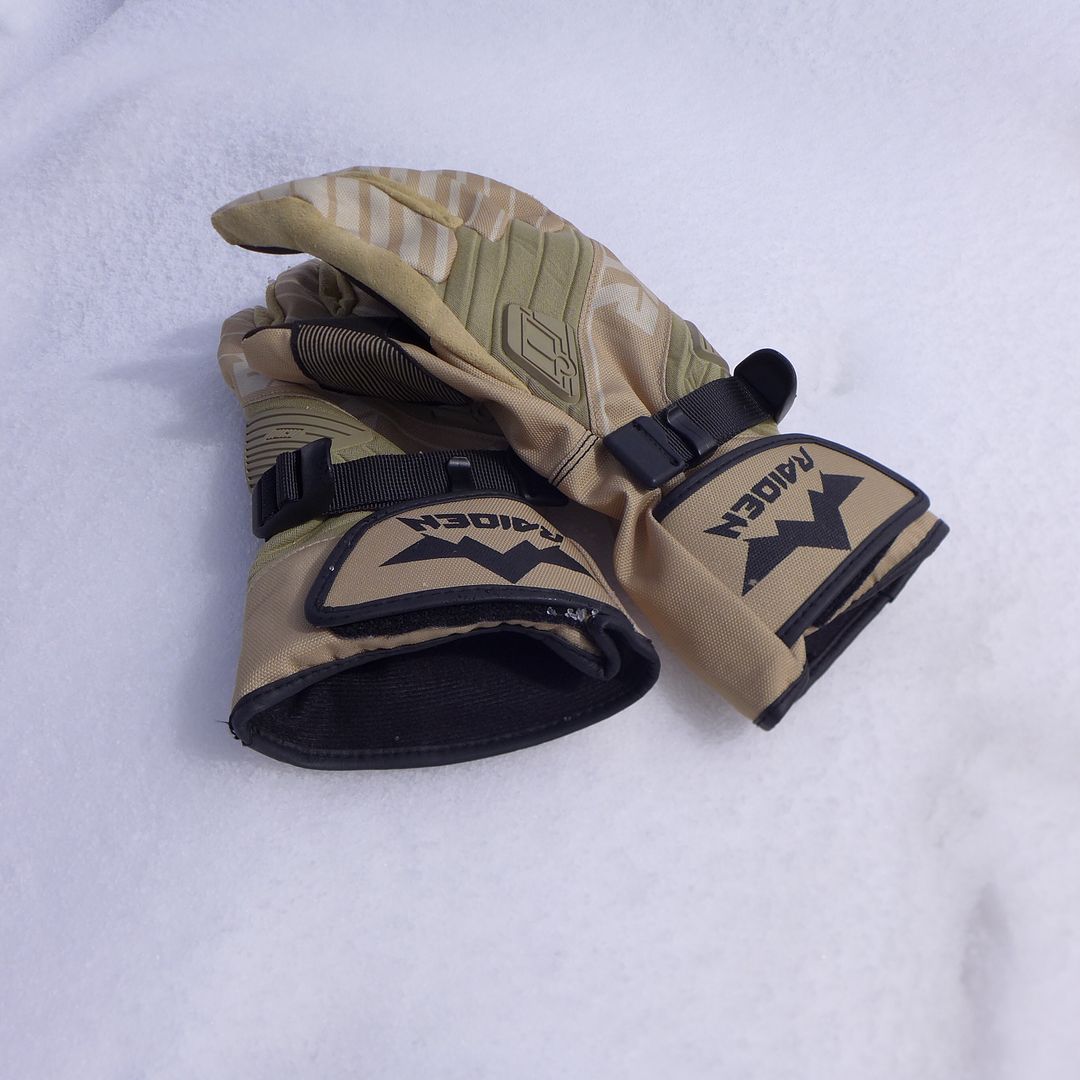
photo. Having winter/waterproof gloves with me was a godsend (and I'm sure will continue to prove to be on the return leg through Colorado), and I admit I was also wearing my jeans under my otherwise vented riding pants... Certainly riding in this kind of weather is far more pleasurable if you can protect yourself properly against the cold!

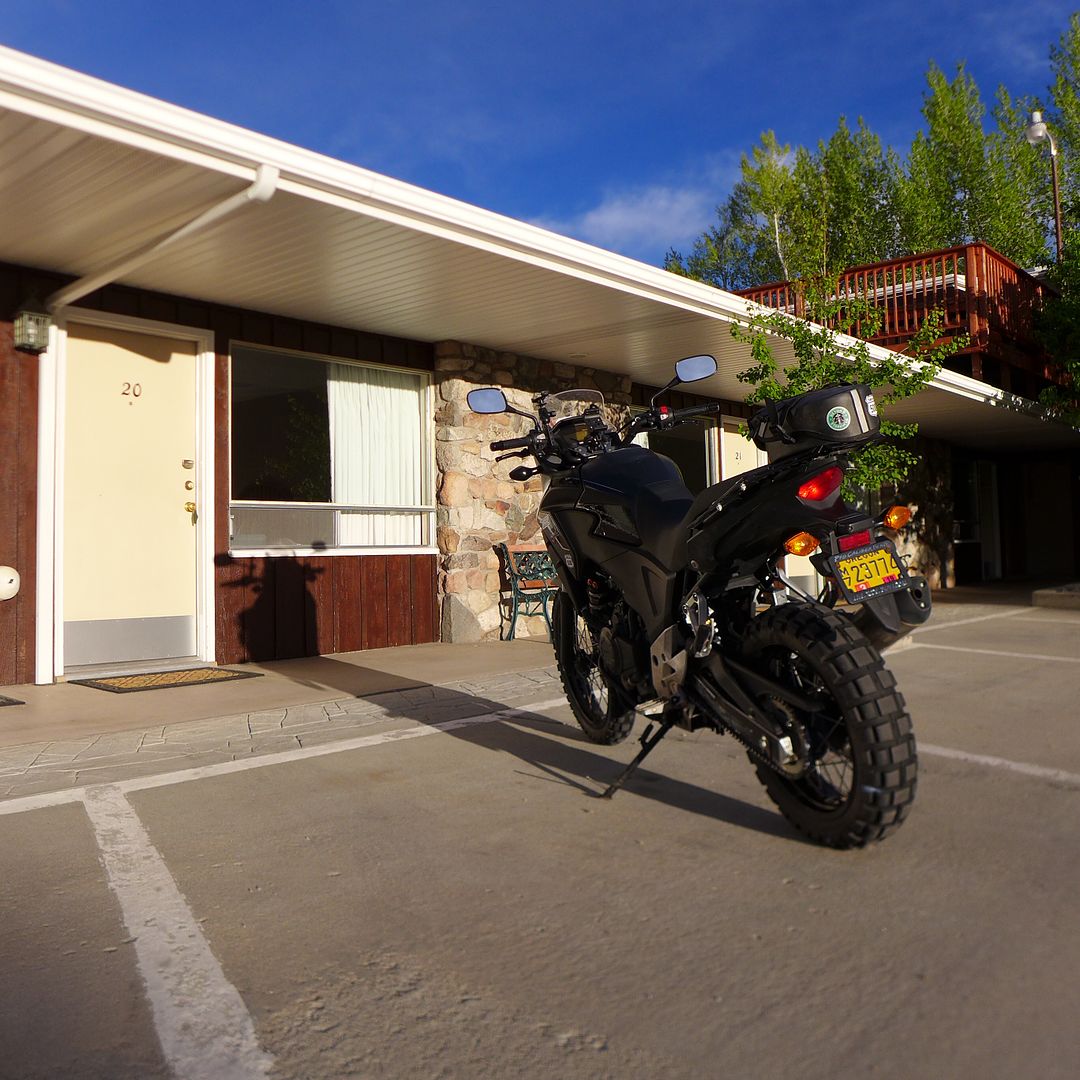
... before wizzing down the far side to arrive in Salida (a mecca for mountain-biking, and a typical stop-over on the TAT too) in good time to clean the bike, myself, and take advantage of the late afternoon sun to take a few photographs to help describe the kit I'm carrying with me (to follow in a separate post).

Image
photo. Clean and like new, which is more than could be said for the room! ...although to be fair the shower was first rate, and the bed comfortable... and I like to support independent motels where I can.

More soon!

Jx
JMoandpiglet
Posts: 283
Joined: Wed Dec 19, 2012 9:58 pm
Has thanked: 8 times
Been thanked: 17 times

Re: Trans-Am 500 - the seven year itch

Post by JMoandpiglet »

My kit...

As a brief aside, I thought you might be interested in some of the gear I'm carrying on this trip? - in fact to be honest it is pretty much ALL the gear I'm carrying, as I have endevoured to pack just the basic essentials, while at the same time hopefully remain prepared for any eventuality.


First up, my tools and spares/bodge-it repair kit:

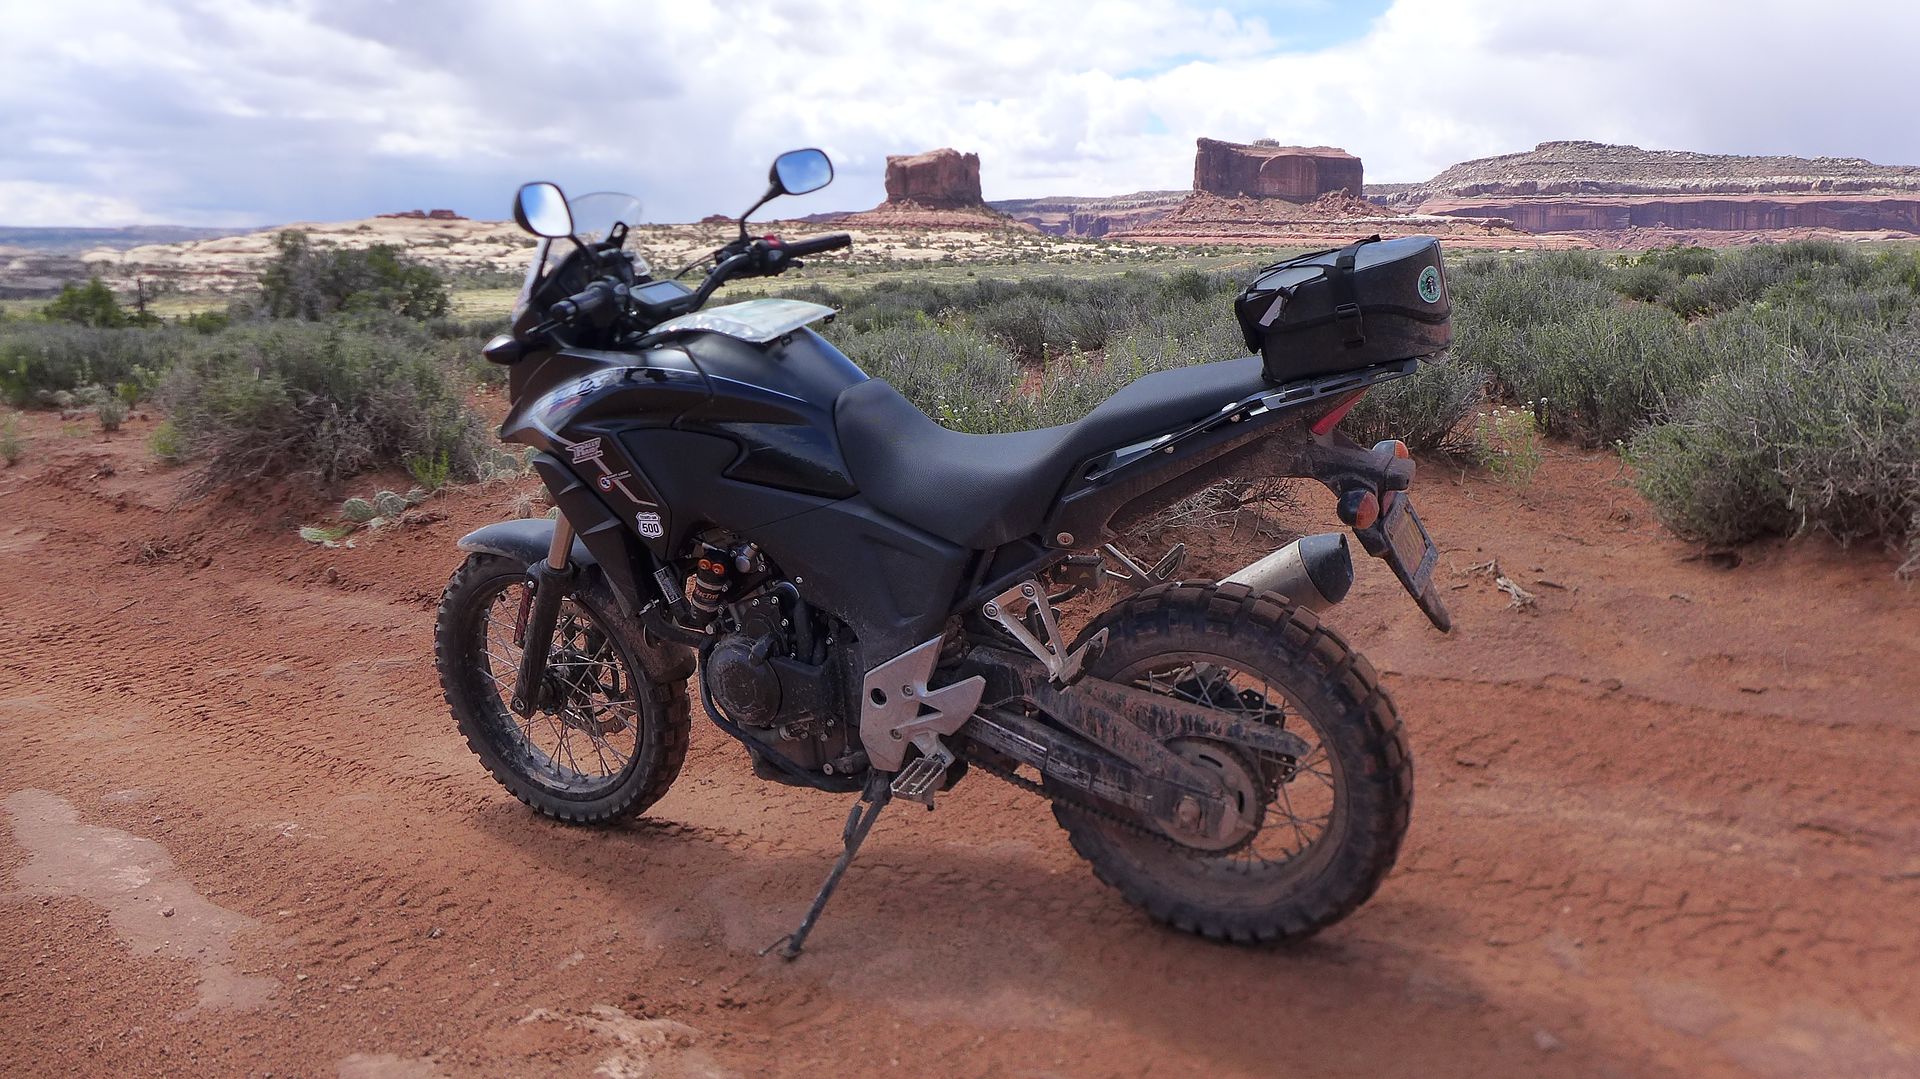
In an effort to maintain my modular packing system, and also to have all the tools and spares I might require on the bike at all times (particularly for those occasions I'm riding without my Coyote luggage for example), I have managed to fit everything into a Giant Loop Klamath tail/rack pack, that is a semi rigid waterproof bag that also has the facility to expand the lid upwards if an inch or two more room is required.

Image
photo. Klamath tail rack-pack on the RRP solo luggage rack - keeps everything contained and easy to hand, with the addtion of a compressor and jumper cables stowed under the seat.

Initially I packed everything in as tightly as possible, however the only drawback with the Klamath is that while it attaches to a rack or fender very securely, the lid is not lockable at all, so the contents are potentially vulnerable to theft if left unattended overnight for example.

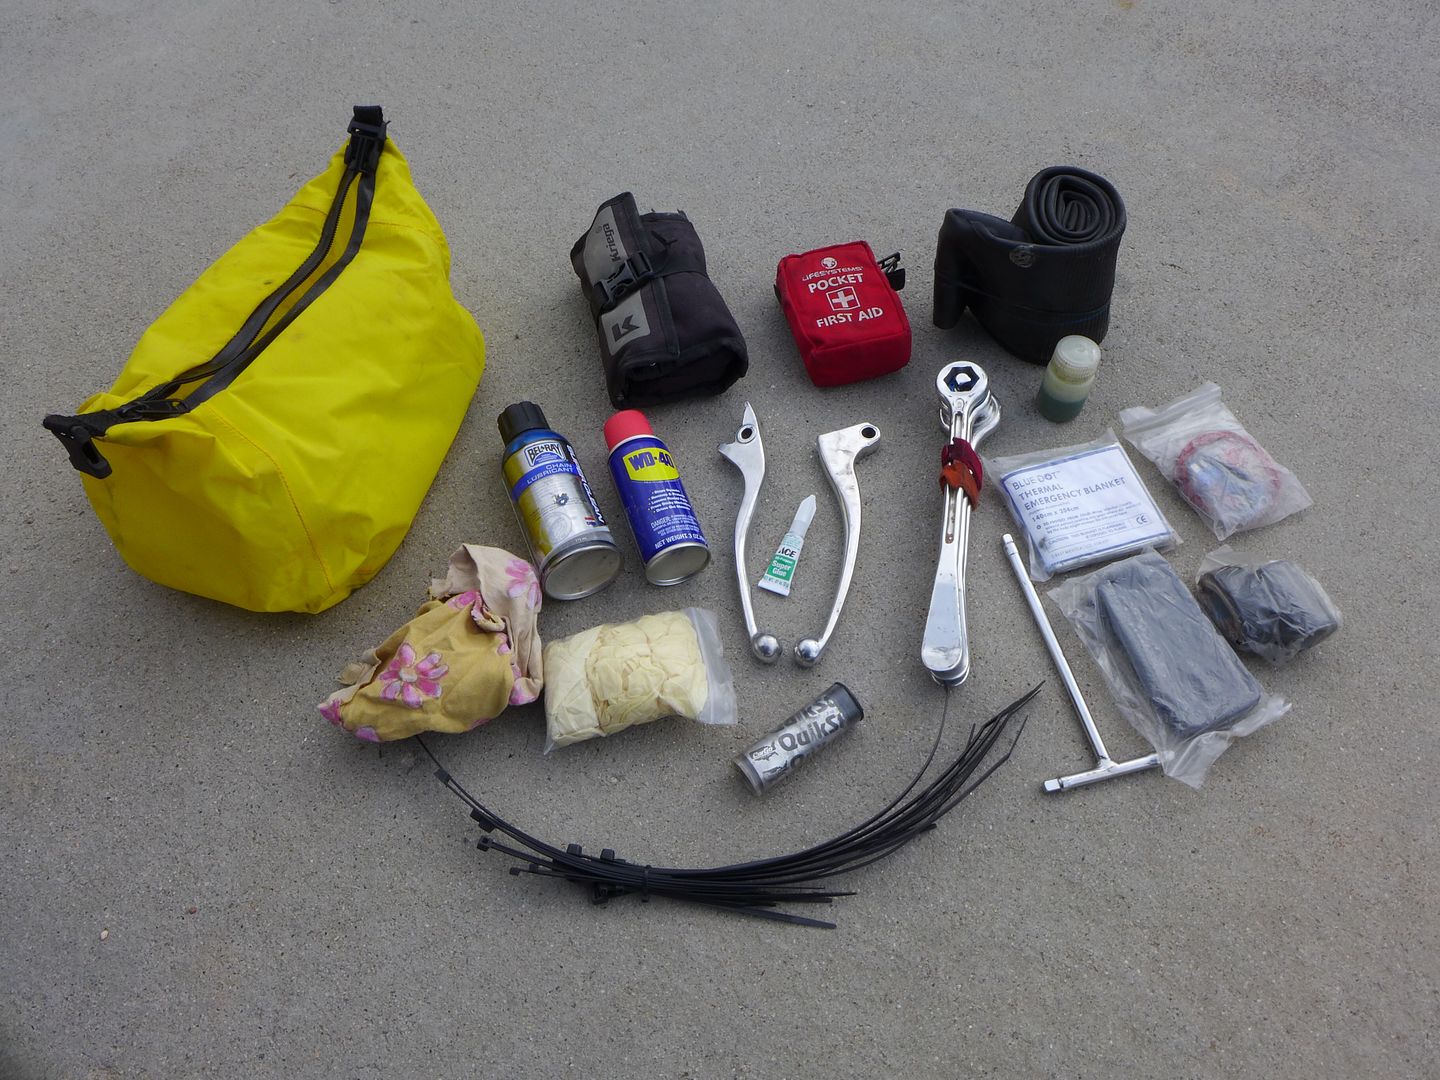
The solution was surprisingly simple - Harold simply gave me a waterproof dry bag that fits snugly inside the tail pack, and allows me to quickly remove the inner bag each evening. It also works really well as a work mat to keep all your tools/bolts etc. together when working on the bike in the dirt.

Image


The following is a list of the items I am carrying with me - it is a collection tools and spares that over the years I've found can keep you going and make any necessary adjustments out on the trail. I also consider that while the majority of tools are specific to the bike (sizes), I have also included one or two other items that are always useful should you run into anyone who is in difficulty.

1. Tool kit (details in a separate post below) - this kit has been assembled primarily as my rally tool kit, and is a selection of wrenches, Allen keys, sockets, and 1/4 drive compact accessories. On the whole I prefer to use individual tools for a job (particularly as in certain instances you need a wrench and a socket at the same time). There is also a Leatherman multi tool that can further double up as a second screwdriver as well as a knife and all important bottle opener ;o)

2. 3 x Motion Pro combi tyre levers/wrenches sizes: 22mm (my old Tenere), 24mm (CB500X) and 27mm (KTM), and which fit a number of other dual-sport bikes that I regularly ride with. I have also added the 3/8th drive adaptor in the 24mm size, so that I can use a 17mm hex for the front axle, plus a 17mm socket for the engine mounting bolts etc.

3. 1/4 inch fixed T handle - ideal for getting more leverage, and as a second tool. I use this a lot.

4. Spare tube. This is compromise size: 18" x 120 which should fit either the 19" front or 17" rear wheels to get me going again. I have also included a small bottle of tyre lube to aid fitting.

5. Cyclepump compressor (not shown, stowed under the seat), with a QR power tail connected directly to the battery. This tail usually runs the USB and 12v sockets on the bar riser, but can be swapped to the compressor as required.

6. Motorcycle size jumper cables (not shown, stowed under the seat).

7. Compact first aid kit. Meets FIM rally regs. and includes burn pads and cream, plus eyewash.

8. Small can of chain lube.

9. Small can of WD40.

10. A few pairs of latex gloves for messy jobs.

11. Compact multimeter.

12. Small rolls of gaffer (duct) tape and electrical insulation tape.

13. Bag of assorted electrical connectors, fuses, wire, nuts, bolts and other bodge-it parts.

14. Tube of Quik-Steel.

15. Tube of superglue ( in a poly bag just incase it leaks everywhere!)

16. Emergency foil blanket (another rally hangover, but potentially a lifesaver).

17. A selection of various size zip-ties.

18. The OEM front brake and clutch levers as spares.


My rally tool kit in more detail:

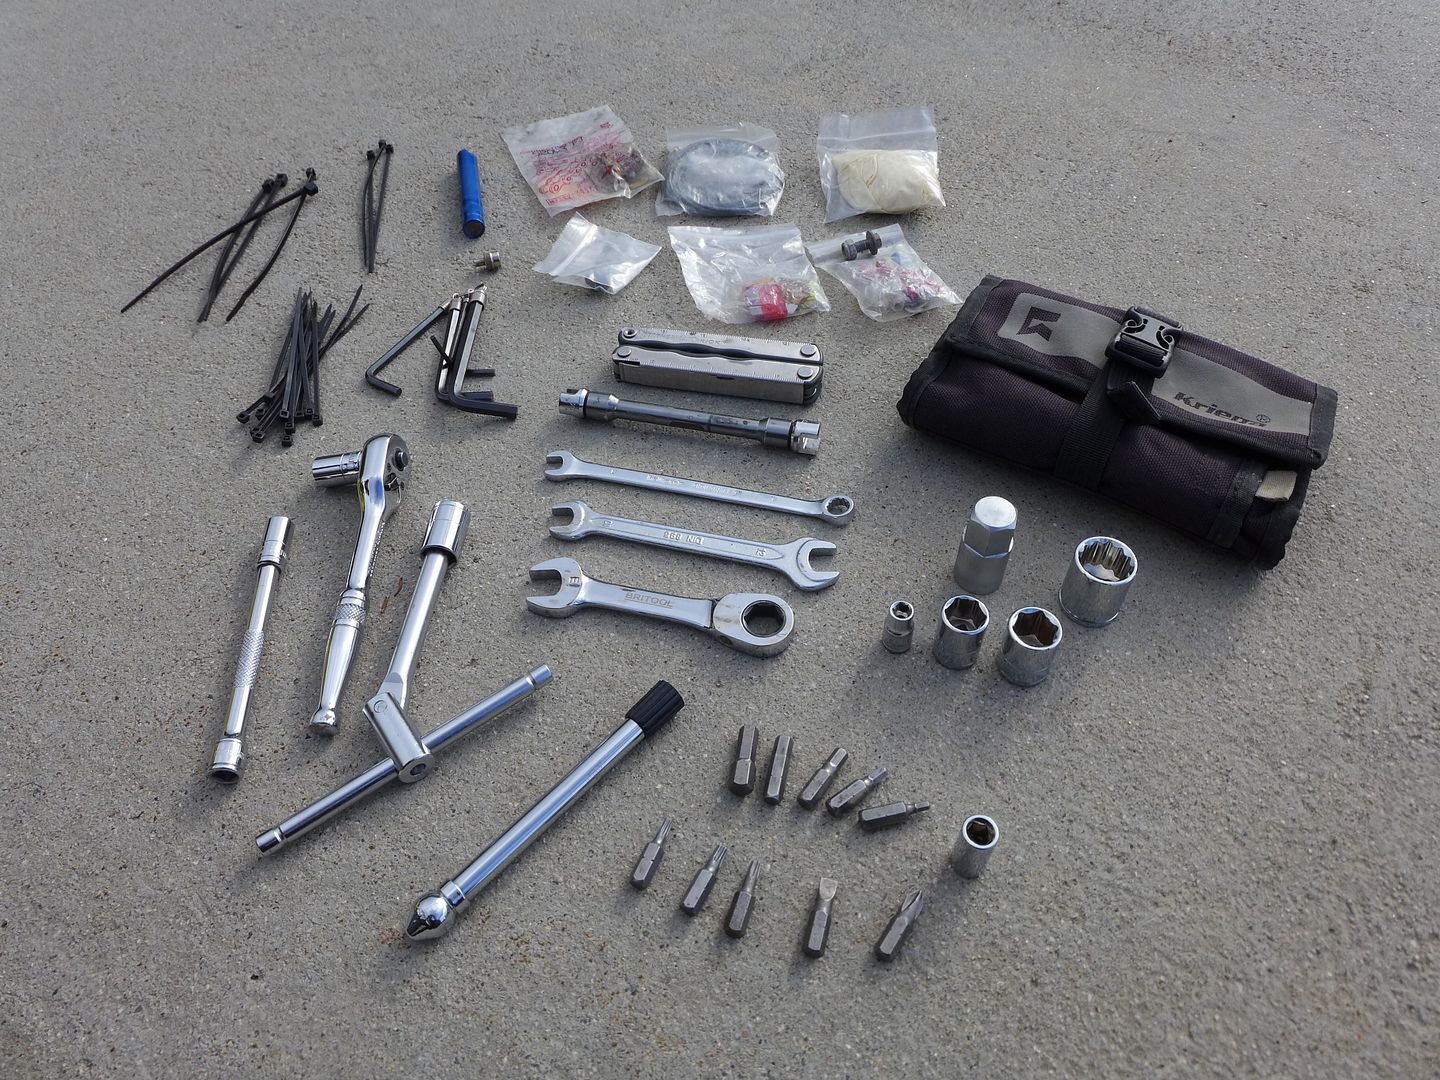
I have managed to contain everything below inside a Kriega Stash wallet, which is far more compact than a traditional tool roll, and is even small enough to fit a jacket pocket if desired.

Image

The majority of the tools are part of the 1/4" 'professional' socket set from Halfords (in the UK), which is of high quality and often on sale at a good price. I have supplemented these with various compact wrenches and a folding T handle, plus a simple Leatherman 'Kick' model (now sadly discontinued) which offers just the essential knife, screwdrivers, bottle opener and thin-nose pliers/wire cutters. I also keep the regularly used size sockets on the various handles for easy access, and have an adaptor that allows me to use a 1/4" driver/handle with Allen, Torx or screwdriver bits as needed.

1/4" ratchet handle.
1/4" folding T handle.
1/4" 4 inch extension bar.
8mm ring wrench.
10/12mm open-ended combi wrench.
13mm ring wrench (with ratchet ring end - nice ;o)
14mm ring wrench (borrowed, as I forget mine!)
DRC spoke wrench (that comes with a selection of different size tips)
Leatherman Kick.
1/4" drive 8/10/12mm sockets, plus 13/14mm and a 6mm ( for carb jets).
3/8"drive 17mm socket and 17mm hex for front axle (these fit together very neatly of course!)
1/4" adaptor and a section of bits inc. 3/4/5/6/8mm Allen key, T15/20/25 Torx and a flat blade and Phillips screwdriver.
Pencil style tyre-pressure gauge.
Maglite Solitare torch.
Various valve parts - cap, core, lock nut and core remover.
Cable repair kit with various nipples.
Spare chain split link/s.
More electrical crimp connectors, fuses, mini zip-ties and latex gloves.

Cont.
JMoandpiglet
Posts: 283
Joined: Wed Dec 19, 2012 9:58 pm
Has thanked: 8 times
Been thanked: 17 times

Re: Trans-Am 500 - the seven year itch

Post by JMoandpiglet »

Camping equipment.

While it is not my intention to camp all that often, at the same time past experience has taught me that having a basic camp with me can pay dividends - either if something unforeseen happens and I have no choice but to bed down on the trail; or simply if I see a spot that looks nice (and fundamentally will be warm!) and fancy sleeping out under the stars for a change.

On my previous travels, I have tended to use two 35(ish) litre dry bags strapped ontop of one another on the rear of the seat (one for my camping gear, and one for my personal belongings) - keeping the bike nice and narrow.

However, while the weight itself is not particularly large, physically it can make getting on and off the bike a little tricky - and more often than not I needed to resort to the 'McGregor goose-step' and either hop towards the bike with my right leg extended, or else step up using the left hand peg stirrup style.

However, last year I used a single 'banana' style bag for the first time (a Giant Loop Coyote) during my trip from the UK to the Hellas Rally in Greece; and while I was hotelling it all the way, felt there would actually be plenty of room for a small camping kit too, along with the few clothes I'd elected to take for when off the bike.

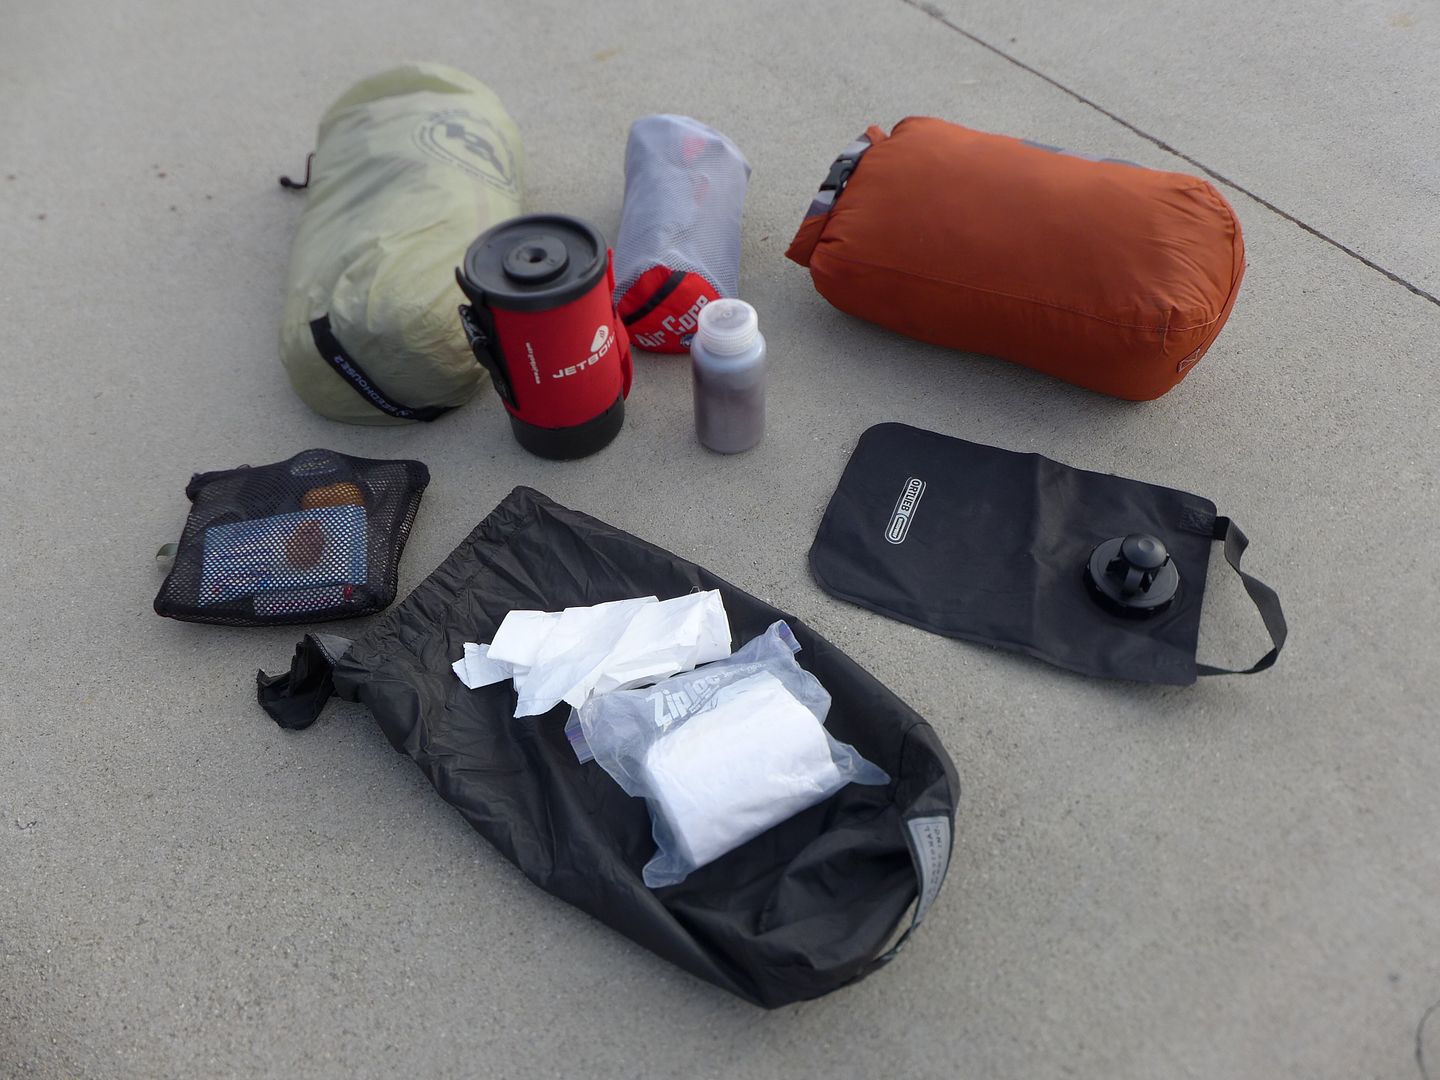
Therefore I have tried to minimise the size of my camp kit, while still having the basic essentials to cook, wash and sleep with.

Image


1. Big Agnes Seedhouse2 tent. I love this as it is so compact when packed (approx 14" long) and is big enough for me and all my gear to be kept inside. Fundamentally it is self-supporting (ideal on hard ground), and can be used as just a mesh bug-hut without the fly sheet if the weather is particularly warm.

2. Big Agnes Air Core inflatable mattress. I had finally had enough of my 2" thin Thermarest, and bought this as a replacement. You do need to blow it up (like a lilo), but at around 5" thick when inflated, it is far more comfortable and offers better insulation too.

3. Summer weight sleeping bag (in an Exped dry bag). Yes it's thin, but it bundles up really small and I don't want to camp in the cold anyway!

4. Jetboil cooker, and Spork.

5. Folding pocket knife.

6. Camping towel.

7. Petzl head torch.

8. Earplugs (in a Kinder-egg case)

9. Lighter.

10. Small packet of wet-wipes.

11. Toilet roll and hand sanitiser (in a ziplock bag).

12. Ortlieb 2 litre water bag.

13. Nalgene bottle full of ground coffee (of course!)

14. Roll of small plastic trash bags (that can double as emergency waterproofing too).

Cont.
JMoandpiglet
Posts: 283
Joined: Wed Dec 19, 2012 9:58 pm
Has thanked: 8 times
Been thanked: 17 times

Re: Trans-Am 500 - the seven year itch

Post by JMoandpiglet »

My riding gear.

Finally for now, I thought I would introduce you to my riding gear.

Again, previous experience has taught me that keeping things modular is the key to packing light - with items that can often double up, both on and off the bike.

As I'll be riding pretty much every day this trip, and typically on the bike itself for most of the daylight hours - as such, my personal clothes only need to be the bare minimum - a few sets of underwear, a coupe of spare T-shirts, plus what I consider is a complete change of clothes that if I had to, could double up as on-bike wear - well, at least as far as the next shop where I could buy a replacement for anything damaged. This is essentially a pair of 'action' sandals (note. I would usually take a pair of lightweight trainers/sneakers as they are slightly more robust - but hey it's summer, and space was of a premium this time), some lightweight jeans and a wind-stopper fleece zip-through jacket - which is also smart enough to wear out in the evenings to all but the fanciest restaurants (and which I can't afford anyway ;o)

As I will be riding at some pretty high altitudes during this trip (and possibly some inclement weather too), I have also brought a set of wicking base-layer long-johns and a long-sleeve top - which can always double as pyjamas too of course. I have also included a thin (but insulating) fleece pullover - as a useful mid-layer, and again, smart enough to wear away from the bike too.


As far as my outer layer goes, in the past I have been a staunch advocate of Arai helmets and on the whole Alpinestars riding gear - usually choosing their lightweight enduro style jacket and pants, and supplementing those with a waterproof shell pullover and rain pants for really crappy weather.

I also much prefer the shorty style of riding boot, and always travel and trail-ride in Alpinestars Tech 2s, which are essentially the ATV version of the Tech 3 MX boot... Hell, they are so comfortable I've even been known to race in them with some appropriate shin-guards too!

So I was faced with a dilemma for this current trip. My current riding gear was getting really tired, and I really wanted a jacket that would be waterproof without the need for an additional over jacket; but at the same time also be lightweight, have plenty of pockets, and vented enough for muscling a big bike around on the trails during the early summer months across the USA.

I have therefore chose to break form the norm and try a selection dual-sport specific riding gear from US based apparel company ICON. More usually known for their road and retro street riding gear, I've always liked their range of shorty boots; and so was keen to try a selection of their new lighter weight all-road and trail-riding gear, which is sold under the Raiden branding.

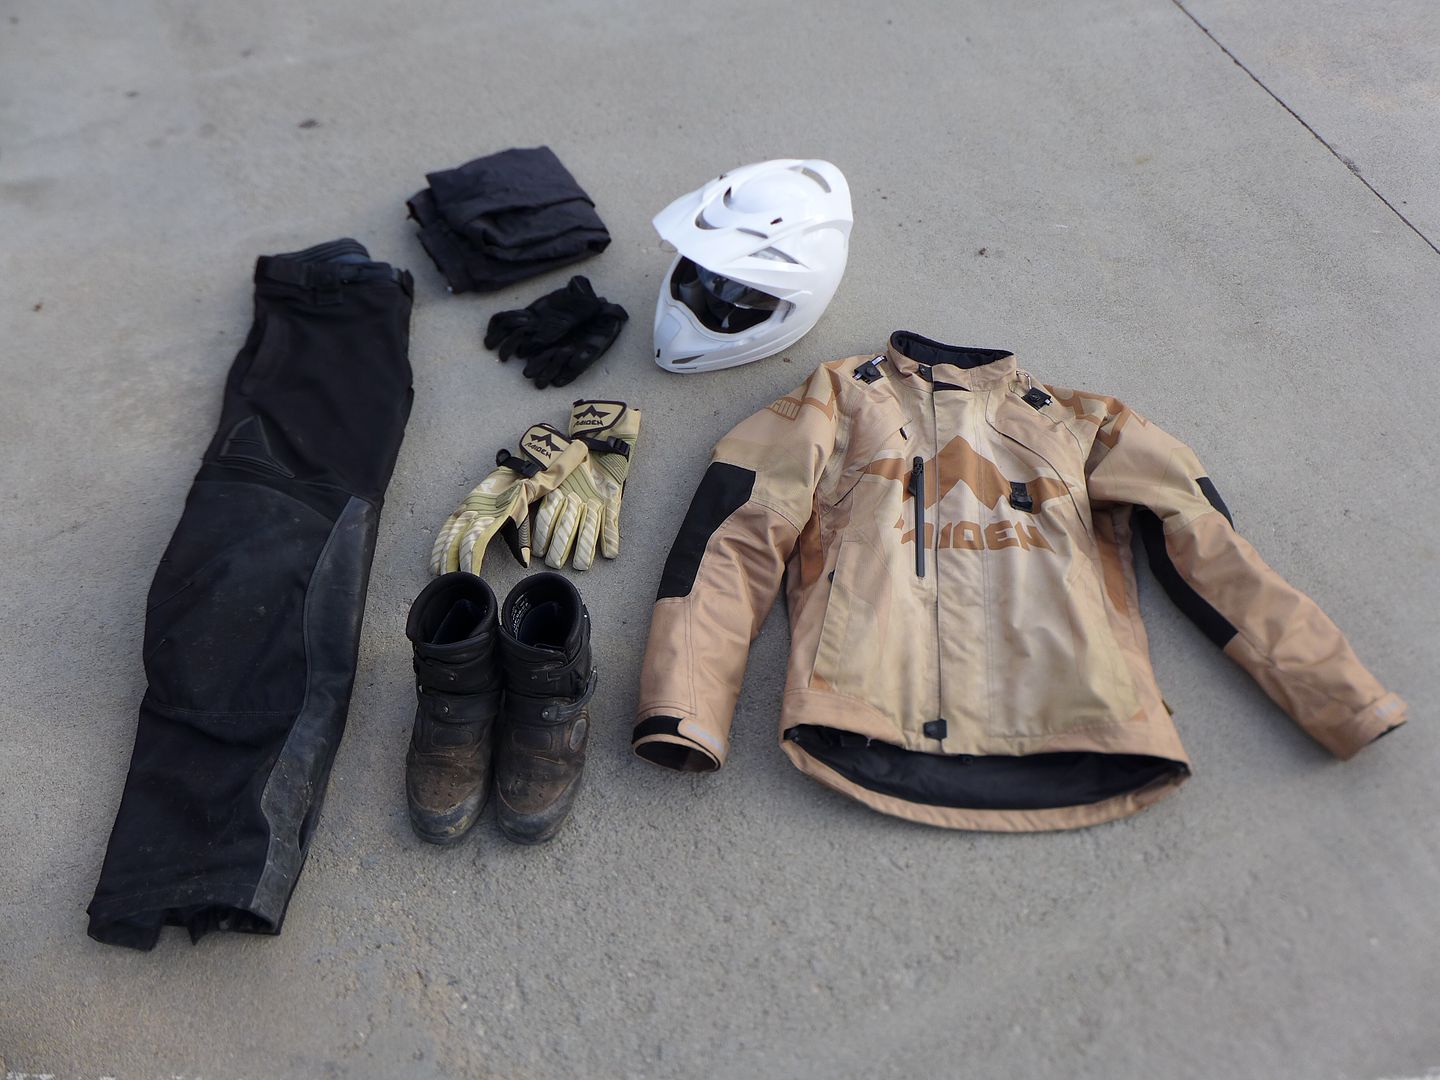
Image

The gear I've chosen is the DKR jacket (with the thermal liner removed - if its cold I can layer my windstopper fleece underneath instead), and as this jacket is cut pretty large, it means there is a enough air circulation inside when the vents are opened for riding in hot weather; while it is properly waterproof and includes full armour, without being overly heavy. There are also loads of handy pockets (I have my little OCD routine of a place for everything when I'm on the road), the option of an external drink bladder pocket; and it also has a really useful rear pocket ideal for maps and spare gloves - and actaully large enough to stow my waterproof over-pants too. So far I am really impressed with how it's stood up to everything.

Because I will be riding in high temperatures a lot of the time, I've elected to wear the lighter weight Arakis vented mesh pant - again cut large enough so you can wear them over thermals or even a pair of jeans if you need to layer up (...and I've included my trusty A'stars waterproof over-pants as a precaution for really wet weather!) I really like these pants as they have a high waist (so they sit comfortably over the wiastband/belt on any jeans underneath), and leather panels on the inside to protect against snagging on footpegs or burning on the exhaust for example.

Two pairs of gloves - one summer weight and vented, and one waterproof and insulated (...these have been a joy during the past couple of days in Colorado, especially as I didn't have any hand-guards currently fitted.)

Their Patrol shorty boot - a long term favourite design of mine, and the reality is even better - they are properly waterproof (well, until the water is deeper than the top of the boot - that's a story for a little later on ;o) - yet flexible and comfortable to wear off the bike too. I'm going to buy a pair in brown too, before they stop making them!

As I say, I have never worn anything other than an Arai helmet off-road (and racing) until this summer, and would have bought the latest Tour-X (XD4) in a heartbeat were it not for the fact that they can be noisy at higher road speeds. I therefore thought I'd complete this outfit with an ICON Variant helmet, which I'd heard good reports about; and I have to say, is very comfortable and quiet - well, it certainly was when I tested it on my road bike back home...

However, I have found there is quite a lot of wind noise/roar when I'm riding the CB-X, which I feel is most likely as a result of the air moving between the stock screen and the angle of the peak on the helmet, as I've found the CB much quieter when using a regular road helmet rather than a peaked adventure/enduro style. Similarly I've found the Variant helmet is also more than acceptable when riding a regular (non faired) dual-sport bike, so I really think it is the interface with the CB's screen in this instance. Ah well, ear plugs and iPod for the Iron Butt it is then!


So that is pretty much my gear - other than a few tech bits (camera/s, iPad, cables, chargers) in a Kriega Kube bag, and my trusty Camelbak Blowfish that doubles as a daily snack store, map holder and not least a snug papoose for Piglet!

If you have any questions about anything in my packing list, please ask away and I will of course do my best to clarify on any element...

Normal programming will now resume ;o)

Jx
JMoandpiglet
Posts: 283
Joined: Wed Dec 19, 2012 9:58 pm
Has thanked: 8 times
Been thanked: 17 times

Re: Trans-Am 500 - the seven year itch

Post by JMoandpiglet »

Day 16: Salida CO to Colorado Springs CO.

Mileage today: 157

After a good nights sleep, but a rather lacklustre breakfast, I planned to head for Colorado Springs (or possibly stop in Cripple Creek overnight), so that I would essentially have the whole of the following day (Wednesday) to head up Pikes Peak, hoping that at some point at least, the weather would be on my side...

Since the sun was beaming down, I was itching to get off-road again, and knew there was a network of trails to the east of Salida that would see me high, but not too high, and hopefully dry.

Image

Heading up County Road 175 (this is the TAT route into Salida when heading west), I spied an alternative trail in the GPS ominously named "Dead Horse Gulch", and since it also had a County Road number, vowed to give it a try on return journey in a couple of weeks' time... and continued up and east, into the hills:

Image
photo. This is why people come to Colorado!

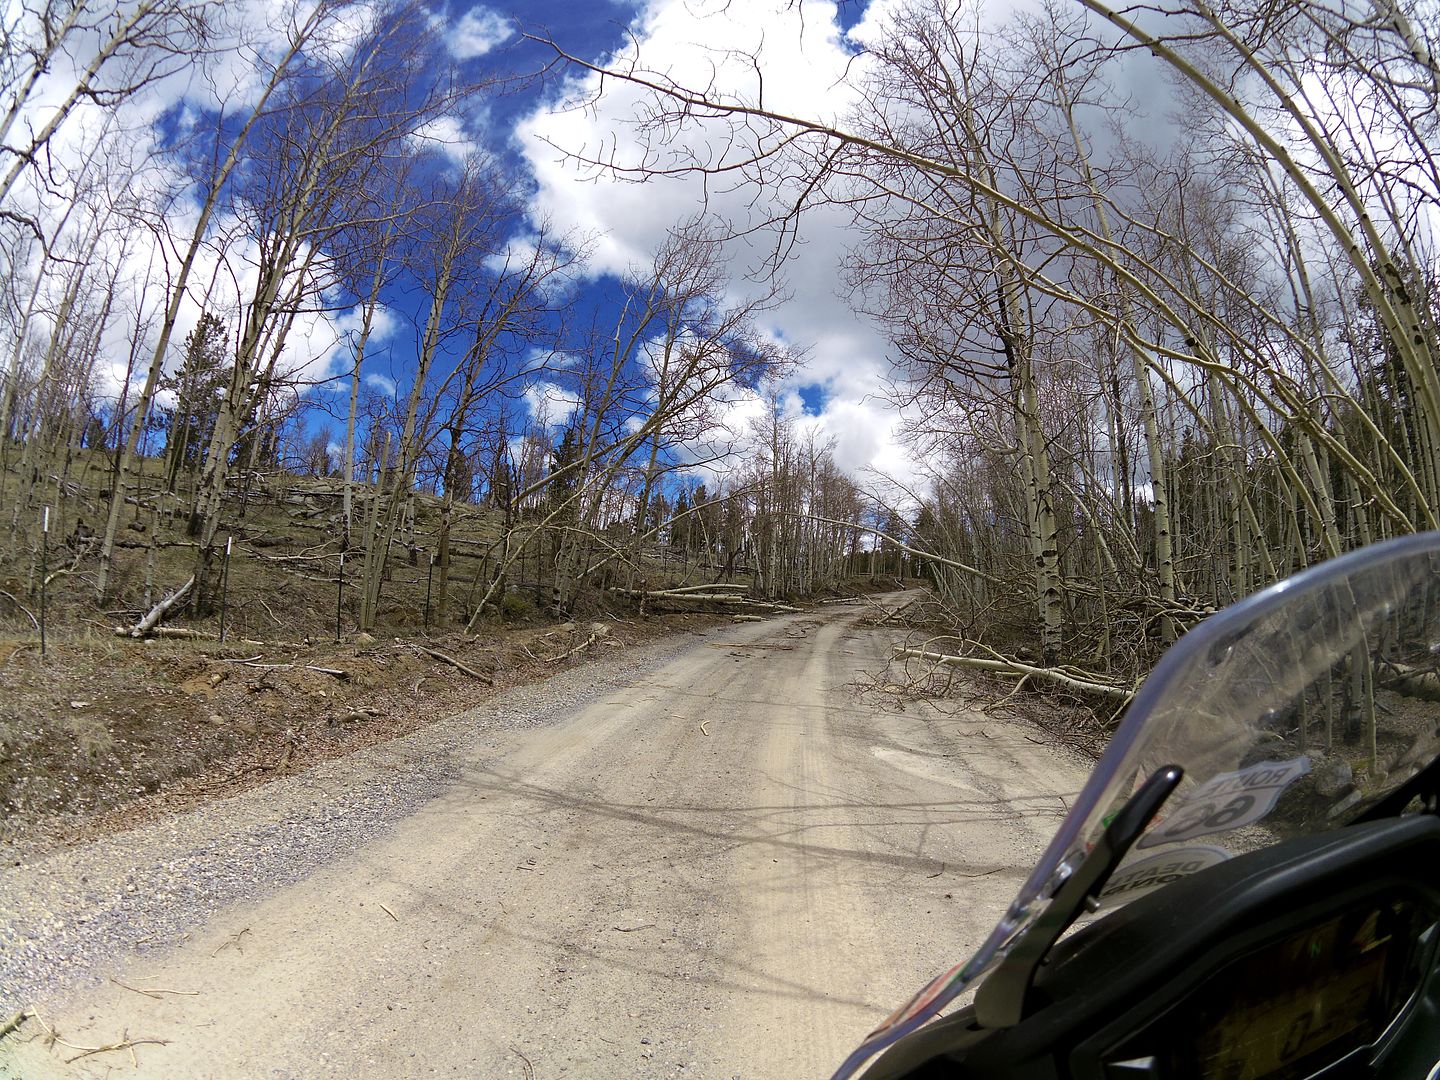
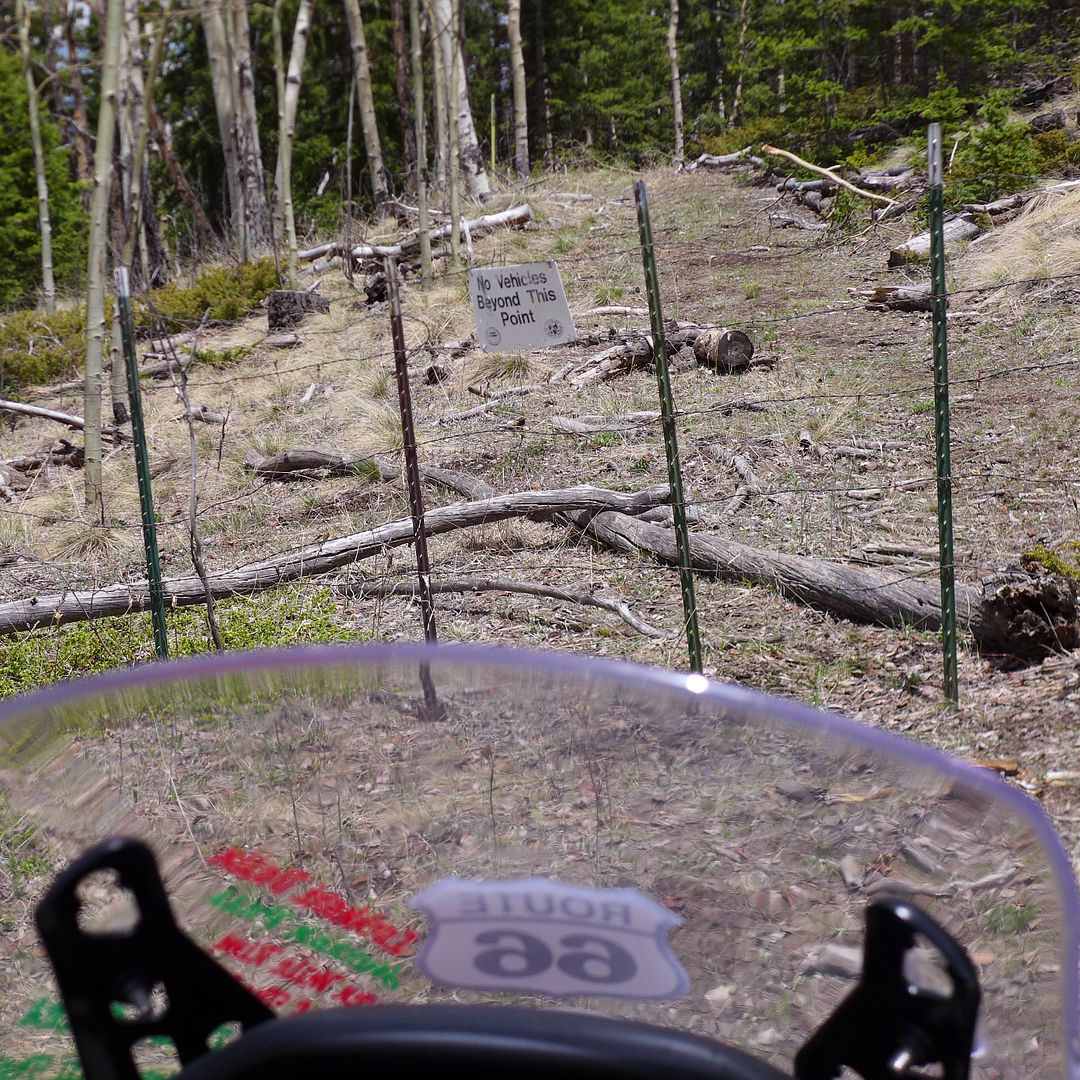
As the trail climbed higher, I noticed a number of trees down across the trial - fortunately the County Road route had been [semi] cleared...

Image


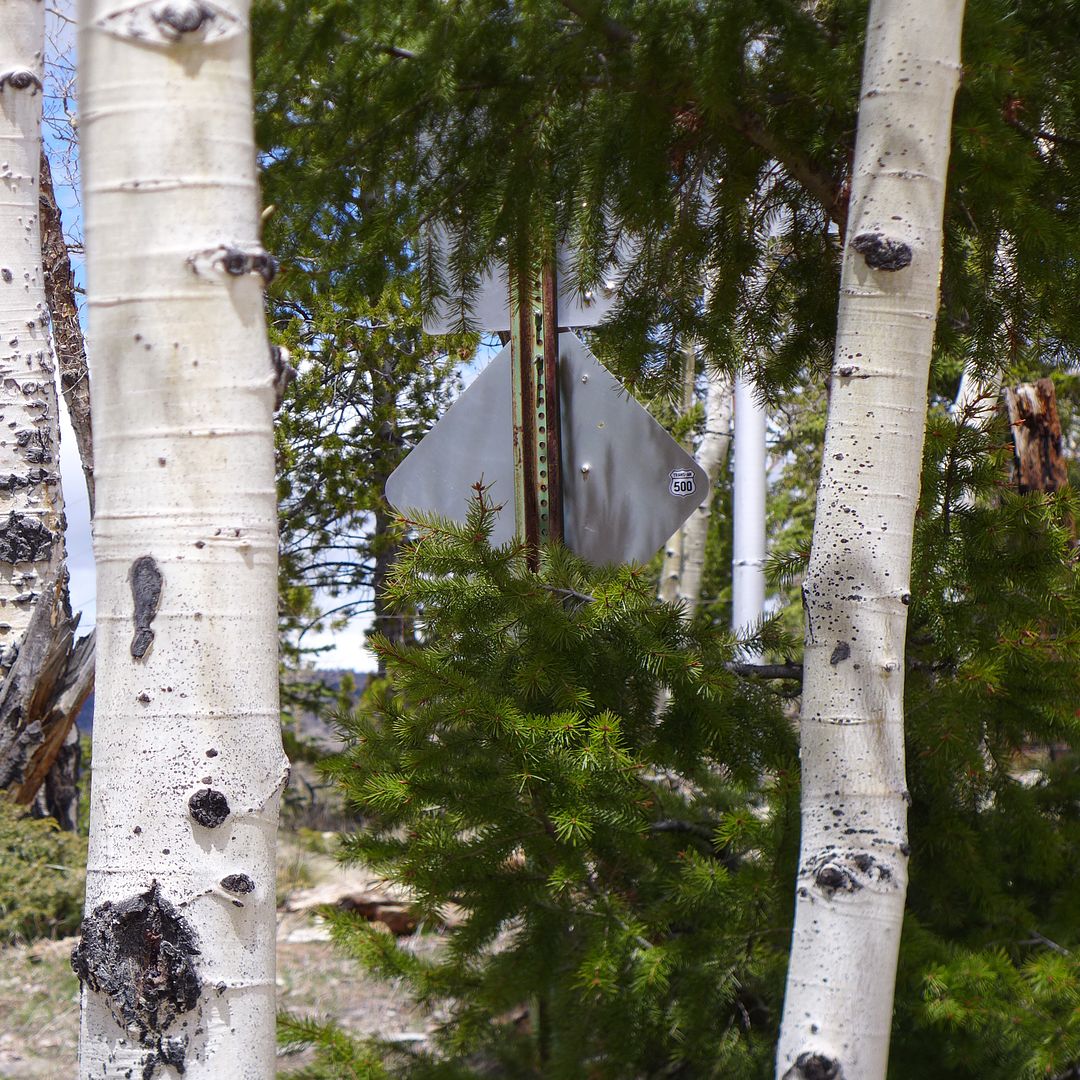
I also left a subtle marker for anyone passing in the opposite direction on the official TAT trail:

Image


Despite having a blast on the [reverse direction] TAT route, I was also keen not to let all these lovely side trails pass by on my outward ride - after all, I had the whole day to go only 150 miles or so to Colorado Springs, so it was time to have some fun, and trail-ride at ten thousand feet!

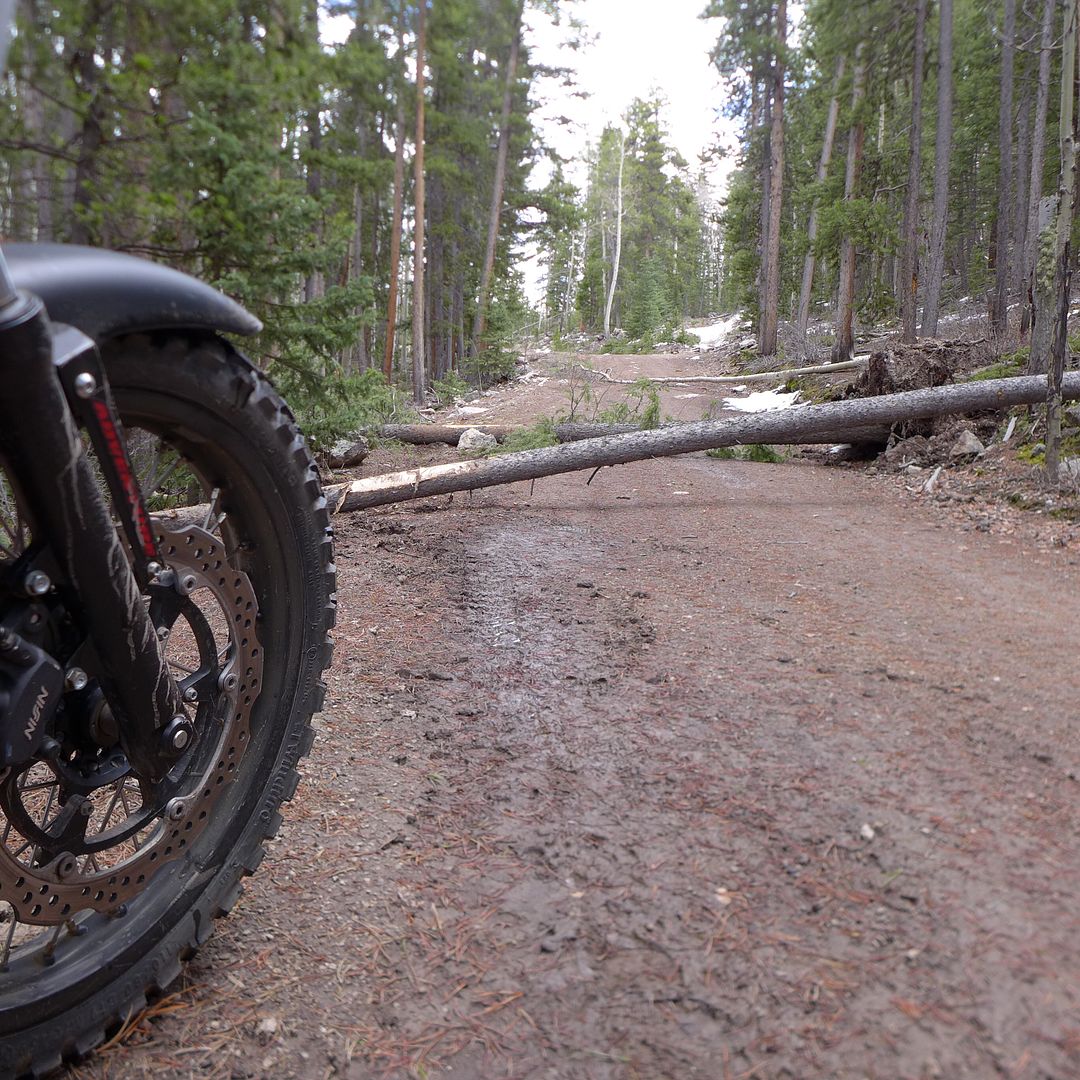
However, the joy was relatively short-lived when I found that the side trails had not been cleared in quite the same way as the main County Road:

Image

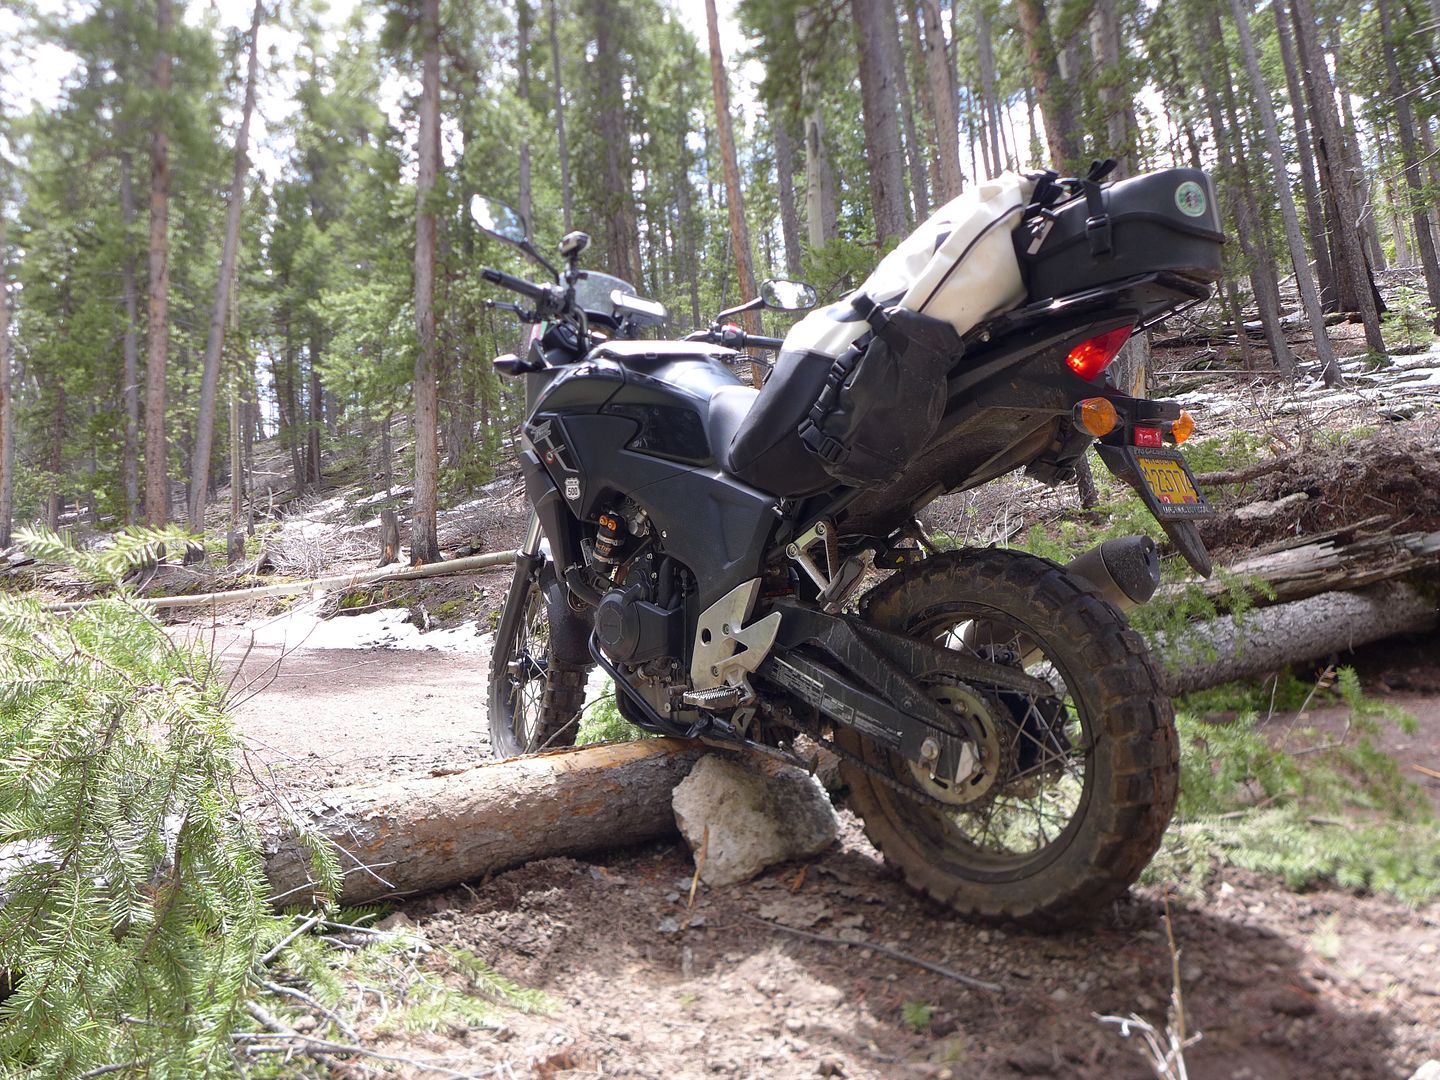
Skipping over the smaller fallen saplings was easy enough, but as the trunks became progressively bigger, the limit of the ground clearance soon became apparent:

Image


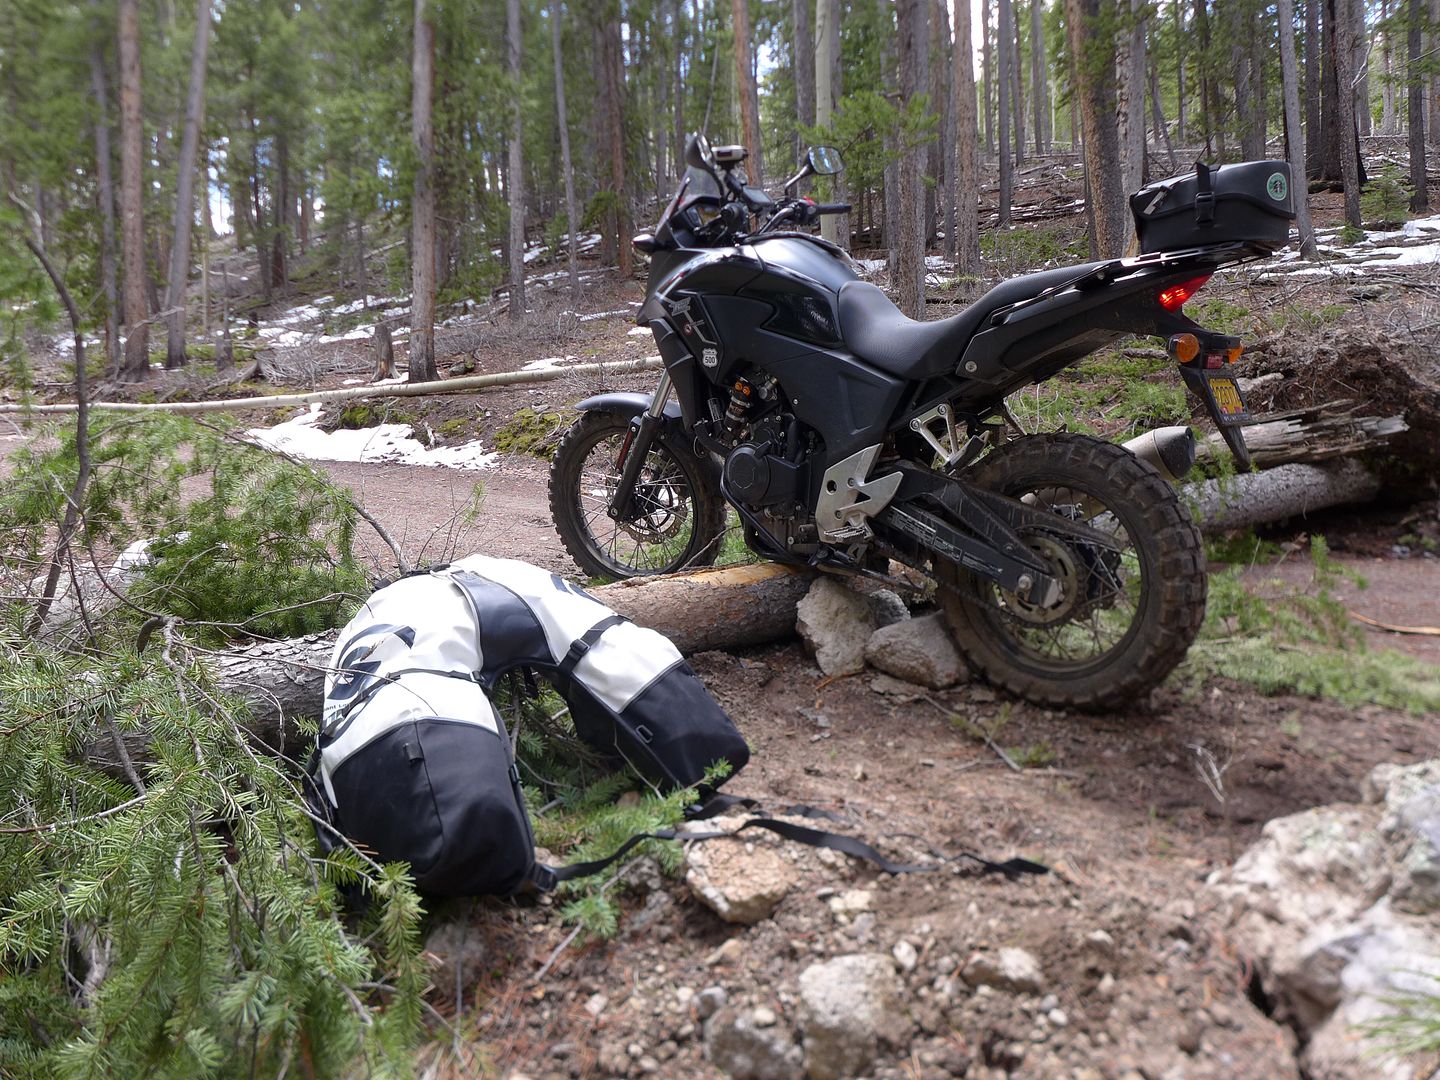
Again prudence and not wanting to heave a 200+kg load off the deck at 10,000ft, meant I elected to unload my luggage, stack rocks, and bop the bike over unladen:

Image


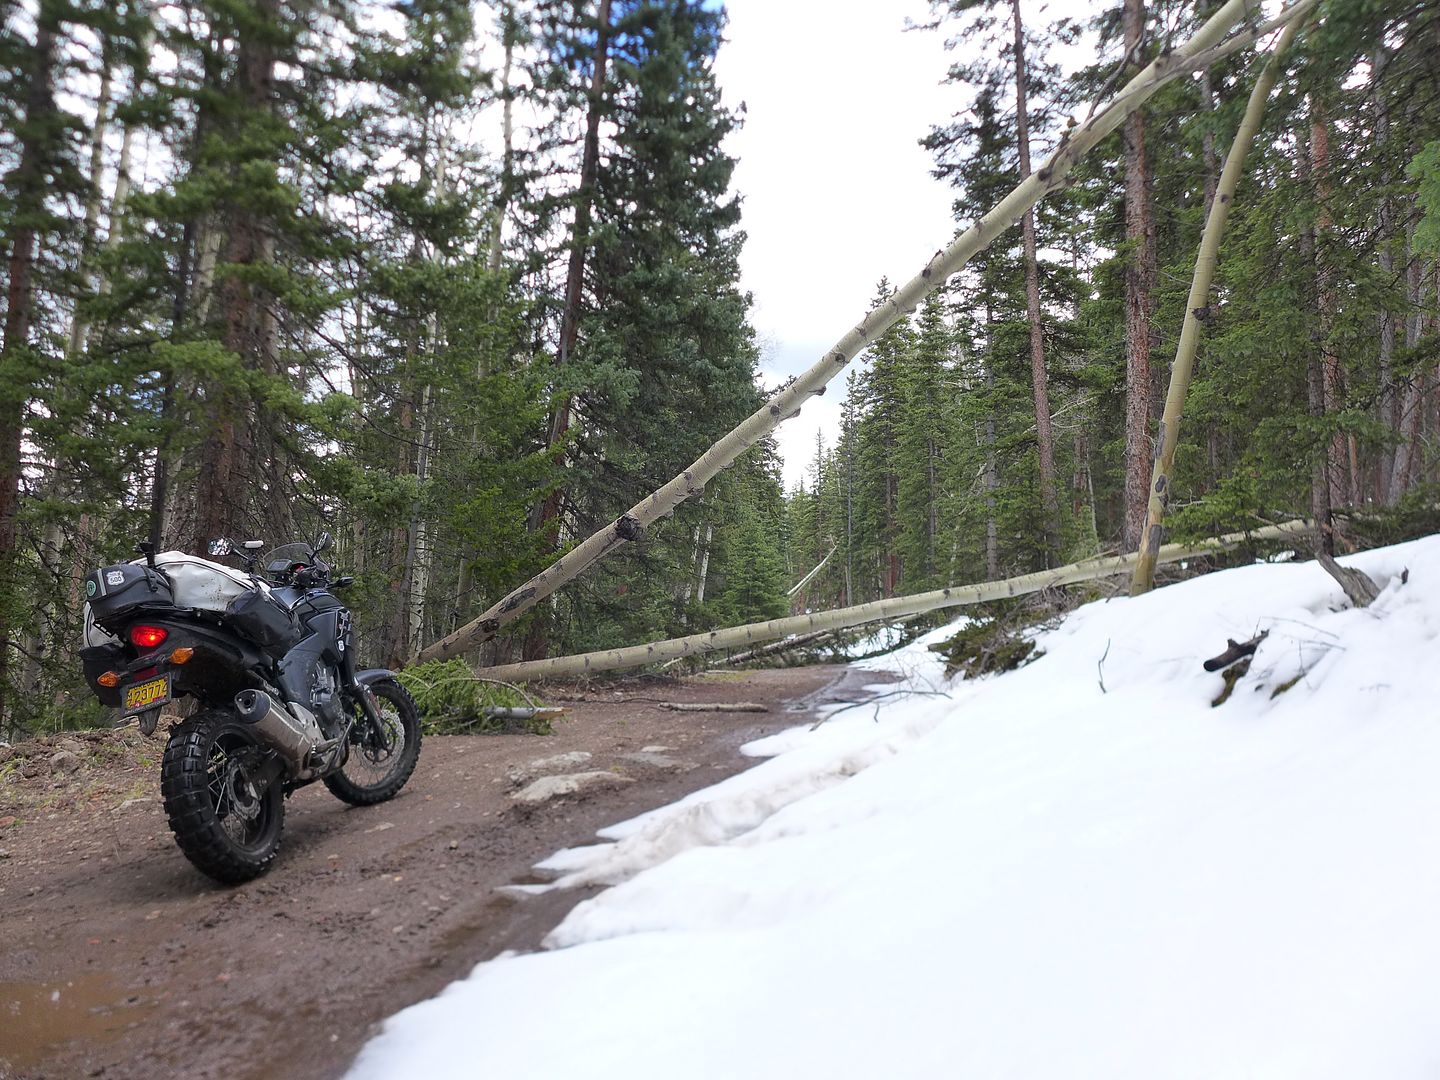
Pleased with my progress, only a few hundred feet higher and I was faced with this:

Image


Sometimes you've just got to call it quits and choose an alternative route - this was only playing after all ;o)

Fortunately my GPS showed a multitude of alternative trails that would take me back to the main forest road, and despite the odd set-back...

Image

...I spent an enjoyable couple of hours high on the mountains - both literally and metaphorically - it really is a joy to ride here!


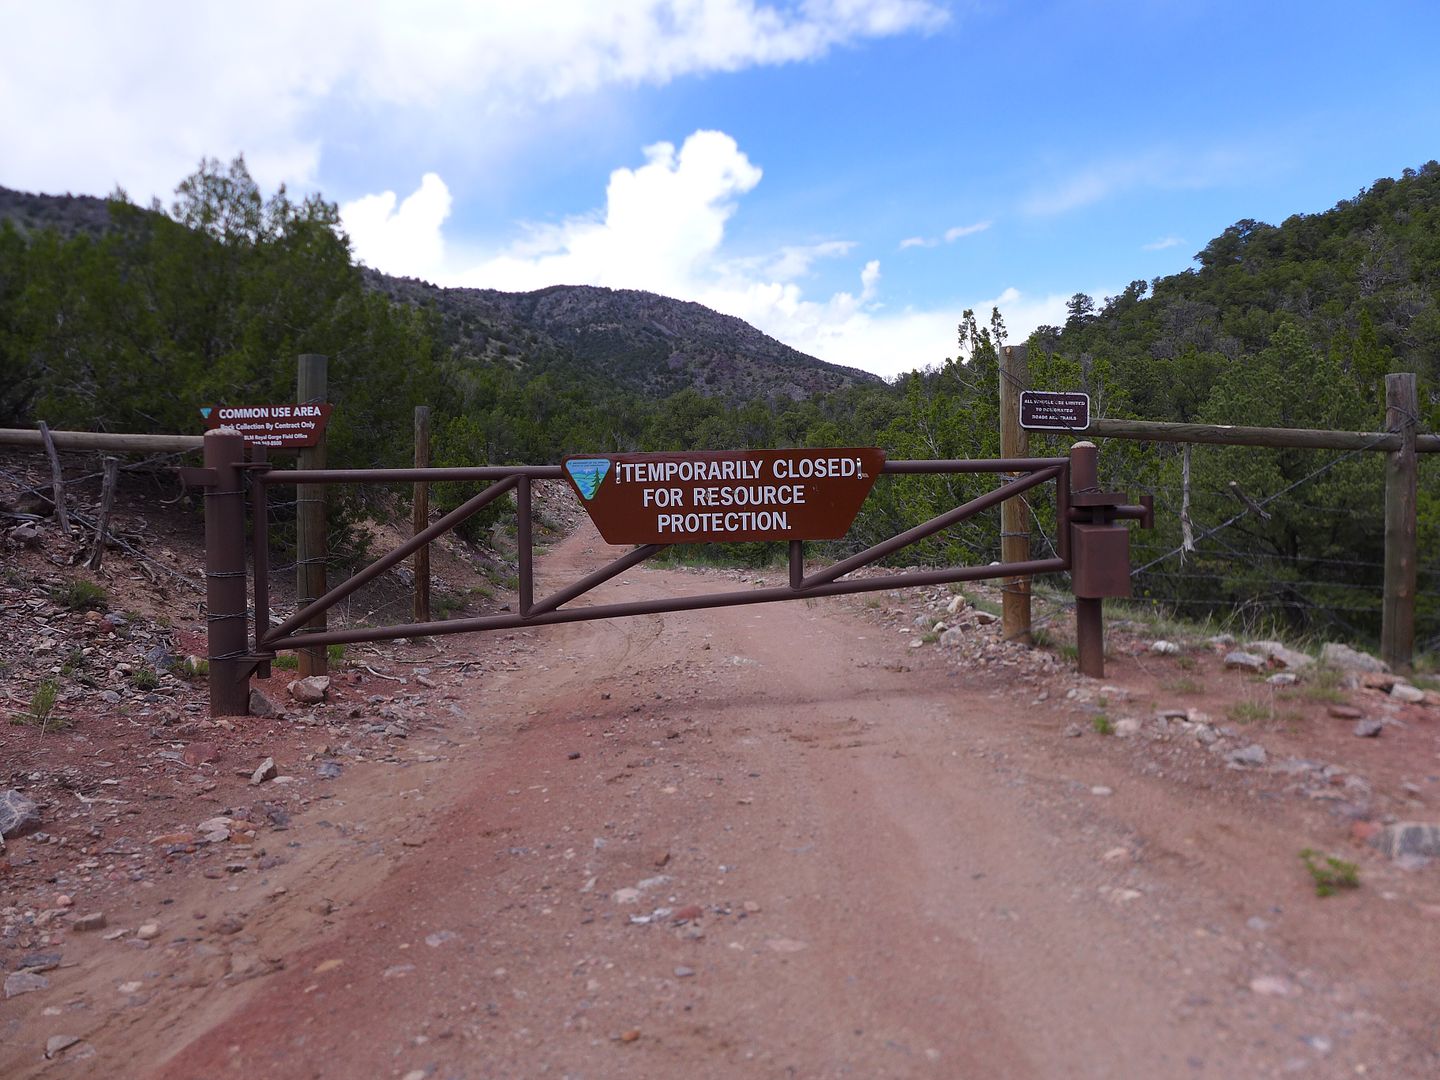
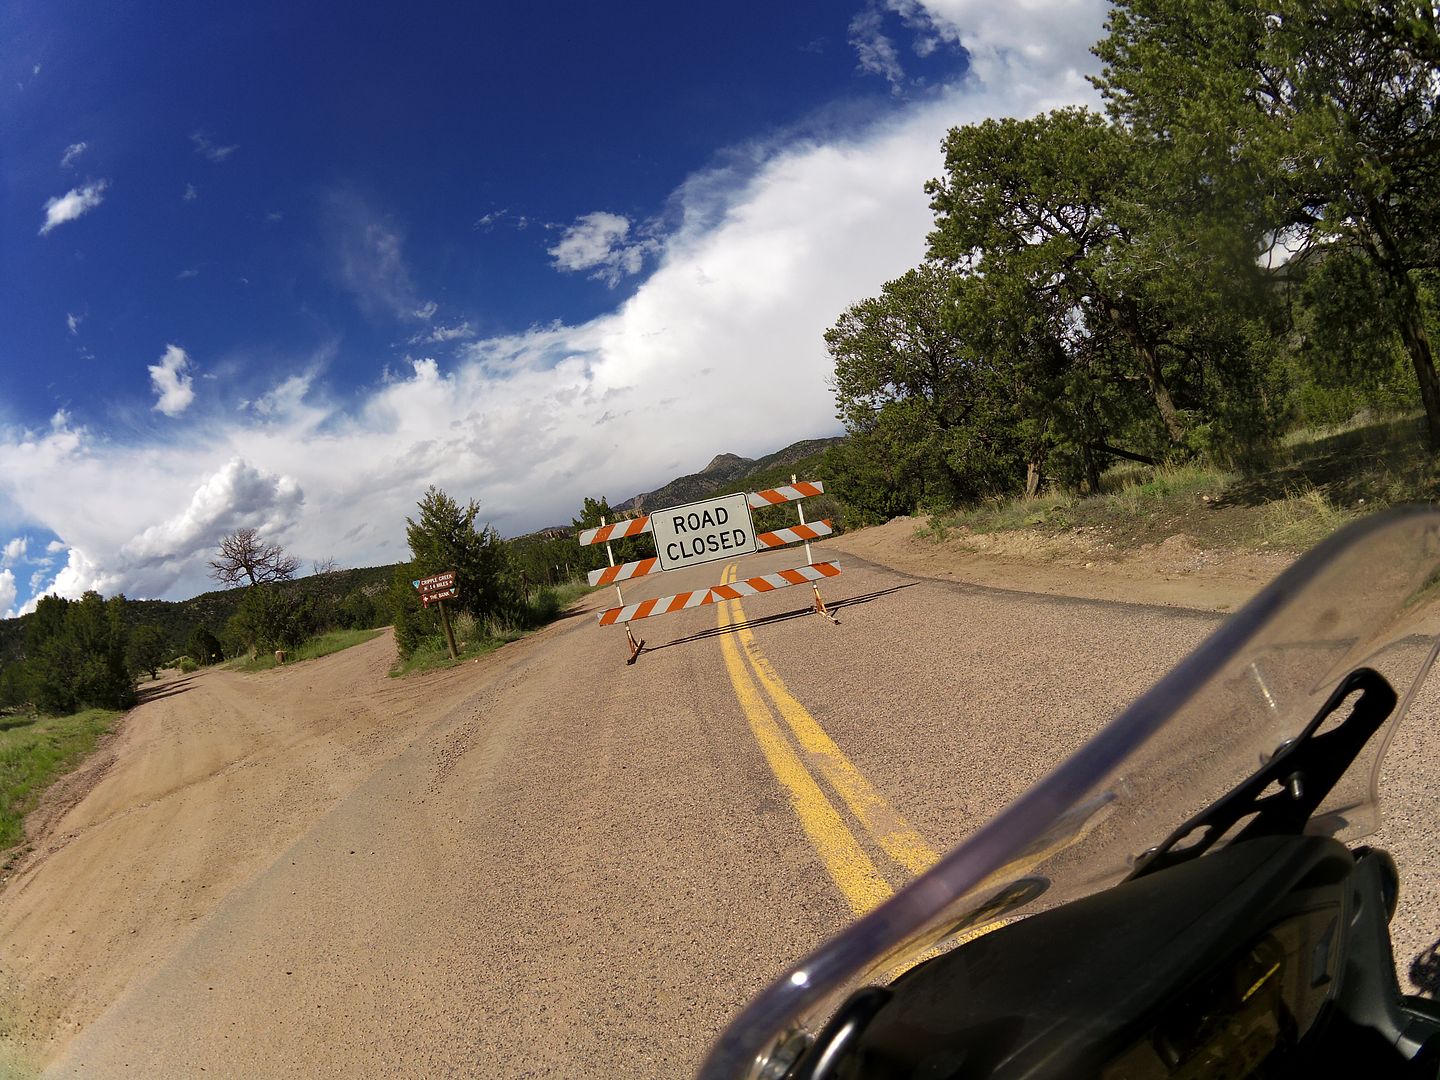
Unfortunately later in the afternoon, I found that the weather had once again left its mark, with many of the dirt roads up to Cripple Creek currently closed for repair:

Image

Image


Whichever route I tried, it seems that for the moment at least, I'd be thwarted:

Image

Still, I'd be coming back this way soon enough, and I still had Pikes Peak to conquer tomorrow of course!


Day 17: Colorado Springs CO - Pikes Peak.

Mileage today: approximately 71

I arrived bright and early, on what would have been the perfect day to make the ascent - only to find a big illuminated sign saying the road was blocked by snow from mile marker 13 to the top. Dammit!

With further storms also forecast for the afternoon, I forfeit my alternative plan of riding up to Cripple Creek via Gold Camp Road, and instead spent an extra day preparing the bike for the 'big ride' scheduled for Friday 29th May - and my attempt at a 1000 mile in 24 hours 'Iron Butt' marathon - getting me significantly closer to the east coast, and in turn the start of the real purpose of this particular trip, and that is to navigate the latest incarnation of the Trans-Am Trail in it's entirety!

So please excuse me if I duck out early this evening - as I'm going to need all the sleep I can muster if I'm going to make it though the next 24 hours!

Toot toot!

Jenny xx
JMoandpiglet
Posts: 283
Joined: Wed Dec 19, 2012 9:58 pm
Has thanked: 8 times
Been thanked: 17 times

Re: Trans-Am 500 - the seven year itch

Post by JMoandpiglet »

Day 18: Colorado Springs CO.

Mileage today: approximately 20.

Iron-Butt pre-prep and general mid-trip maintenance...

Having no choice but to forfeit my ascent of Pikes Peak this week (closed the last six miles due to snow), I endeavoured to use the time wisely to prepare the for the Iron Butt ride - scheduled for Friday 29th May.

Now you might think there was not a lot to it, just get on your bike and ride - over 1000 miles, in less than 24 hours - seems simple enough right? - and I certainly intended to use this format as a way to get a lot further east more quickly than what might otherwise typically take me three days riding (I like to stop and smell the flowers, and drink the coffee ;o)

Of course if you actually want a certificate (plus the all important patch and pin badge) from the IBA (the Iron Butt Association - try putting that on your resume, it ought to make for an interesting few moments in any subsequent job interview ;o) then there are certain rules you need to abide by, but essentially you need a start witness, a time, date and location receipt to confirm your start position (typically a gas station receipt), a log of your refuels (similar receipts) to help confirm your route, and a similar witness at the other end to confirm your arrival...


Fortunately I was scheduled some mid-trip maintenance at the workshop of Motominded in Colorado Springs. For those of you unfamiliar, these are the guys who make the headlight conversions for dual-sport/enduro bikes to typically mount some pukka LED lamps in the OEM masks, dramatically improving the lighting performance of your bike. Their most popular design is incorporating a Baja Designs Squadron into the stock KTM headlight mask, which is something that works particularly well on the KTM 690 for example.

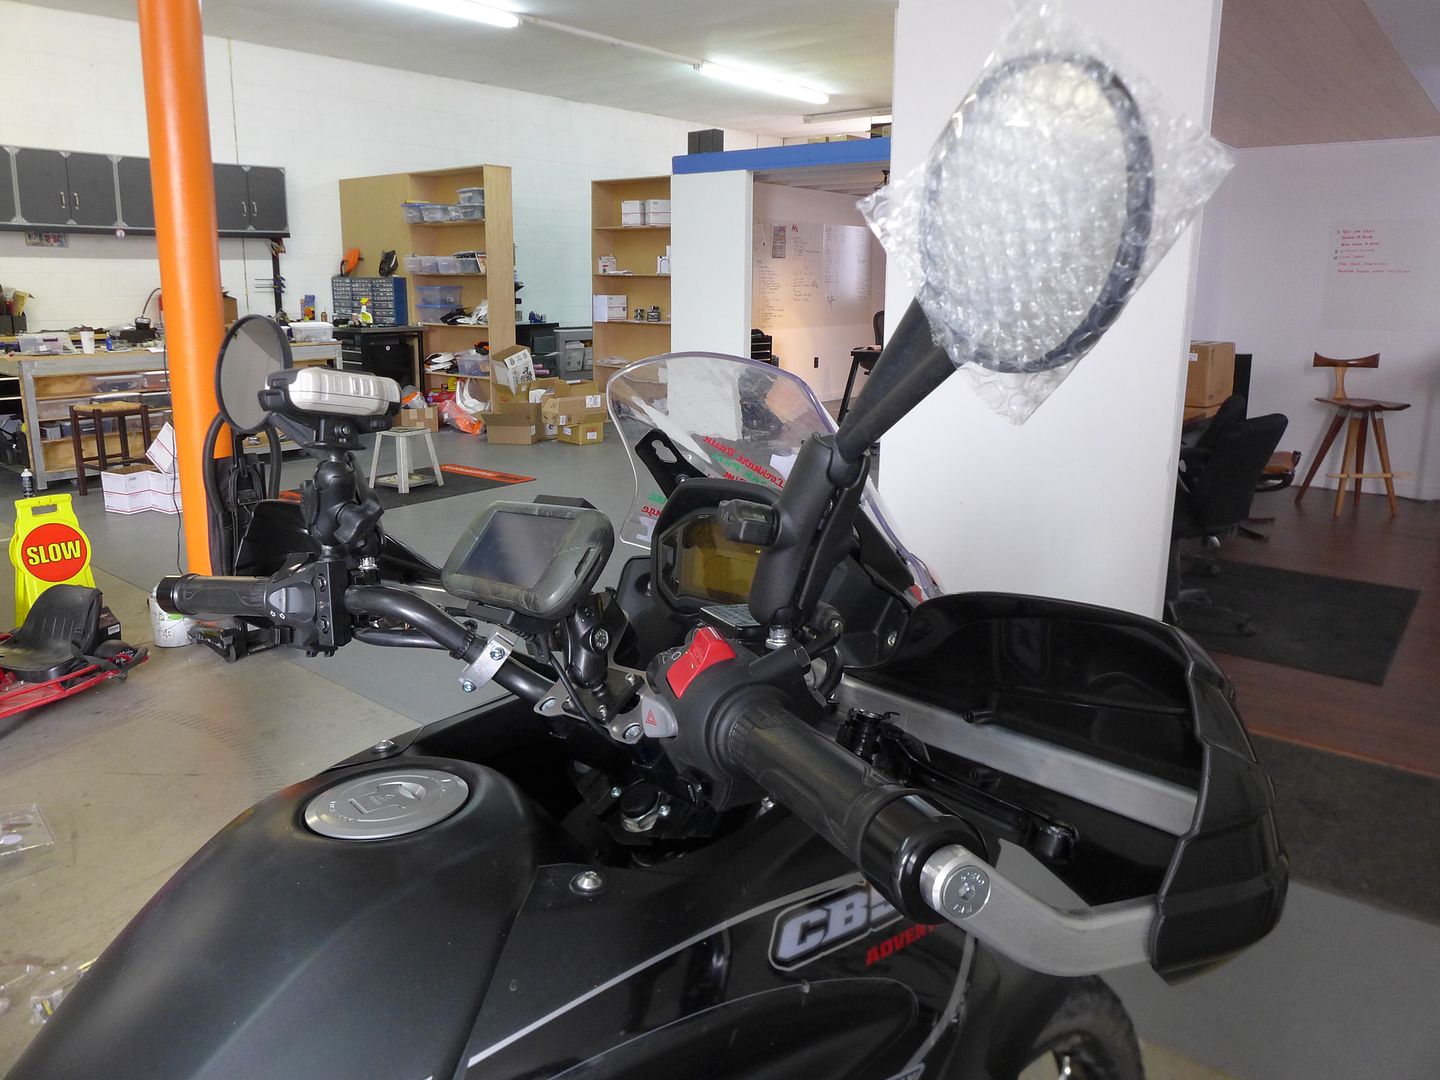
Chris who runs the company also shares the workspace with Ned (Neduro) who as many of you will be aware produces the excellent Double-Take rear view mirrors, that utilise the RAM ball mounting system, allowing you to multi-position the mirror and easily fold it out of harms way for more gnarly going - although at the same time, they are pretty near indestructible anyway!

I already use these on a couple of my own dirt/rally bikes, and while the stock CB500X mirrors had stood up to a handful of tip-overs so far, I thought it would be a good ideal to try the Double-Takes for the rest of the journey, particularly the return leg on the Trans-Am Trail. The initial impressions are good (baring in mind the typically higher road speeds I'll be riding the CB), with just a little more vibration compared to stock - the flip-side of course is they won't come loose and spin round (this has happened with the stock mirrors on rough ground!) or potentially break in the event of a fall.

Image


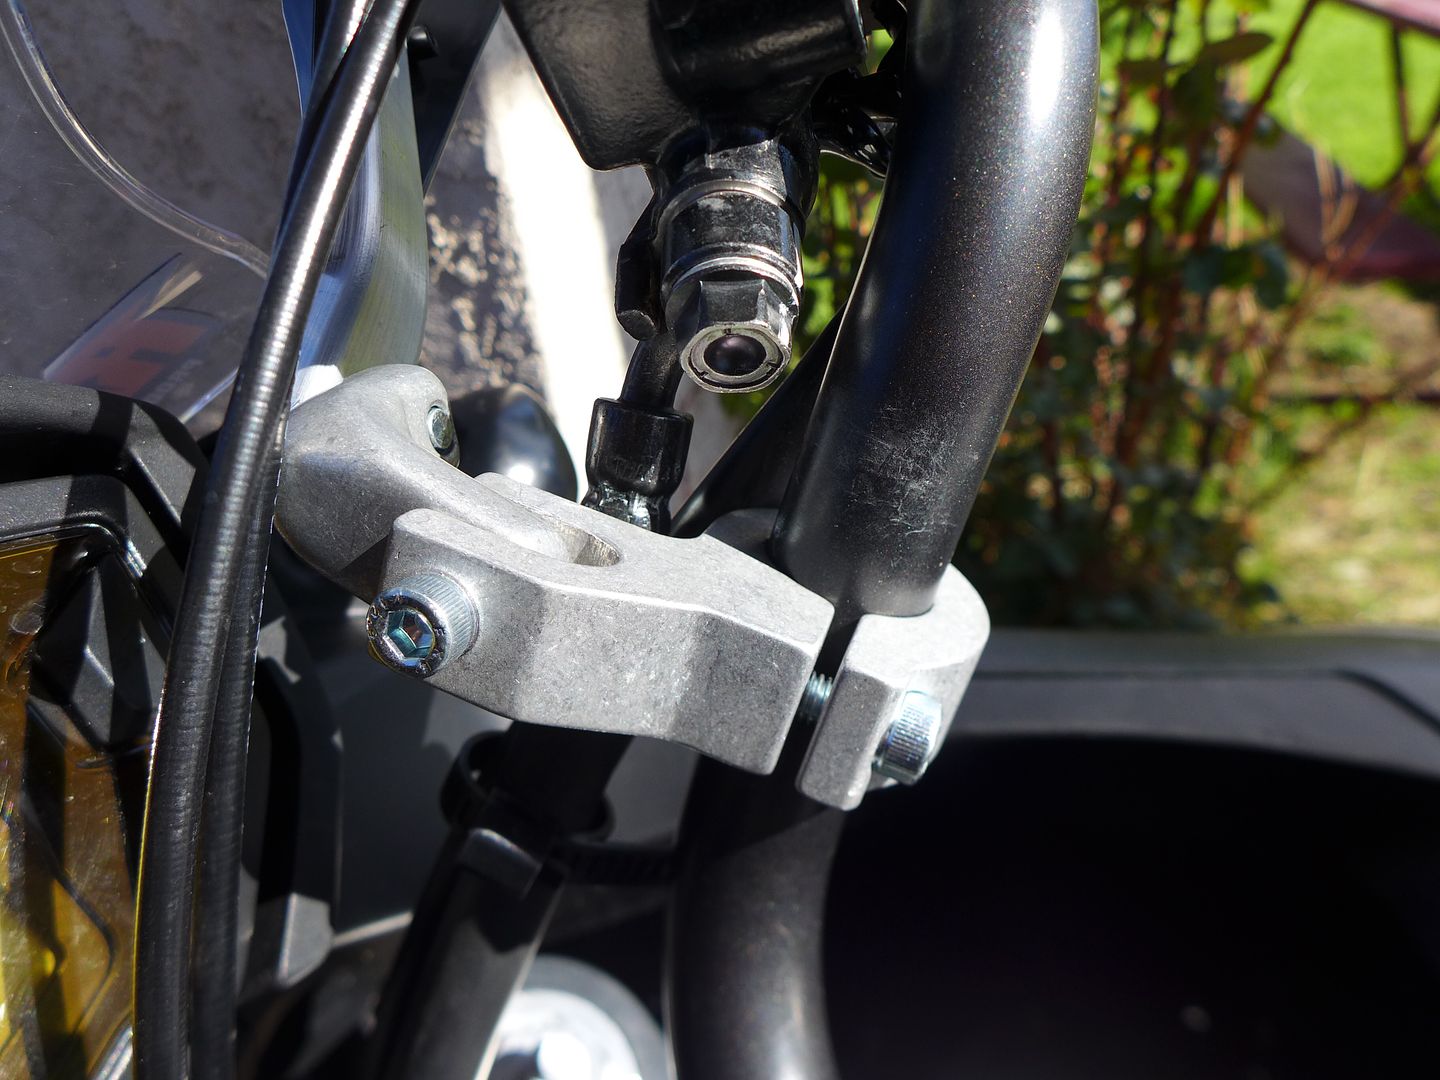
The other thing I added was a pair of BarkBuster Storm hand-guards. Again these are my personal favourites these days, with a nice deep hand shield to keep the weather off you (this would pay dividends during the second half of the Iron Butt, believe me!), and a strong aluminium backbone to protect the levers and your hands.

Initially I/we have been a little concerned about how well the supplied mounting brackets fit around the front brake hose particularly on the CB500X, but I have to say that the supplied kit that includes replacement bar-end weights (meaning the hand-guards mount a little further out now) actually fit pretty well if you mount the inner clamps this way around:

Image


All this prep is primarily to help protect the bike during the return leg, which will see a lot more off-road riding than I'd immediately be experiencing on my final blast to the east coast. However, the primary reason for the scheduled stop (other than socially, and for an excellent hamburger with the boys) was to finally fit the production fork internals to Giant Loop's US demo bike...

To recap, to ensure we had the bike built in-time for the Overland Expo on the 15th May, we sent just the longer damper rods themselves for the stock forks (together with the longer TracTive springs) but without the all-important valve shim stack fitted. Once the production parts were in John's hands, he built-up a second pair of forks (which we had, and was the simplest way for me to change them somewhere on the road), and sent them to Motominded as they have the perfect workshop facilities, that did I mention, is only a stone's throw from a excellent gourmet burger restaurant ;o)

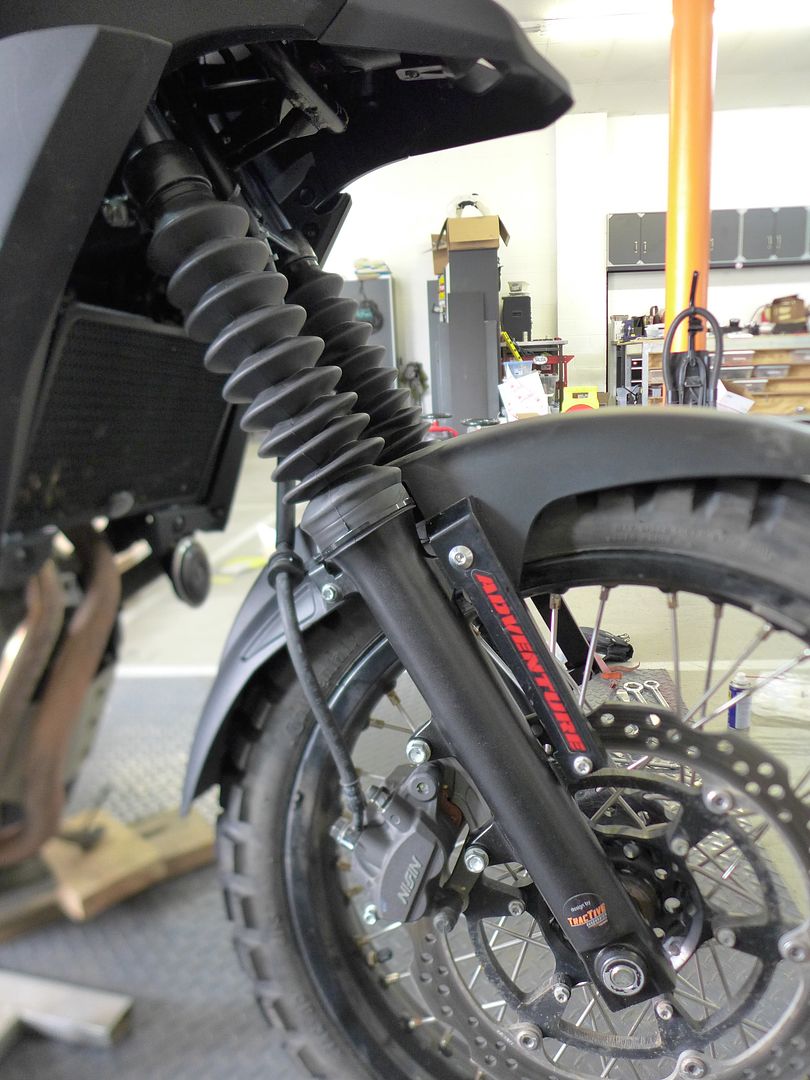
Swapping the fork legs over was the perfect opportunity to also install some protection for the exposed stanchions - and while initially we considered some neoprene sleeves, personally I don't like the way they fit very tightly against the stanchions - as they can trap any dirt behind them and potentially scratch the chrome... Instead I invested in a pair of old-school rubber gaiters (a bargain at 16 bucks!), which if nothing else ought to endear us to the KLR crowd ;o)

Image


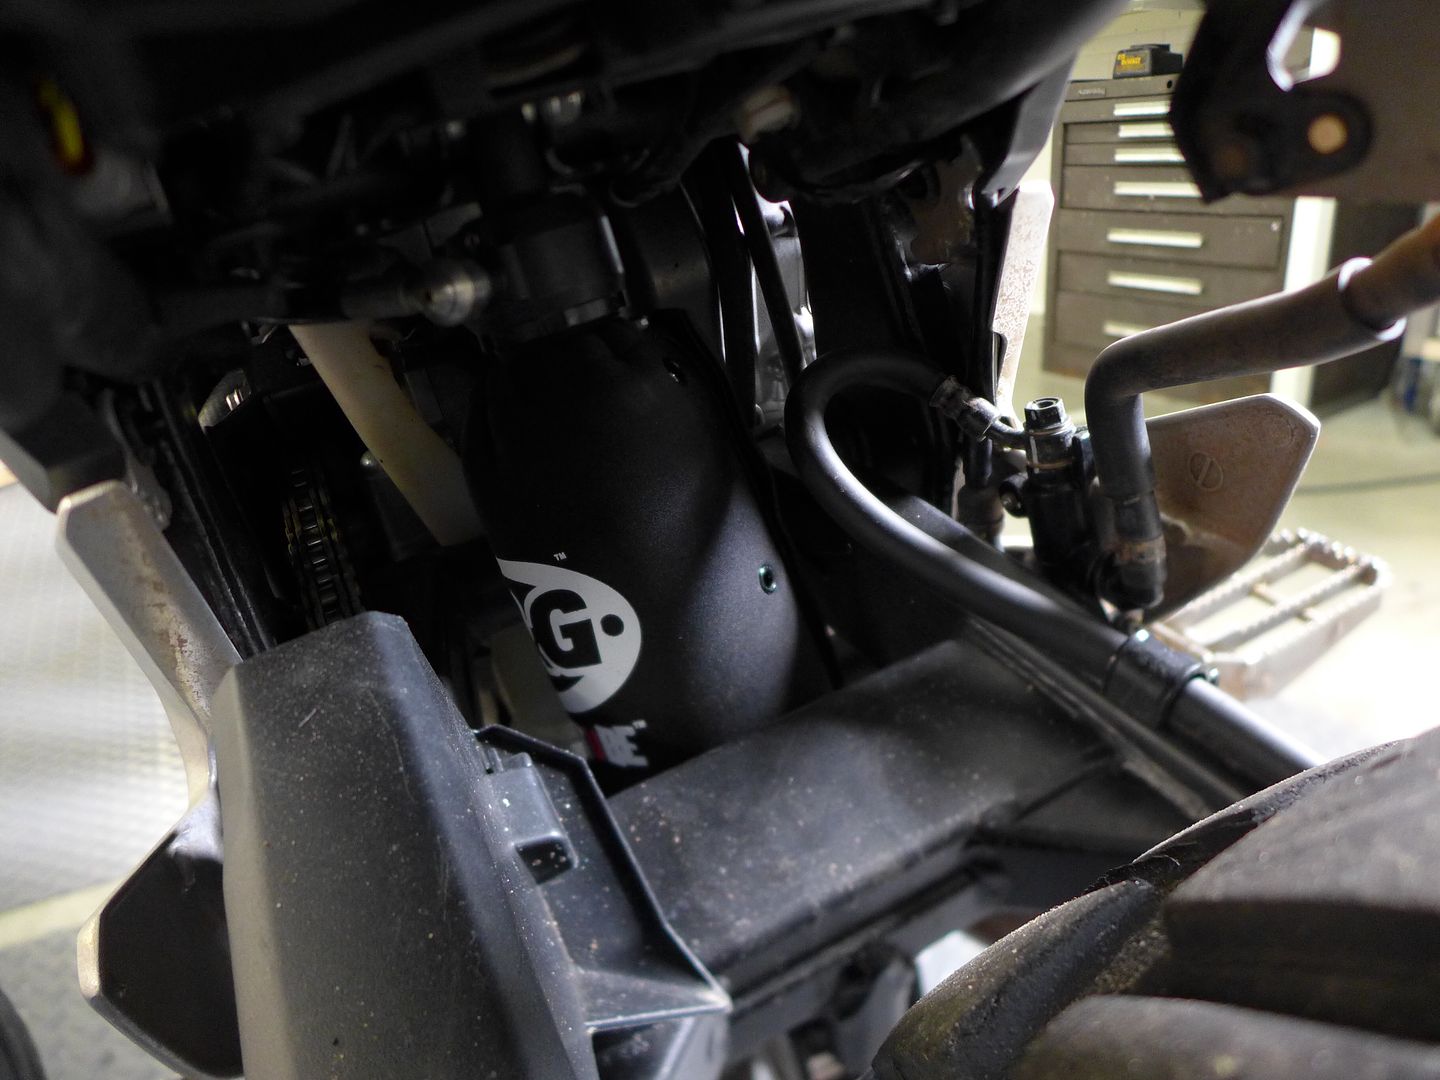
The final prep was to install a neoprene shock boot around the otherwise exposed TracTive rear shock. Similar to the radiator guard (and their very neat Tail-tidy conversion), Rally-Raid are more than happy to recommend the R&G Racing boot as a suitable measure - although ultimately I believe John is considering designing a more traditional dual-sport kind of hard mud-flap (the main problem is the lack of suitable mounting position on the non-ABS bikes).

Image


Image
photo. Boot is the perfect length to still allow access to the rebound adjuster.

So, with the chain lubed and adjusted (and the head bearings simiarly snicked up as they'd started to settle after the past 2500 miles of hammering), the bike was ready to go... I guess all that remained for me to do was try and get an early night, and meet Chris the following morning as he had rather generously agreed to get up at 6am to be my start witness - thank you!

Cont.
JMoandpiglet
Posts: 283
Joined: Wed Dec 19, 2012 9:58 pm
Has thanked: 8 times
Been thanked: 17 times

Re: Trans-Am 500 - the seven year itch

Post by JMoandpiglet »

Day 20: Colorado Springs Co to Evansville IN - the Iron Butt ride.

Total mileage today: 1009

"The rain on the plain, started driving me insane..."

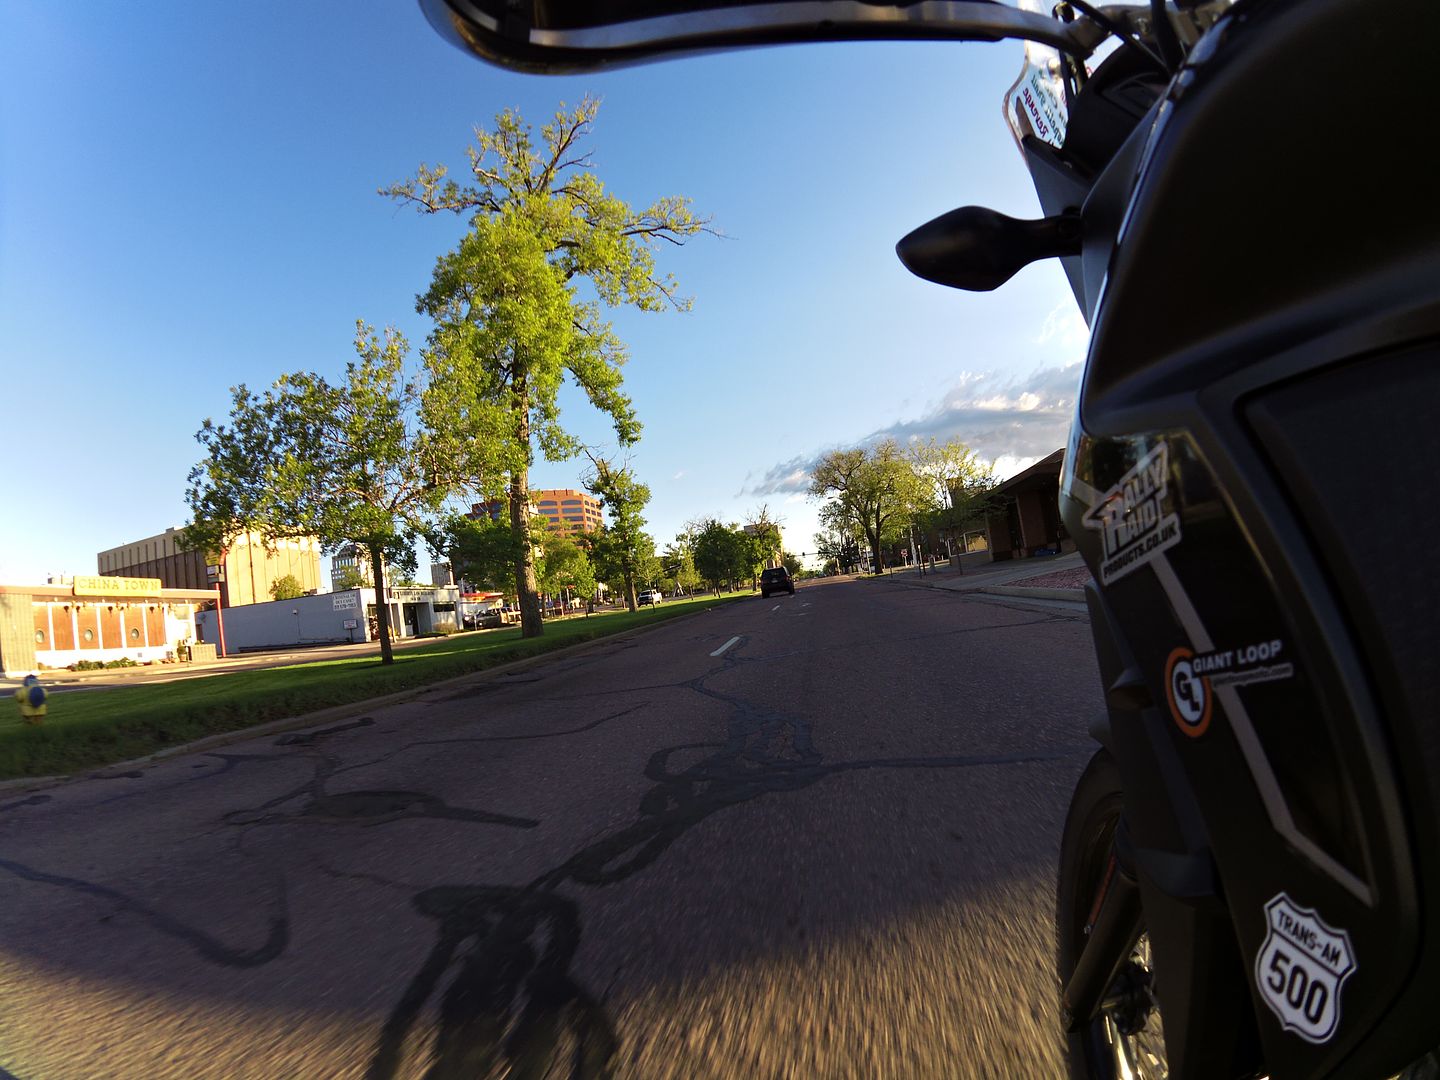
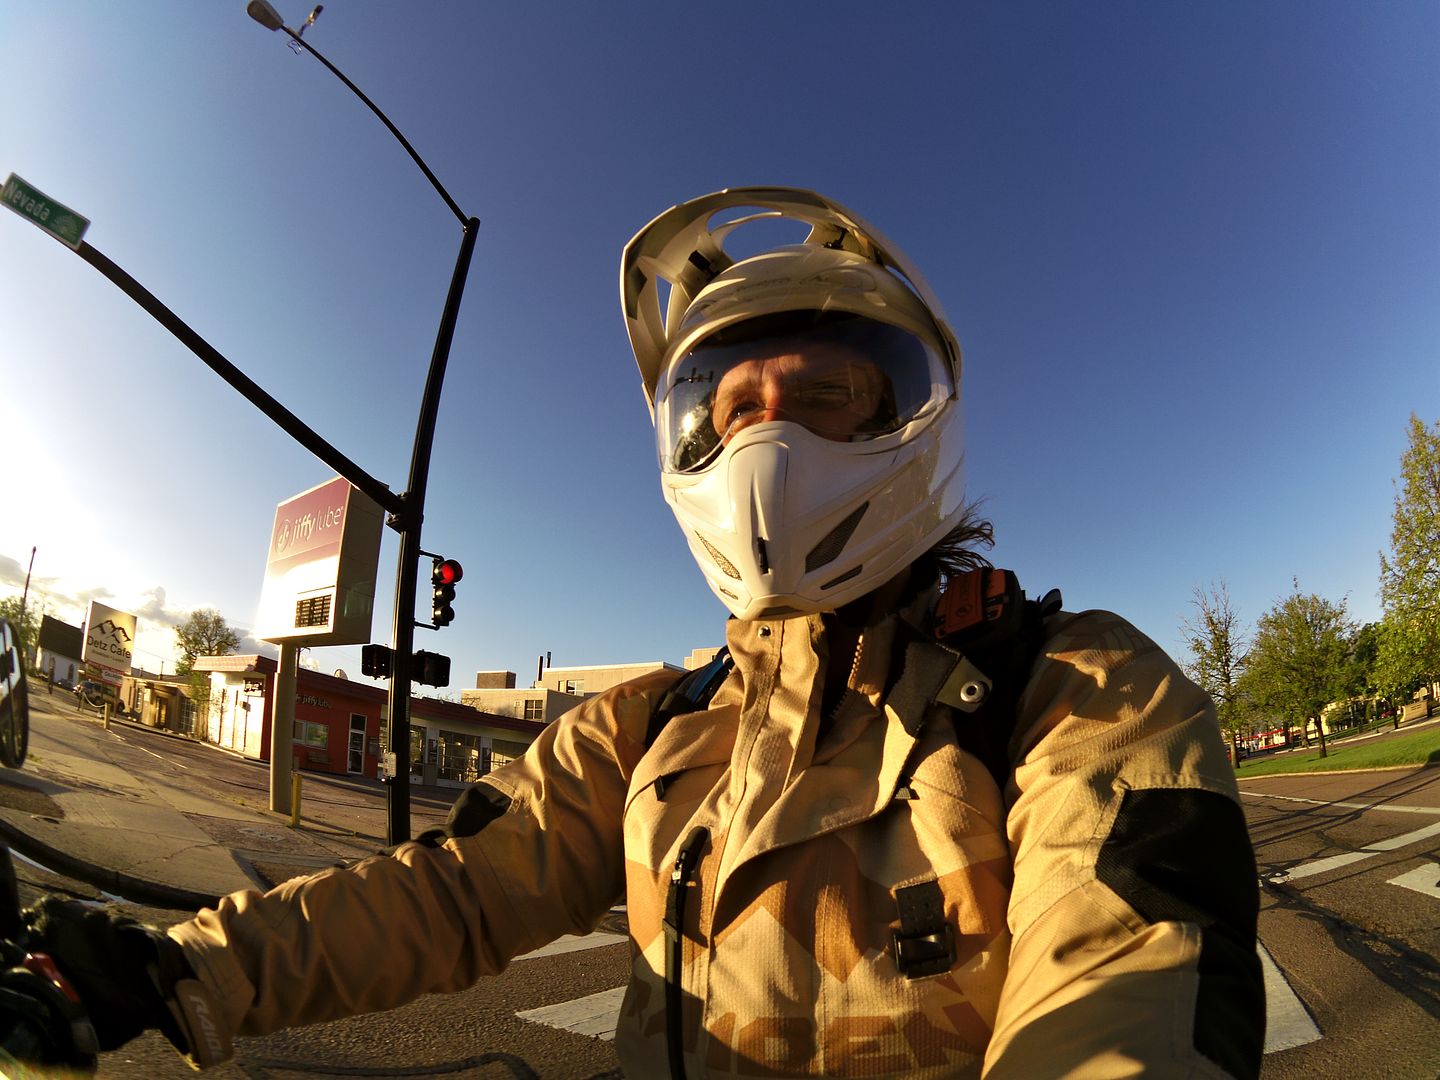
6 am. Having packed the previous night, all that was required was to stuff Piglet into his papoose, down a tepid and rather insipid cup of motel coffee, and head out onto the almost empty streets of Colorado Springs...

Image


My official start time was 6.41am (Colorado/Mountain time), and Chris saw me off onto hwy 24, which would lead to Interstate 70, my home for the majority of this jaunty endeavour...

Image


There would be a lot of this to start with:

Image


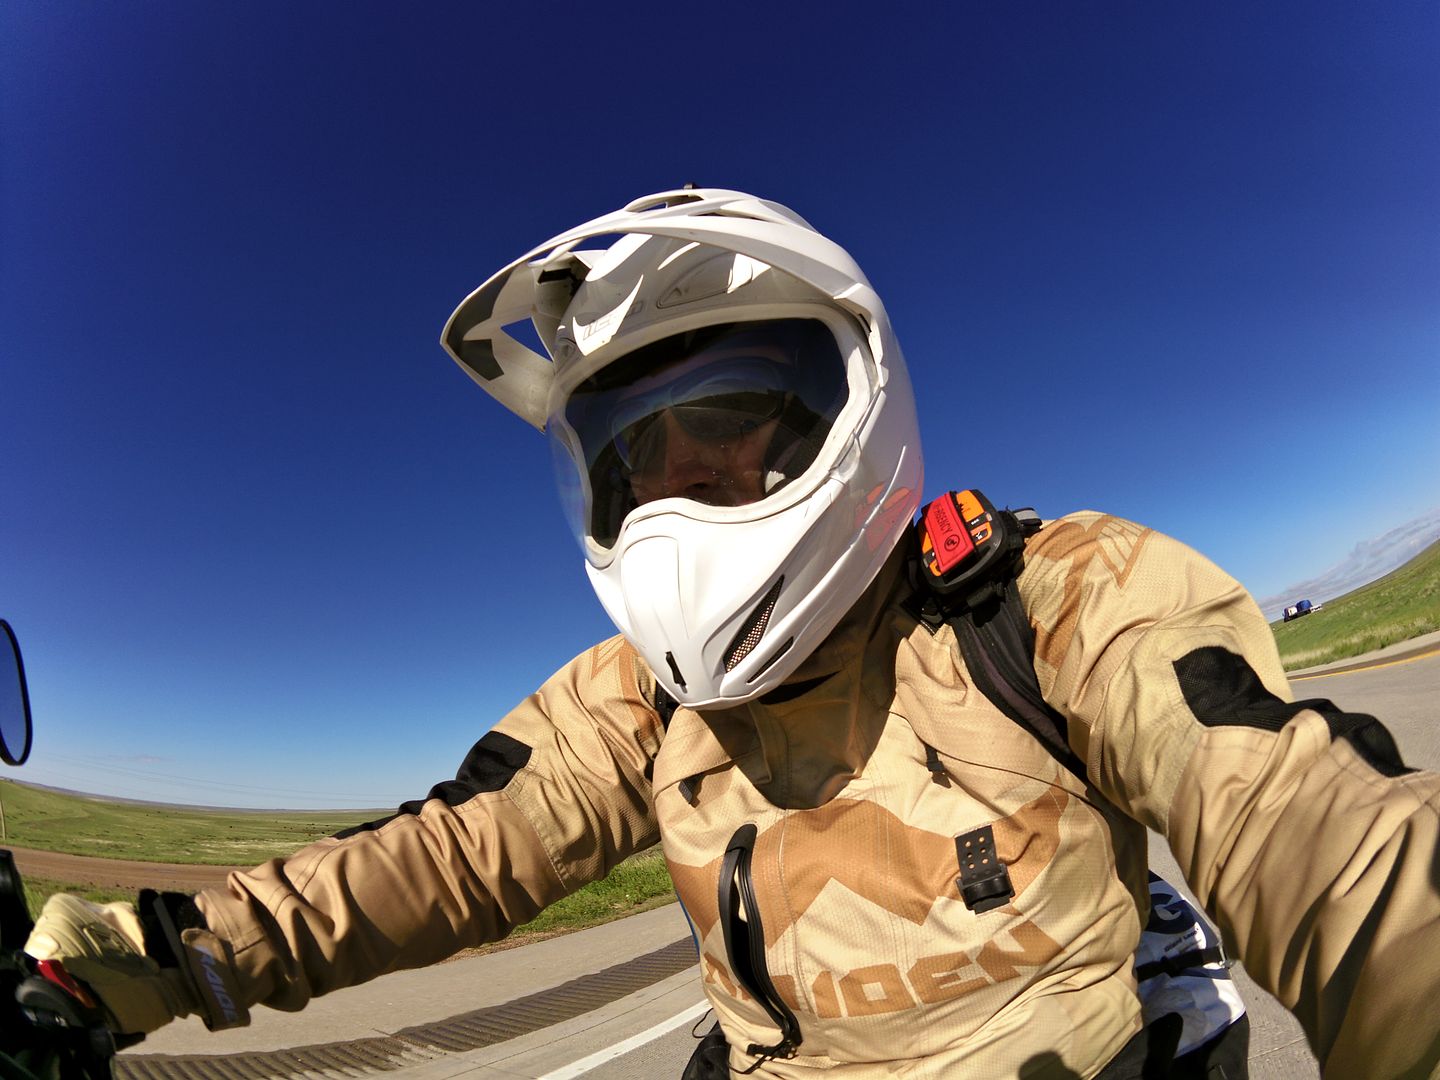
Eastern Colorado is BIG SKY country. If you look at a map of the state, there is a mark'd line where the Rockies end and the plains begin - its almost as if someone forgot to draw the rest of the detail in!

West Kansas is very much like east Colorado, other than a time change one hour ahead - more big sky, and little fluffy clouds...

Image


Once across the state line though, It seems the God-squad and anti-abortion activists had been spending their hard-earned subscriptions on countless billboards... I wondered if I should actually stop and phone the presumably not toll-free number to find out exactly what this 'truth' about the lord is - as I'm surprised a revelation of this magnitude has not made the headline news!

Actually, it was kind of nice to see a jolly Jesus smiling along the way - it reminded me of a church sign I saw in Georgia on my last cross-country journey east: "Drive carefully - God wants you to get home safely".

The anti-abortion crowd were a little more hard-hitting and direct: "Don't Abort, Adopt." is a reasonably well-meaning message... however, I admit I started to wonder with some incredulity at "Adoption prevents Abuse!" - what on earth were they implying?! (presumably not that the citizens of Kansas might abuse unwanted children!)

I passed the halfway point (actually refuelled at mile 517) at Topeka KS, and planned to celebrate with a five-shot espresso in Starbucks, that shall henceforth be known as 'The Mighty Quinn'...

Image
photo. "I would ride five hundred miles, and I would ride five hundred more..."


The weather had started to cloud over by now, although thankfully it was still nice and warm; and I was happy enough bopping along with an eclectic mix of Eurythmics, David Lee Roth and Katie Melua.

Kansas City was tedious however. I hit the city at rush hour, and endured endless tailbacks... goodness knows if they can allow lane-splitting in overcrowded California, they could certainly introduce it here (and everywhere!) I even did my best to demonstrate the procedure to the assembled masses a couple of times when frustration got the better of me ;o)


Once I crossed into Missouri (with the requisite "I guess we're not in Kansas anymore Piglet" muttered under my breath - well, it still amuses me), the rains came. Biblical rain.

Image
photo. Spitting rain soon became a torrential downpour...

It was both torrential and tedious, especially with the truck spray as they thundered on down I70.

For those of you familiar with the UK, I still had the equivalent of riding from Edinburgh to London, in the rain.

This analogy is particularly apt as the highway east of Kansas City is two lane (each side) and full of roadworks - just like the A1. Oh, and just to make me really feel at home, they purportedly have speed cameras in the work zones too - not that I could actually ride much above the posted limit anyway in these conditions, and now with fading light...

Image


The weather got worse as I crossed into Illinois, and there was still 106 miles to go, it was dark, and we were certainly not wearing sunglasses by the time I filled the bike for the final stretch, at nearly midnight local time.

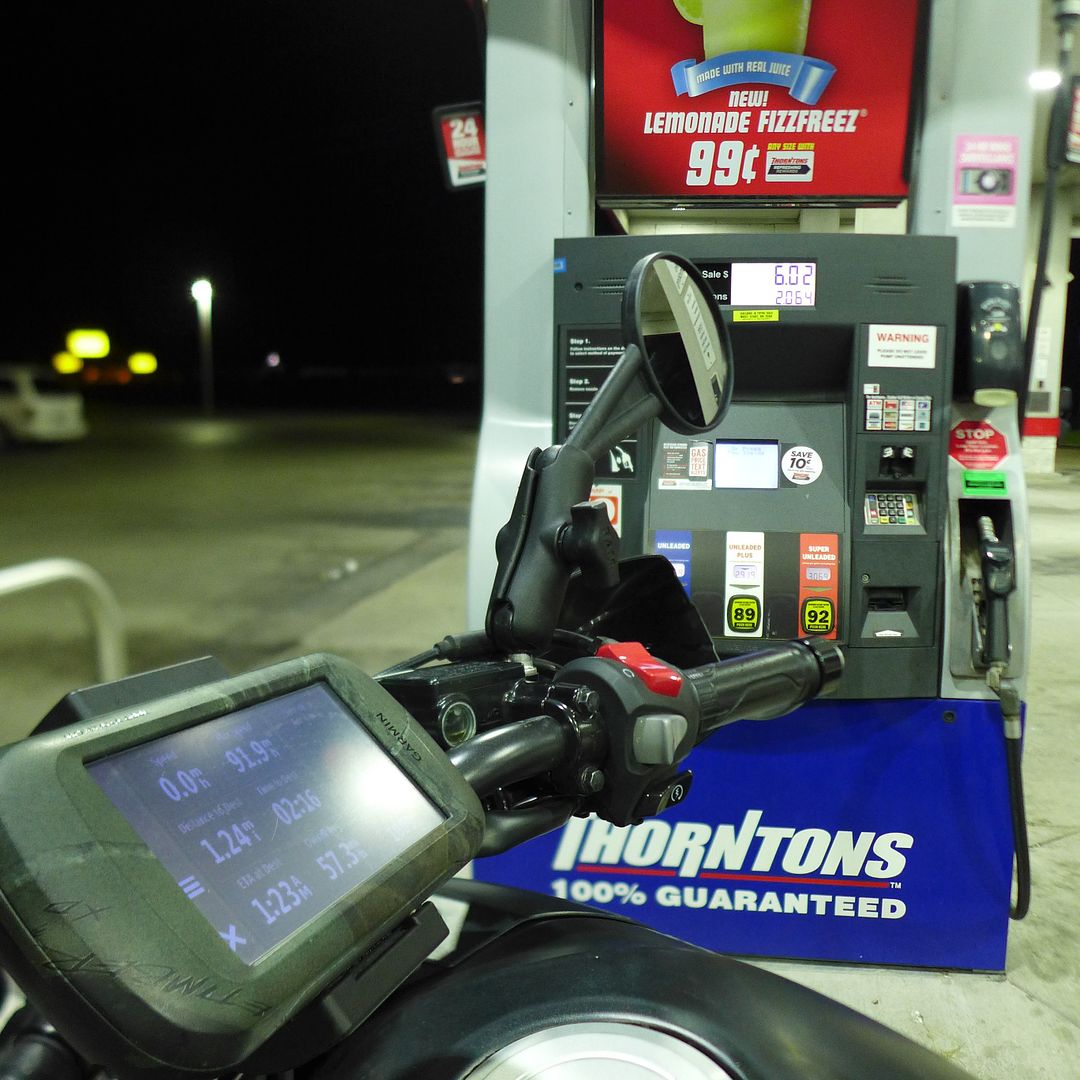
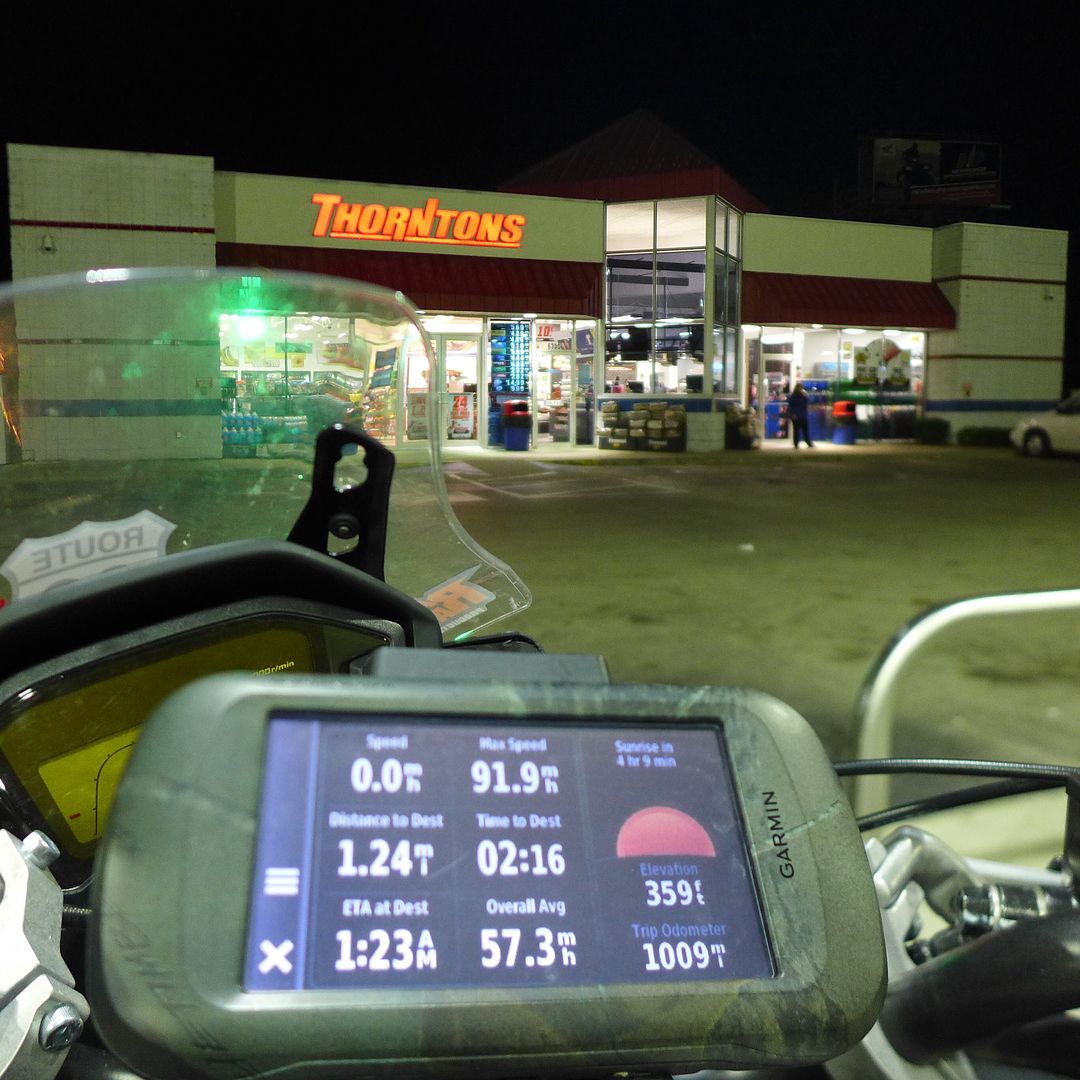
Suffice to say I made the thousand mile mark at 1.07am on the 30th May, after a mercifully dry dash over the last 50 or so miles into Evansville, Indiana.

Image


Once I'd obtained my final fuel receipt (time, date and location of course), I had racked up a total of 1009 miles in 17h 35m - which included a good couple of hours of rest stops along the way.

Image


It's by no means a record of course, but a personal achievement none-the-less, as I have never ridden quite this far in one session.

And I have to say the little CB was amazing. There came a point when I stopped caring and just wanted to get there, and it never once complained. I was also [personally] very impressed with the stock seat. I admit I started to wriggle at about mile 700 or so, but I fear that was primarily due to the amount of rainwater that was pooling in my crotch area ;o)

The stock screen also seemed to work well enough (in the low position, with a couple of 1/4" spacers on the upper mounting bolts to angle the screen more steeply). It's certainly not perfect noise-wise by any means, but bearable at 70-80mph, particularly when Katie Melua is crooning southing sounds in your earphones... Ahhhhhhh, Katie ;o)


So, a few facts and figures for you number nerds out there:

Official start time: 6.41am in Colorado Springs.

My plan was to stop for 5-10 minutes every couple of hundred miles (so almost exactly each time I'd need to fill up), plus have a longer break of 20-30 minutes to roughly coincide with breakfast, lunch and wherever/whenever dinner may be...

I admit I did not eat particularly 'well' during this marathon - McDonalds (free wifi) and Starbucks (tedious log-in wifi) sandwiches I am almost ashamed to say - but all useful (if somewhat empty) calories...

The first big stop was at mile 177 for fuel and breakfast (30 mins).

The time zone changed soon into Kansas, which meant my halfway point was a refuel at 517 miles, and a late lunch in Topeka at 3.49pm - so about 8 hours in total, and a little over 7 hours riding - I was kind of on-target still.

Then came the traffic (Kansas City), followed soon after by the rain. And boy did it rain!

I started to try and mentally break the remaining journey into bite-sized chunks, something I could relate to from back home, and that I'd all done with some regularity at some point or another...

Edinburgh to London (400 miles)
Newcastle to London (300 miles)
Leeds to London (200 miles)
Birmingham to London (100 miles)

Having not elected to put my rain-pants on (although wisely had put my iPad in a ziploc bag in my backpack at least), I was soon soaked through to the skin on my bottom half - but at least it was warm rain (unlike the UK!) The only real problem was once it got dark and the spray from the trucks (mostly passing them, but some passing me), oncoming headlights, and the general surface water made things nerve-wracking to say the least!

After the last refuel (and another 30 minute rest) at Mt. Vernon Illinois, I rode the last hundred miles with no music and no earplugs just to try and stay focussed...

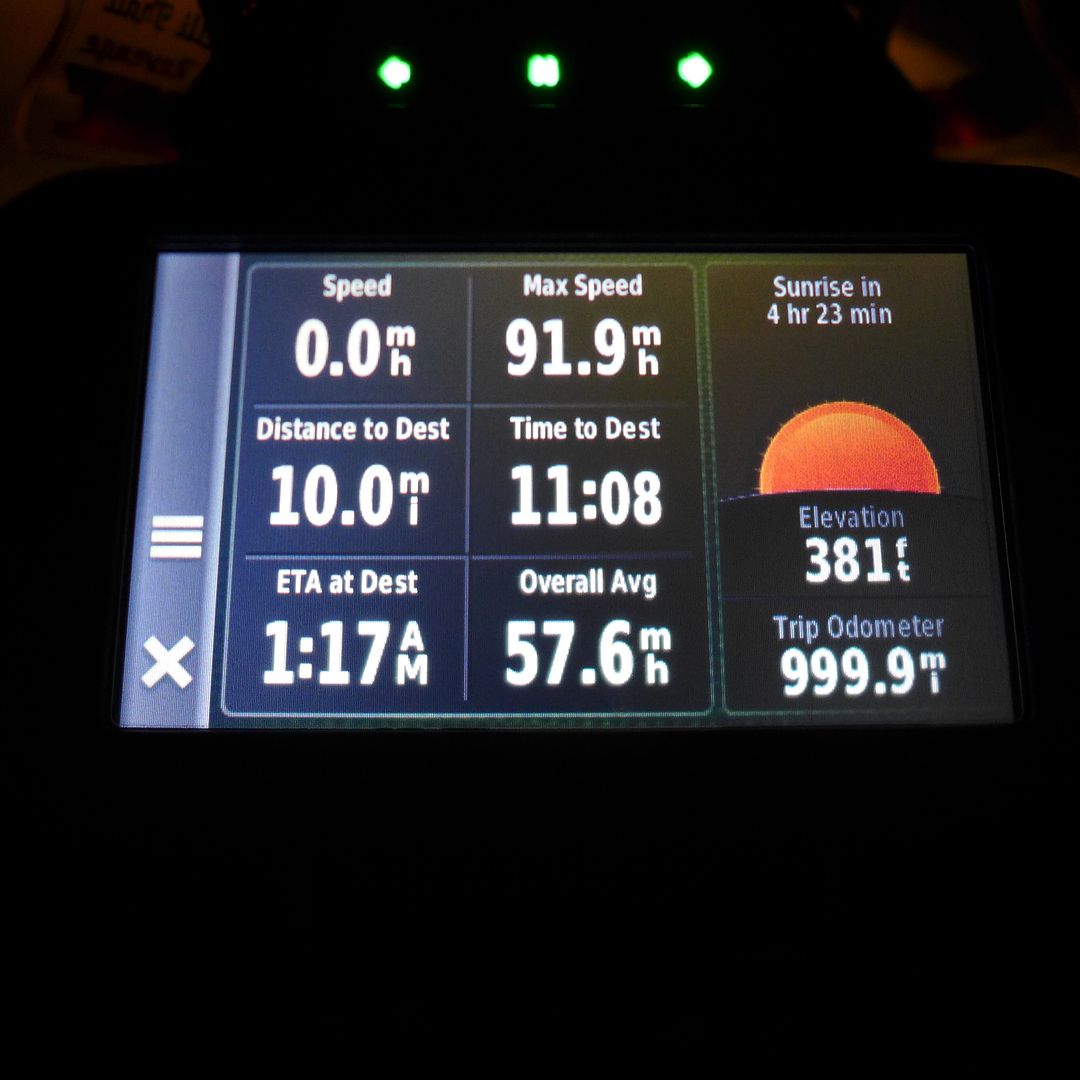
I finally hit the thousand mile mark a few miles north of Evansville Indiana at 1.07am local time (so 12.07am Colorado time) and collected my final gas receipt at 1.18am, 1009 miles covered in 17 and a half hours, with a riding time I estimated of a little under 16 hours - so in effect an average of 60mph*

*indeed, according to my GPS log, the overall average was 57.3mph.

Image


Now to submit that paperwork to the IBA - certainly that second half in bad weather makes me feel I really earned it!

Jx
Post Reply

Return to “RIDE REPORTS”